How'd you go Rodney?
Sent from my SM-P600 using Tapatalk
How'd you go Rodney?
Sent from my SM-P600 using Tapatalk
Ended up doing other things today. About to have some dinner and clean up then I'll have a crack at it. If all goes well I'll make a start on the engine mounts too.
Cheers Rod
_______________________________________________
Bitumen ...... Another watse of public funds
My Build 2005 TD42TI
mudski (20th December 2015)
Bit of mixed success tonight. I ran the drill through it a couple more times, give it a couple of big whacks and applied some heat, attacked it with an easy out and no love. Was probably a bit timid with it as I sure as hell didn't want to snap the easy out off in there. So I gave up on that and just kept on dilling, eventually as the drill was biting through it would grab and then start to screw it in further. No no. I got my little punch out and wrestled with it but it wouldn't come out, Although I was able to fold it up a bit with the punch and then drill those bit out. In the end I folded it all up towards the top of the hole then shoved the drill in there and it all came out. Unconventional maybe, but hey it's out.
In doing this I also kinda drilled away some of the existing thread, so time for an upsize, ran a bigger drill through it and cleaned it up.
Then ran a 12mm tap through it.
Mounted the passengers side mount, remembering to put the exhaust bracket in, then on with the cross member and job done!!
Big thanks to all those that offered up some suggestions.
Cheers Rod
_______________________________________________
Bitumen ...... Another watse of public funds
My Build 2005 TD42TI
Good stuff, a win and moving again.
keep us informed on the vibration issue and how your fixes are improving or not.
I also installed a superior near side Mt, & not overly impressed with the increased level of vibration at idle.
The Superior Mt is a much better captive design, but vibration is a trade off, IMO.
Read somewhere ( to late ) someone manufactures a Mt using a larger rubber bush which decreases the vib level.
But how much ?? Need some feed back on that.
IF IT'S NOT A NISSAN.
THEN IT'S A COMPROMISE
Rocket55 (21st December 2015)
good job mate, you sure are getting stuck into it.
2003 gu3 td42tdi sold 😞 bloody gvm towing crap. Bt50 3500kg gvm.
Rocket55 (21st December 2015)
Just a quick tip on drilling out broken bolts. Mate showed me how he uses left-handed drill bits, quite often they are enough to screw OUT, not in, the broken stud. Also helps when screwing in the EZ out.
Time Marches On .....and on ..... and on
Rocket55 (21st December 2015)
Maybe those mounts will "soften" over time and absorb more vibration
smoothing out the ride a bit more.
04 ST 3lt auto, not enough Mods to keep me happy, but getting there
After successfully changing the gearbox mounts (after a small mishap. Note to self, get some left handed drills) it was time to change the engine mounts. The gearbox mounts are pretty easy and straight forward, piece of cake actually, these engine mounts are a different beast and a job if I had to do it again I probably wouldn't.
First up, off with the intercooler and intake pipework between the airbox and the turbo. Out with both batteries, now you can see and touch the mounts. Then I undid the top nut on the mount and wound it off to the top of the thread, then set about cracking all the other bolts (passenger side first) seeing as though the Superior mount is going in this side I undid the engine bracket bolts as well as this gets replaced. Upon removing the little heat shield I found it was cracked nearly all the way through and probably wasn't that far from falling off, so in the bin it went, one less thing to put back on.
I didt the same on the drivers side as well, only left the engine braket bolts alone.
Next was to lift the engine, it went up easily untill the top of the fan hit the fan shoud, at this point it still needed to go another 10-15mm to clear the top of the threaded bolt in the top of the mounts, clearly this was not going to happen.
So I continued to remove the passenger side mount and engine bracket all together. All the bolts are hugely tight and access is limited so it's a time consuming exercise. Some from above and some from below.
Now to mount the Superior mount, just put it in loose, adjust the engine height a bit to line the centre bolt up then just nipped everything up.
Now for the drivers side. No way was i able to manipulate the mount out, so I bit the bullet and removed the engine bracket also.
Then set about installing the new genuine mount and the engine bracket again.
Do everything up on both sides super tight, let the engine down and clean up. Radiator goes in tomorrow so I left the batteries and intercooler out till then.
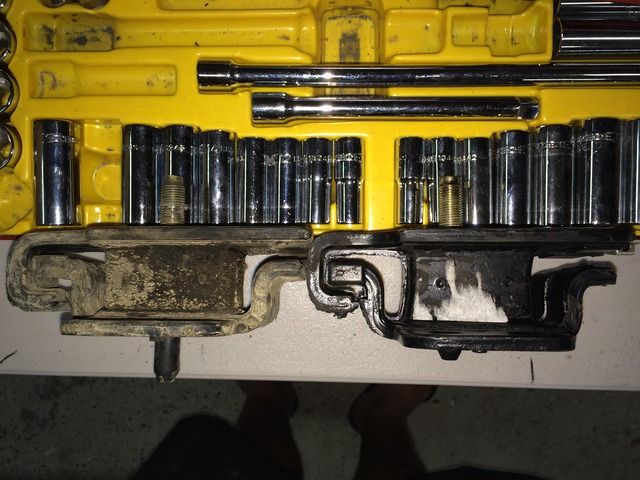
For the record, a new mount is 51mm thick to the outside of the plates, the old passenger side mount measured 48mm and the drivers side 47mm. I did notice I coud relatively easily squash/tilt the old drivers side mount by hand and bring the plates together. (I could also do this with the new one....) The old drivers side mount showed plenty of evidence where it had been compressed with nice shinny smooth marks on the inside of the plates.
![]()
Cheers Rod
_______________________________________________
Bitumen ...... Another watse of public funds
My Build 2005 TD42TI
BigRAWesty (22nd December 2015), Clunk (22nd December 2015), Hodge (21st December 2015), Stropp (21st December 2015)