Load looks to me like the wiring you run to power something when the solar panel is operating (as it seems to be out of the MPPT controller).


Load looks to me like the wiring you run to power something when the solar panel is operating (as it seems to be out of the MPPT controller).
jay see (28th January 2022)
Hey John mate.
Step 2 looks like your Load connection.
Which I am only going to assume you will not use...
Those included charger / controllers , I've binned them both times I bought that panel.
As my panel is directly wired to my Victron MPPT.
Sent using Pixel 6
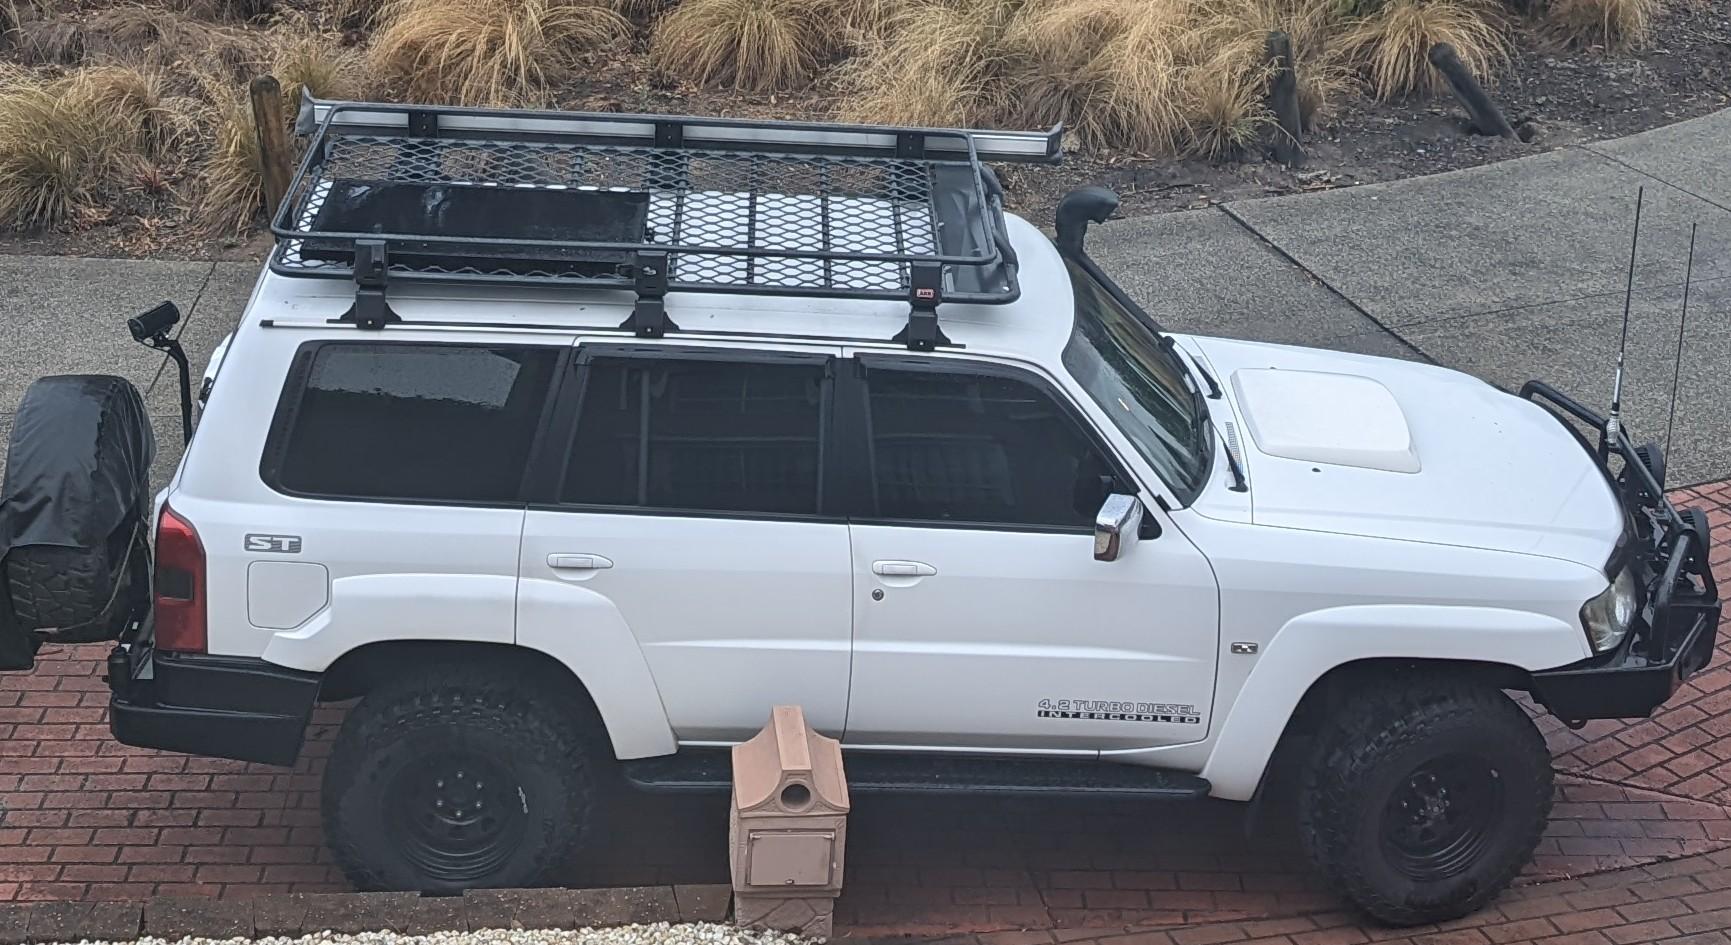
2005 TD42TI
jay see (28th January 2022)

Cheers gents.
I started with mounting the panel and I need to drill some new holes so the lines up with my rack.
After flicking through the book, it's if you want to run a constant low power consuming electrical device which I'm not.
As for the regulator Hodge I will run with this one and see how it goes can always change if I need to.
Check you inbox too.
Sent from my CPH1921 using Tapatalk
12/97 GEE YOU
4.5lt Gas blower. Lots of mods to come.....all in good time.
Hodge (28th January 2022)

The steps are just the connection order for correct and safe operation of the controller:
1. connect battery
2. connect load
3. connect panel
Reverse the order when disconnecting.
You can skip the load connection if you are just using it to charge the battery without.
jay see (29th January 2022)
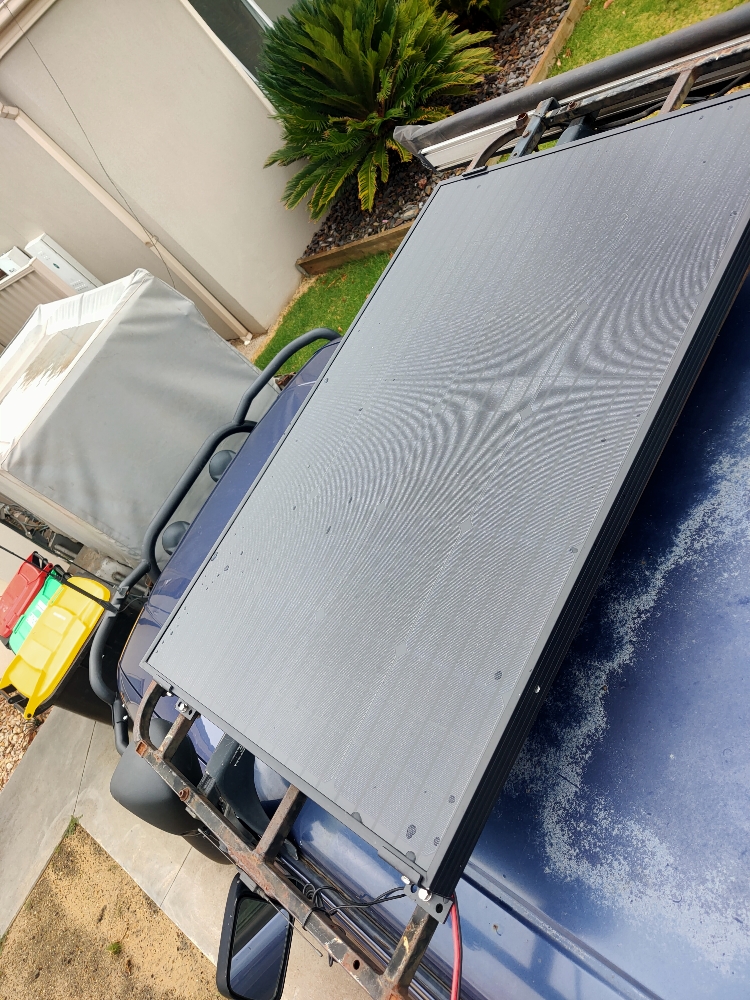
Forgot to mention that this panel pools water on top when stationary due to the raised folded edges. You can see it on top of my panel here.
Which is why I attempted to drill the corners as drainage holes and in turn shattered the first panel I had.
Sent using Pixel 6
2005 TD42TI
Job done.
Run out of some tidy up bits , but there's a bit that that wanna clean up.
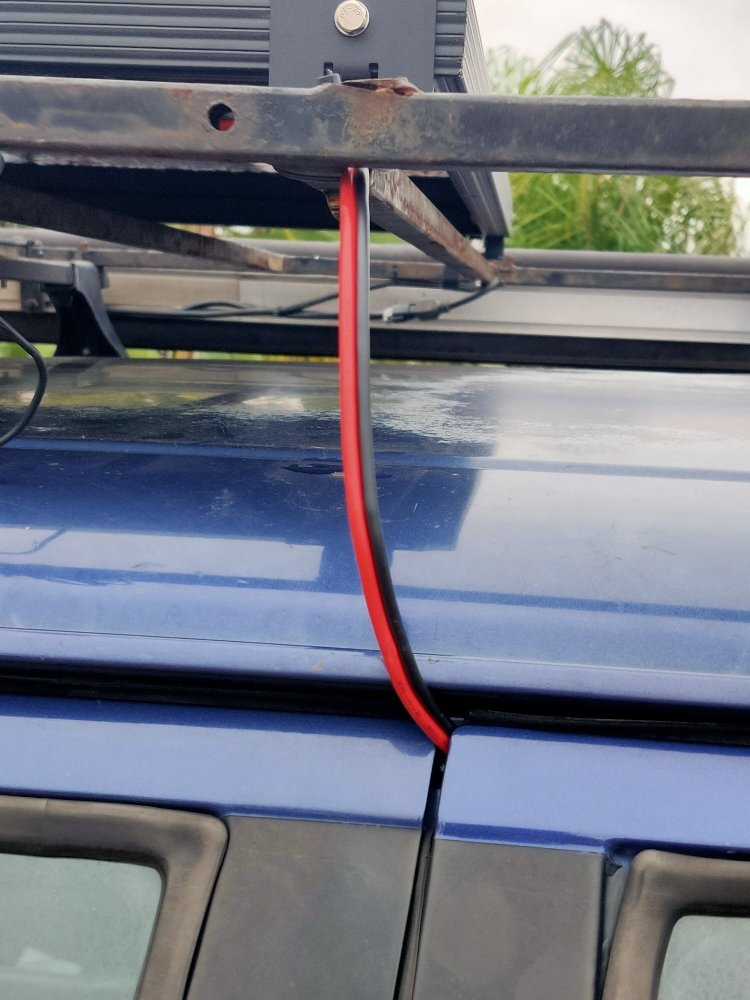
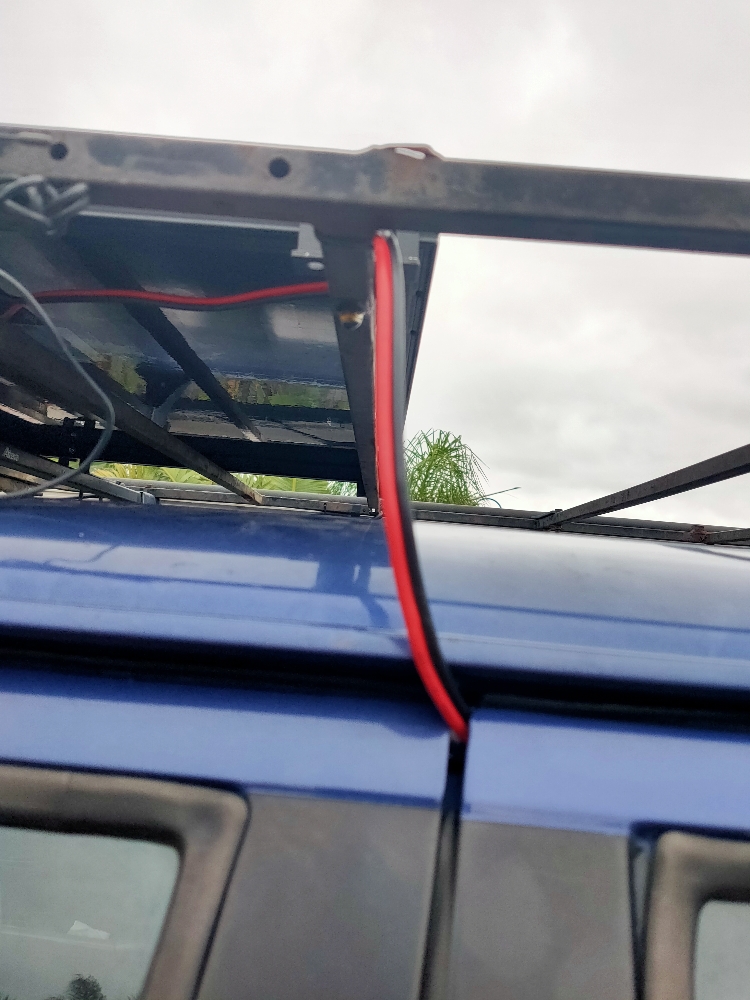
Only thing I'm not too happy is how the cable enters the door. Was thinking black electrical tape along that section (one of the things that I run out of).
Should get the new redarc isolator on Monday and that's a swap out.
Thanks for your input gents..
Sent from my CPH1921 using Tapatalk
12/97 GEE YOU
4.5lt Gas blower. Lots of mods to come.....all in good time.


@jaysee, I would route the cable into the roof gutter on the passenger side and sneak it across and to the rear of the snorkle, then down the back of the snorkle and into the gap between guard and pass door. then into engine bay or chassis rail or in thru the inside of the guard into pass footwell, assuming there is a similar route to the GQ. Cable remains very protected and you cab disguise the run in the gutter with corrugated sheath
Rossco (29th January 2022)


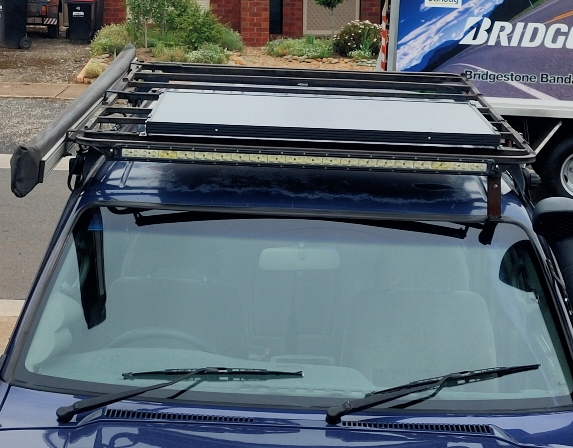
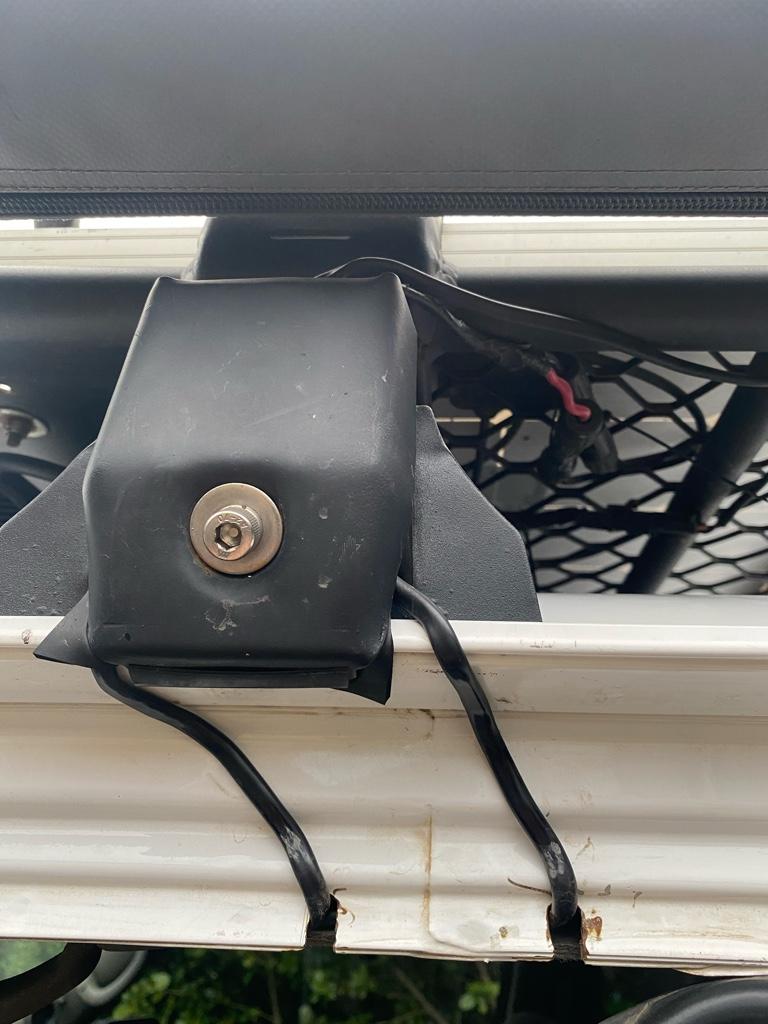
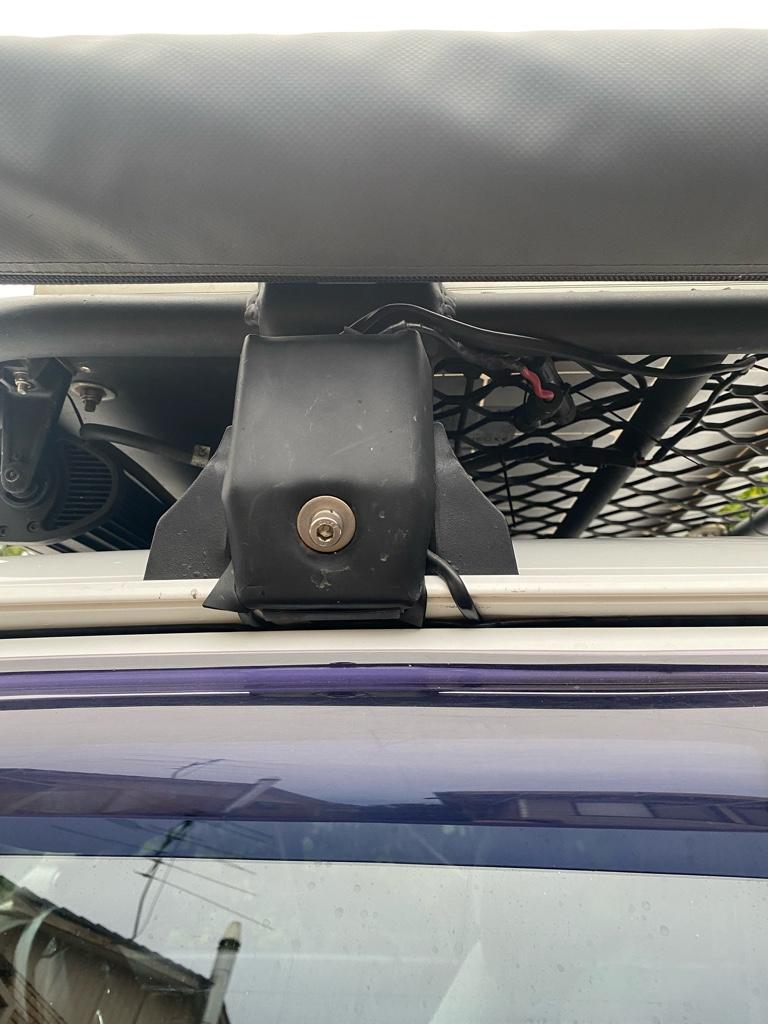
John this is how my panel and light bar are routed.using 4mm twin core
Sent from my iPhone using Tapatalk
PeeBee (29th January 2022)
I thought of that for about 1/2 second and that's too much work, well for me anyway.Originally Posted by PeeBee
 This I considered, as I can run the cable behind one of the legs of the rack. Only thing is I didn't have enough cable.
Will probably tape/conduit it for now and look at it again after.
Sent from my CPH1921 using Tapatalk
12/97 GEE YOU
4.5lt Gas blower. Lots of mods to come.....all in good time.
mudski (31st January 2022)

I found this to be the neatest option to pass the cables while I have the 2nd battery in the right rear and the solar/DC to DC unit behind the 2nd row seats.
It is more work with 2 layers of panel to drill through but you access it just behind the rear seat belt cover.
DDF0B773-075A-4173-B167-6FD90A6AEF41.jpeg
John
 Posting Permissions

 Reply With Quote