OUR VIDEOS GALLERY MEMBER SPONSORSHIP VENDOR SPONSORSHIP

User Tag List

Page 5 of 8 FirstFirst ... 34567 ... LastLast
Results 41 to 50 of 79

Thread: Damo's GU IV 4.2 STS

  1. #41
    Expert Rip'n'Shred's Avatar
    Join Date
    Jan 2012
    Location
    Hunter Valley, NSW
    Posts
    404
    Thanks
    37
    Thanked 212 Times in 78 Posts
    Mentioned
    1 Post(s)
    Tagged
    0 Thread(s)
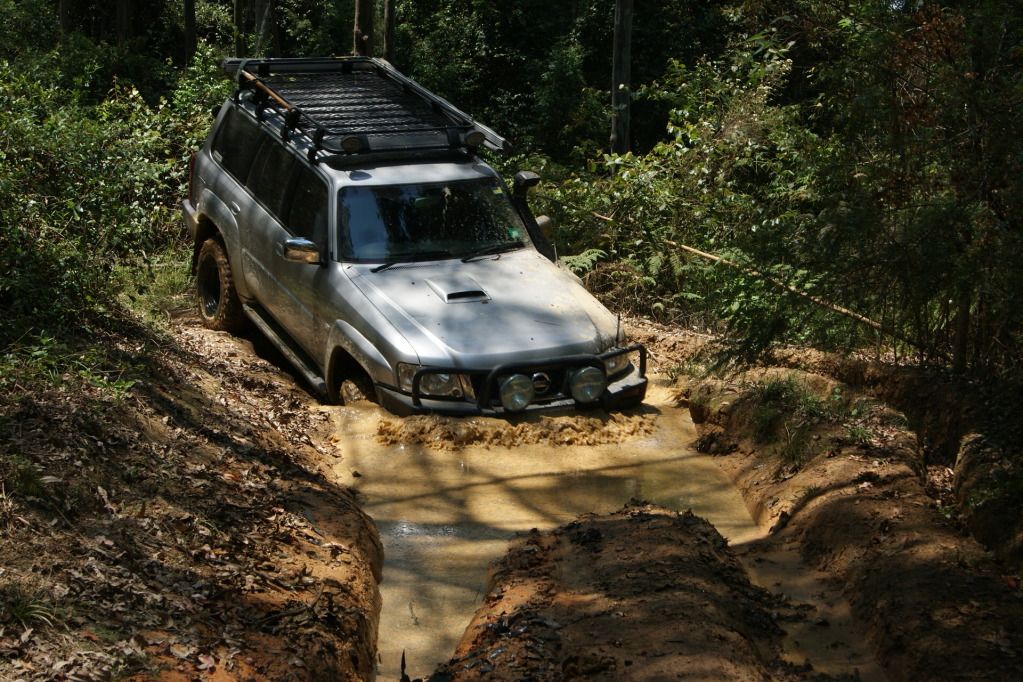
    I've been playing around a little bit lately with the old girl.

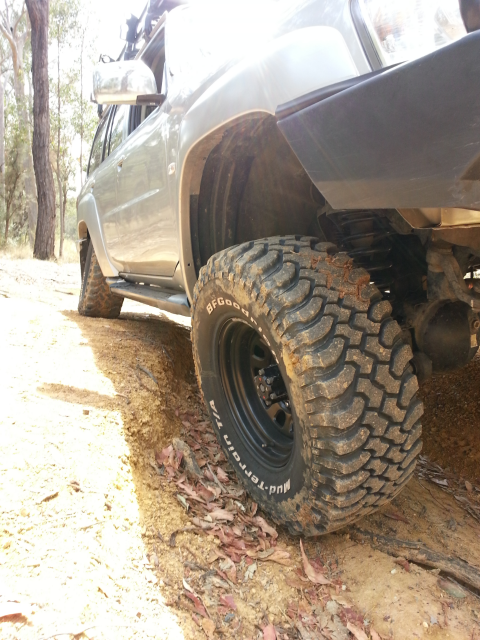
    I've been tuning up the injector pump a bit by tuning the boost compensator to deliver a little bit more fuel pre boost and a fair bit more fuel when boost is building up to encourage quicker spool up. She goes a lot better now. Pretty close to back to how it went pre modification, ie tyres, roof rack, lift, lots of extra weight. The EGT temperatures are still ok by a long way.

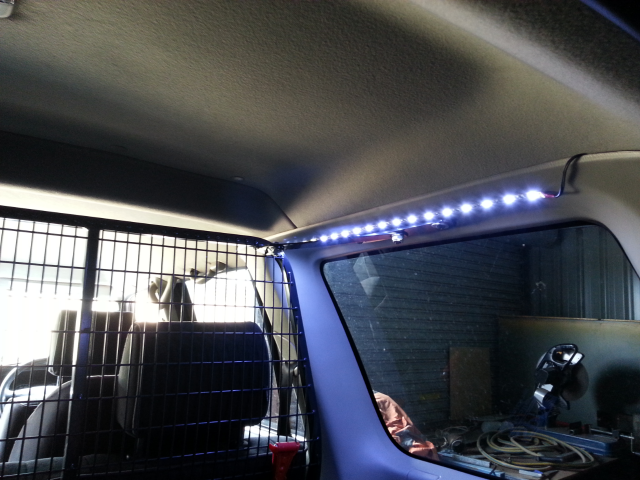
    I also added some more LED strip light inside cargo area. Pics don't show do it justice. I still have the existing LED's on the barn doors, just need to dim them down a bit.


    GU IV 2006 4.2 TDi wagon

  2. #42
    Expert Rip'n'Shred's Avatar
    Join Date
    Jan 2012
    Location
    Hunter Valley, NSW
    Posts
    404
    Thanks
    37
    Thanked 212 Times in 78 Posts
    Mentioned
    1 Post(s)
    Tagged
    0 Thread(s)
    Had a bit of a play on an easy track near home the other day. First real chance to flex up the big girl. I'm very happy with the flex with both sway bar still connected. I'll have to do it again soon with them disconnected to see the difference. Apparently it is significant.

    I know they are poser shots but I had fun. I guess technically I was exploring an unknown track (unknown to me) in 4WD Low. (all 4 pics in same spot).

    Front end


    Rear end


    GU IV 2006 4.2 TDi wagon

  3. #43
    Patrol God Stropp's Avatar
    Join Date
    Mar 2012
    Location
    Perth, WA
    Posts
    6,523
    Thanks
    9,693
    Thanked 4,869 Times in 2,553 Posts
    Mentioned
    36 Post(s)
    Tagged
    0 Thread(s)
    looks good there damo.

  4. #44
    Expert Rip'n'Shred's Avatar
    Join Date
    Jan 2012
    Location
    Hunter Valley, NSW
    Posts
    404
    Thanks
    37
    Thanked 212 Times in 78 Posts
    Mentioned
    1 Post(s)
    Tagged
    0 Thread(s)
    A few pics of a trip I did with another forum, it's not cheating is it?

    It was at Chichester State Forest in the Hunter Valley NSW. Not too muddy but the holes were deep. Never got stuck myself but every Toyota in the group did in one way or another. hehehe


    GU IV 2006 4.2 TDi wagon

  5. #45
    Advanced
    Join Date
    Jan 2013
    Location
    Newcastle, NSW
    Posts
    33
    Thanks
    0
    Thanked 11 Times in 4 Posts
    Mentioned
    0 Post(s)
    Tagged
    0 Thread(s)
    Thats a sweet looking rig. One day I hope to build mine up similar. Great pics too.

  6. #46
    Expert Rip'n'Shred's Avatar
    Join Date
    Jan 2012
    Location
    Hunter Valley, NSW
    Posts
    404
    Thanks
    37
    Thanked 212 Times in 78 Posts
    Mentioned
    1 Post(s)
    Tagged
    0 Thread(s)
    I've always wanted a set of rock sliders for my patrol, ever since my first patrol. The re-assurance of the added strength over the standard steps totally rules out any negative impact of the added weight for me.

    I sourced some strong 50mm gal pipe with 5mm wall and some 50mm square tube 5mm wall steel years ago to build sliders for my first patrol. I decided to keep the steel when I sold my first patrol having never completed the DIY job.

    Now I have my GU IV Patrol I thought I best get around to building a decent set of sliders to protect my expensive little toy. Over a period of a few months I have finally finished and fitted. Here's a bit of a run down of the project.

    I used the following materials:

    Main slider material
    2 x 50mm gal pipe 5mm wall (cant remember how long)
    2 x 50mm square tube 5mm wall
    4 x support tubes about 190mm long, cut on angle and notched for joint

    Support brackets
    4 x 50mm square tube, about 190mm long – centre and rear support from slider to chassis bracket.
    2 x 50mm x 75mm RHS, about 270mm long – front support from slider to body mount section
    4 x 100mm flat bar 5mm x 500mm – wrap around chassis as U-brackets
    6 x M10 x 110mm high tensile fine thread bolts.
    2 x 8mm plate for gussets cut into 4 triangles

    Hoops tacked onto square double checking fitting.


    and then welded up


    looking good


    Checking alignment with makeshift chocks!


    Cut and notched supports. Makes for a lot stronger weld and very tidy. I used a holesaw in a drill press and clamps. A real pain but worth the effort.


    Making chassis brackets. I heated the steel till cherry red and bent using the vice and a little elbow grease. Turned out really well i think. The middle chassis bracket needs to be bent in the shape you can see as the chassis on the patrol bends here and gains some width.


    Brackets attached. I mounted the brackets to the chassis and chocked up the sliders into the correct position and triple checked alignments. Then I tack welded them together before carefully removing the unit as one and welded everything up on the bench. Once cooled I then refitted to the chassis to double, triple, quad ripple check everything was aligned ok.


    Gussets attached. These increase strength and rigidity significantly. (I have found since fitting the complete sliders that welding these on did distort the brackets slightly. It has bent the sliders up a little too close to the sill panel. I'll have to come up with a solution.)


    Welds tidied up and ready for painting
    GU IV 2006 4.2 TDi wagon

  7. #47
    Expert Rip'n'Shred's Avatar
    Join Date
    Jan 2012
    Location
    Hunter Valley, NSW
    Posts
    404
    Thanks
    37
    Thanked 212 Times in 78 Posts
    Mentioned
    1 Post(s)
    Tagged
    0 Thread(s)
    Oh yer, looking good baby. These were sprayed in automotive paint with a coat of special primer to stick to the gal and the first black coat put on wet primer to dull down the gloss apparently. In reality I got someone else to do this.


    Job done, only been 6 years in the making!


    I cannot take all the credit for these sliders. First of all I had a lot of help in the way of a PDF document I came across on the NissanPatrol forum. A huge thanks to Lieney for producing and sharing this how to guide. This was a huge assistance to me in the design stage of this project. Although I used a hydraulic bender to shape the round pipe and used square tube as the main rail, I did use the measurements and instructions for the support brackets to chassis to make mine.

    The thread can be found here http://www.nissanpatrol.com.au/forum...build-your-own


    They are a bit of an overkill with material thickness. The are heavy (just under 30kg for the pair) but I expect big things out of them. They definitely could have been built lighter and still have sufficient strength for most situations.


    Now time for the next project. Hope it doesn't take this long

    GU IV 2006 4.2 TDi wagon

  8. #48
    Beginner
    Join Date
    Apr 2013
    Posts
    29
    Thanks
    2
    Thanked 6 Times in 4 Posts
    Mentioned
    0 Post(s)
    Tagged
    0 Thread(s)
    gee that looks neet,,

  9. #49
    Patrol God
    Join Date
    Mar 2012
    Location
    brisbane
    Posts
    4,934
    Thanks
    963
    Thanked 1,830 Times in 1,250 Posts
    Mentioned
    0 Post(s)
    Tagged
    0 Thread(s)
    Mate the sliders look good and stronger the better imo, I have tjm brush bar/ sliders and I've pushed them in and done damage so I wouldn't be concerned with weight, do what you have to do so they can take a beating lol

    Is one of the sliders slightly longer?


  10. #50
    Advanced gokhangqtd42's Avatar
    Join Date
    Apr 2013
    Location
    Turkey/Antalya
    Posts
    75
    Thanks
    2
    Thanked 10 Times in 5 Posts
    Mentioned
    0 Post(s)
    Tagged
    0 Thread(s)
    very nice Patrol....
    Ex : Lr 110"def+ Lr100" def+Tyt WX80 Land Cruiser+MB 406 Ünimog doka : Jawdrop:

    New: 1992 Nissan GQ y60 safari (td42) : Hpfredgeorge1:: Bananarock:

Page 5 of 8 FirstFirst ... 34567 ... LastLast

Posting Permissions

  • You may not post new threads
  • You may not post replies
  • You may not post attachments
  • You may not edit your posts
  •