


Part 3
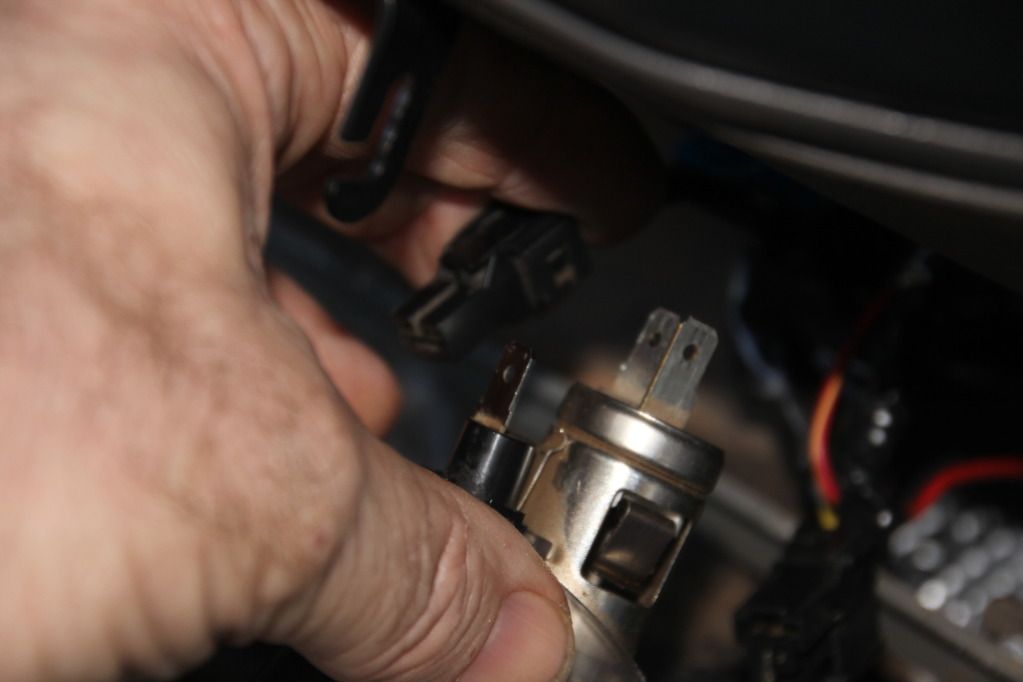
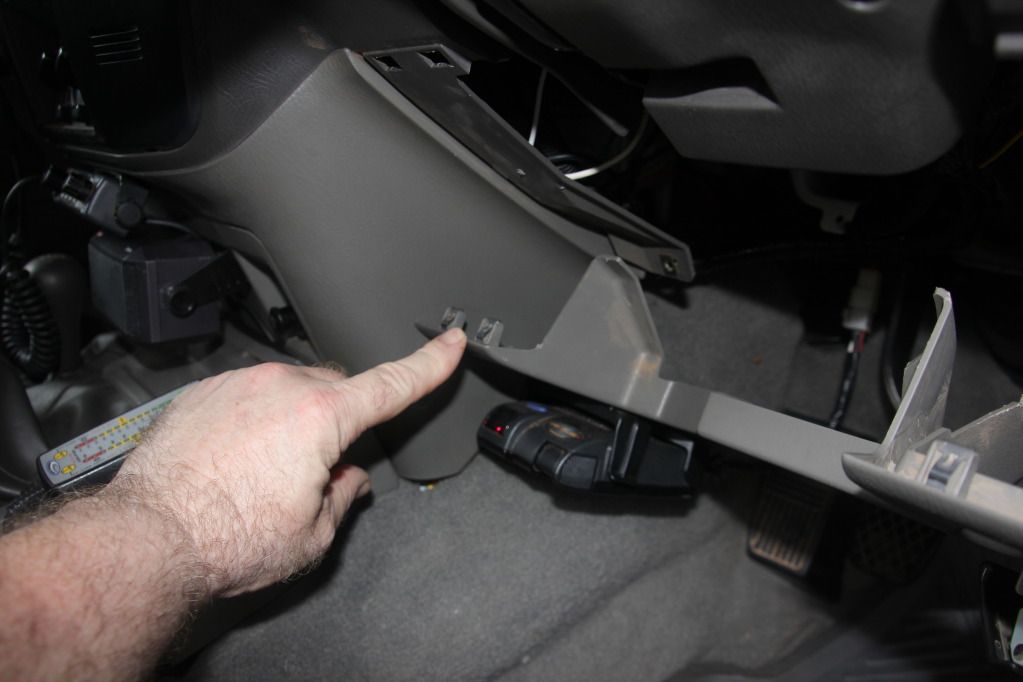
Disconnect both the light and cigarette lighter connectors see photo
The following are where you are going to splice and solder your wiring from your gauges into. Firstly, wiring from Boost, Oil and Water temp lights will be spliced and solder into the Cigarette light wiring. Secondly, the light wiring for the EGT will be spliced and solder into the Cigarette housing wiring loom.
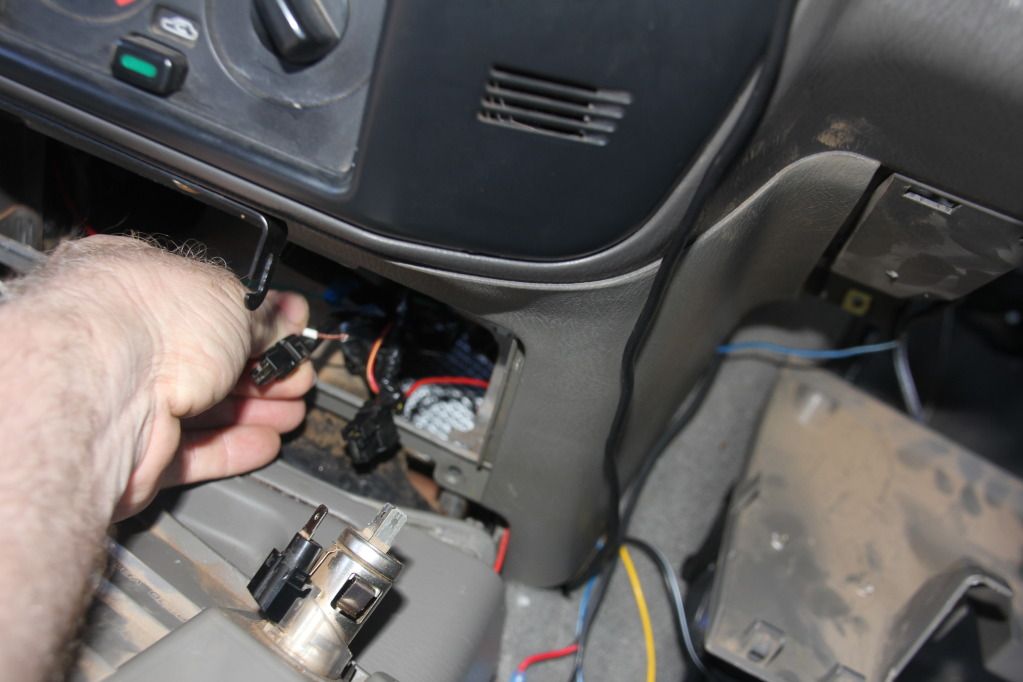
From the oil gauge and water temp in the pod. (you may decide to run your Boost and EGT gauges from the pillar pod) Run both red positive wires down though and under dash to light connector on the cigarette lighter. Now splice the wire. Do not solder until you have the Boost (white wire), Oil and Water temp (Red wires) run to the light connector on the cigarette lighter.
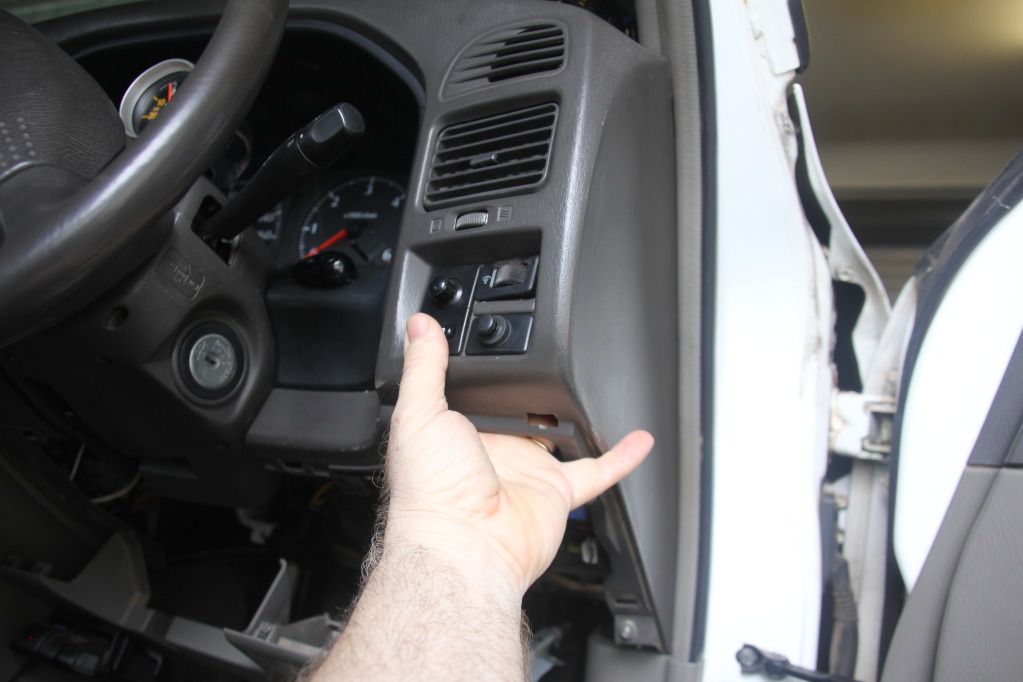
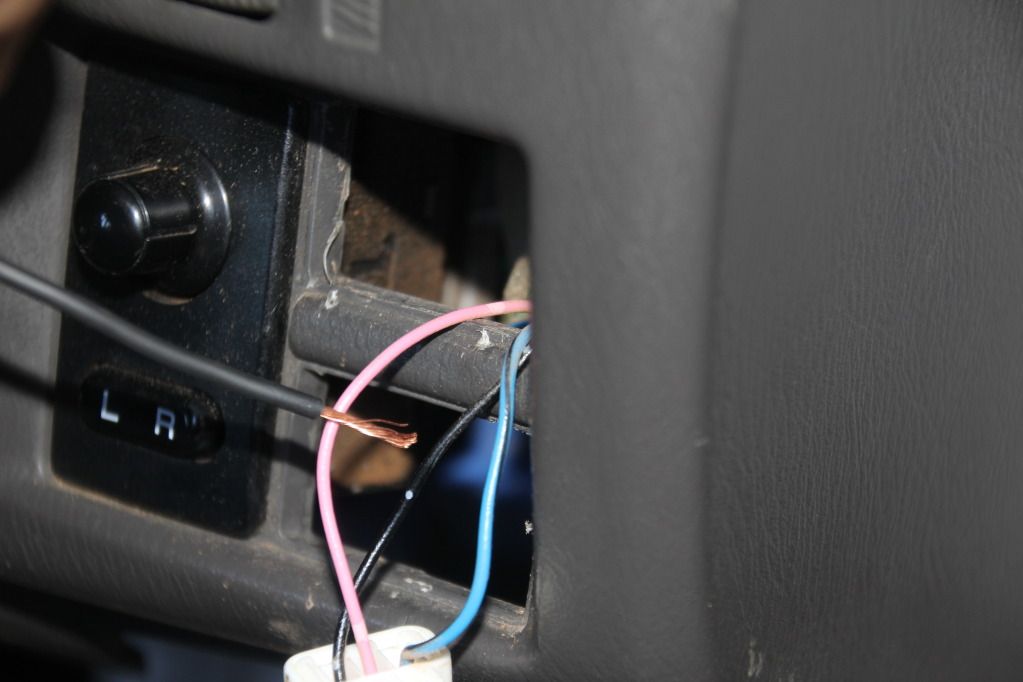
Now pop out the dimmer switch out, see photo;
With the dimmer switch removed, Splice the 3 black wires from the Boost, Oil and Water temp gauges lights into the pink wire that goes into the dimmer switch (Not the blue wire ) See photo below. This now allows you to operate you new gauges lights only at night time when you turn on your head-lights. By wiring into the dimmer switch, you have the additional ability to dim you gauges, if you do not like bright lights.
With your EGT gauge light, Red wire goes to Cigarette lighter wiring, your black wire goes to earth on the body. When you turn your ignition on you have a lights at the EGT all the time.
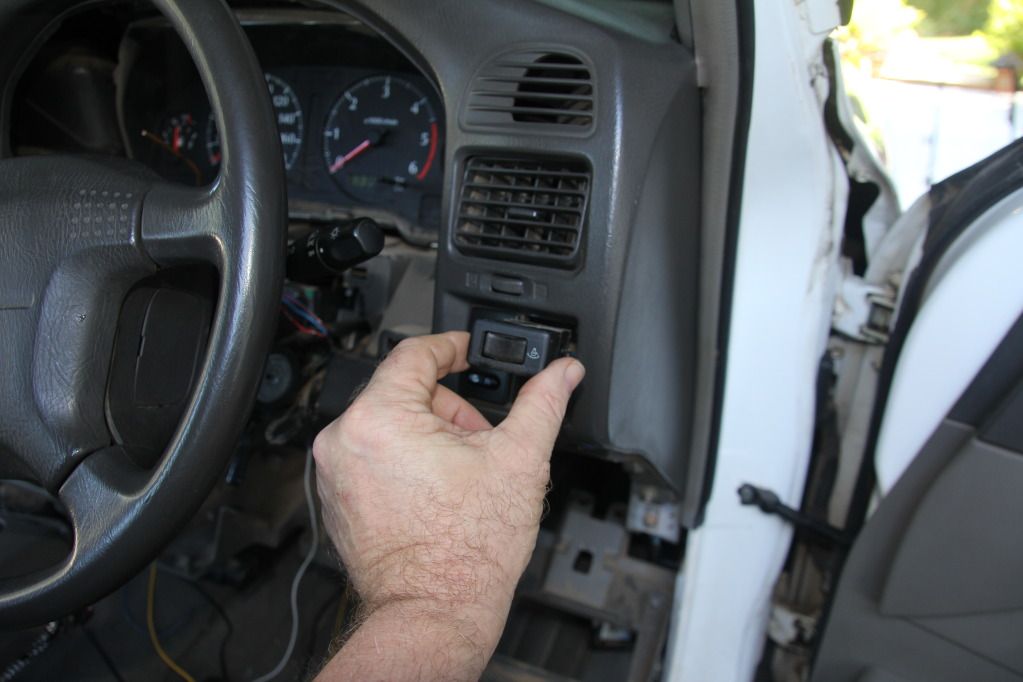
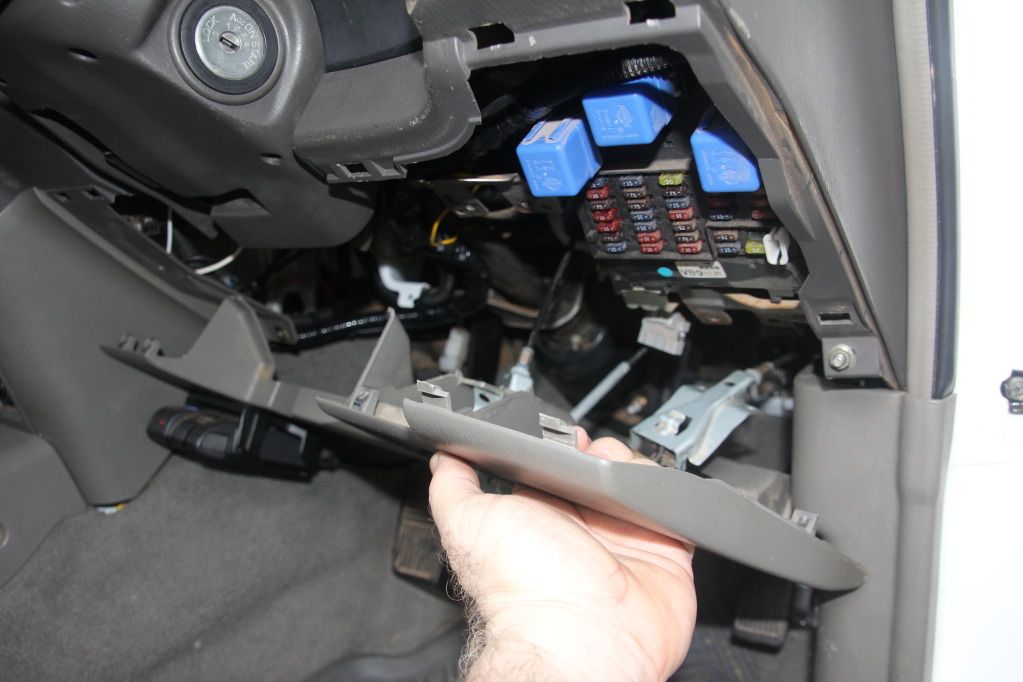
When re-assembly of the panels, remember to align all locating clips with holes in other panel housings. see photos
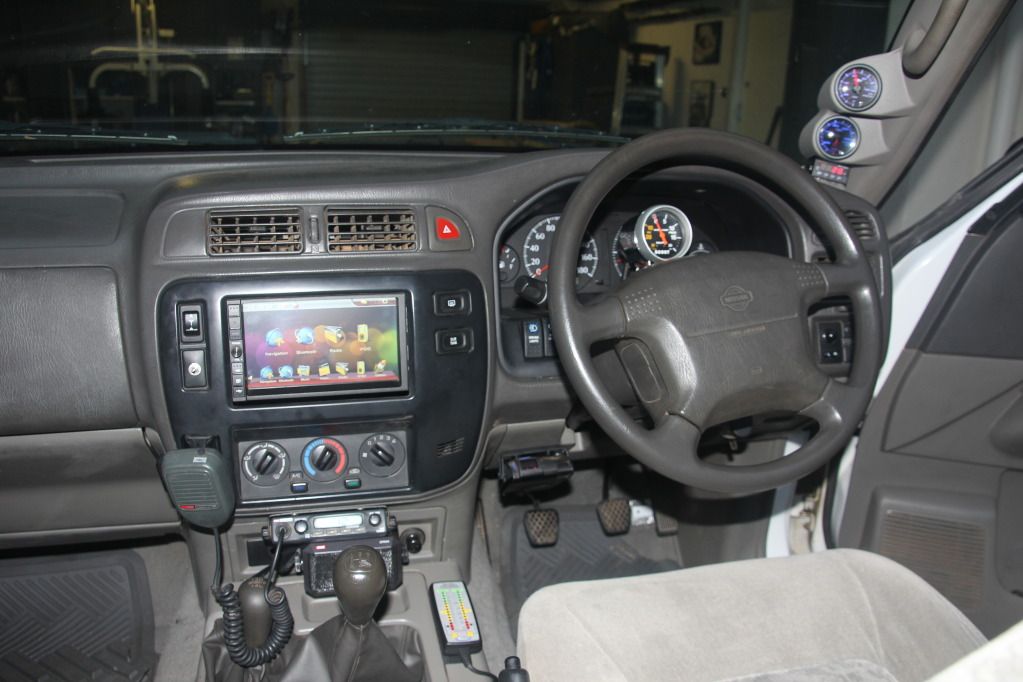
Walla you goat stroker's, you've done it! Now go and have that beer and or any other stress relieve beverage that you usually drink!
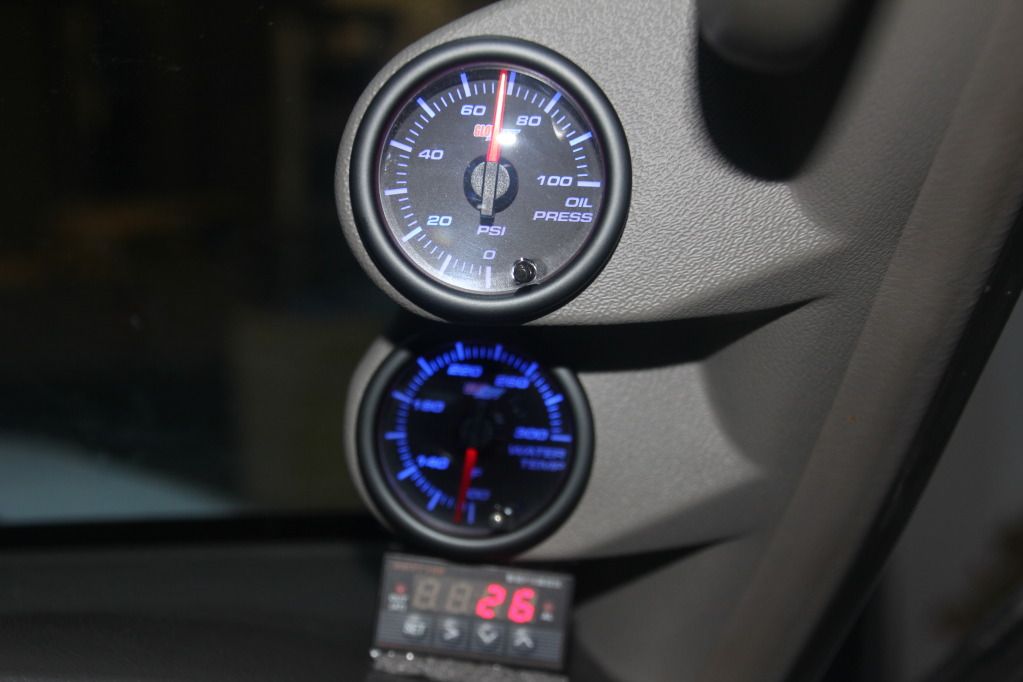
Finished look:
Regards,
RLI


 Reply With Quote