Welcome to the Nissan Patrol forum. To post a question and to see less adds on the forum then you will have to register
first. We are an easy going friendly forum so join in the conversations and feel free to ask any questions.
Become a forum sponsor for only $20 and see no adds with faster page loading times and many extras benefits.
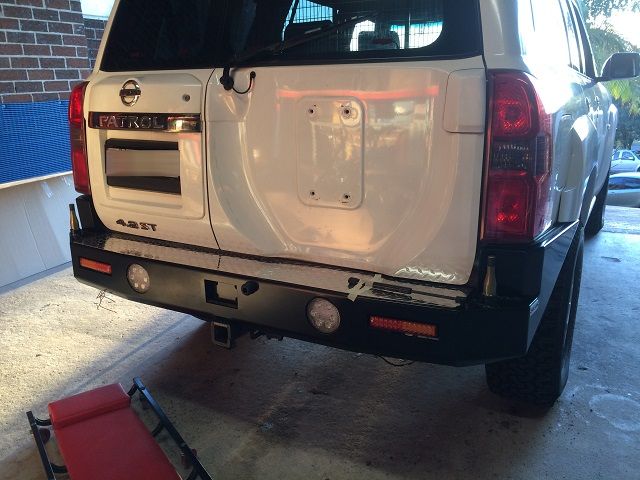
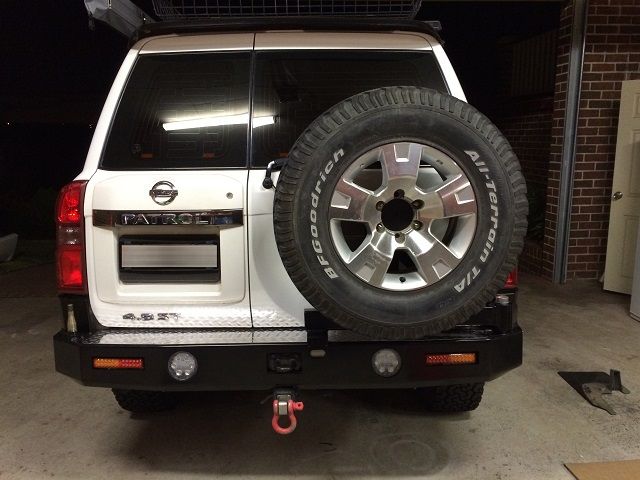
Now to start putting it all back together. With the help of my trusty neighbour we lifted the new bar into position. I then set about bolting it up and lining it up. It's a couple of mm higher on th drivers side but you can't really notice it.
Stopped for the night as we had a BBQ next door. Many beers were consumed and it was a bit of a late start on Sunday to finish it off 8-)
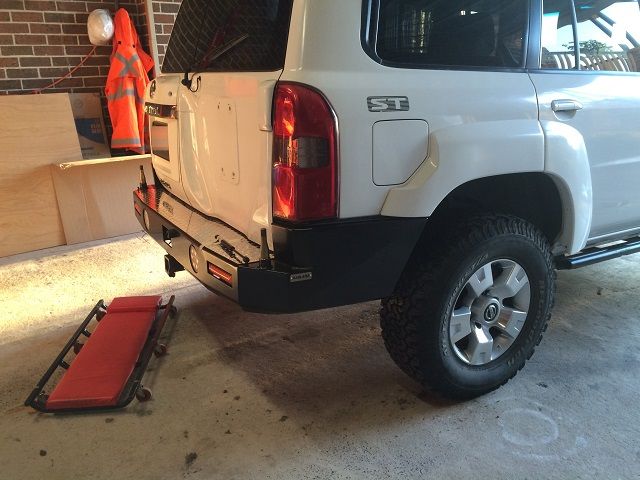
Greased up the bearing, whacked them in, attached the strut and the swing arm was on
I got the auto opening mechanism, took a few minutes to adjust it all up but it works a treat
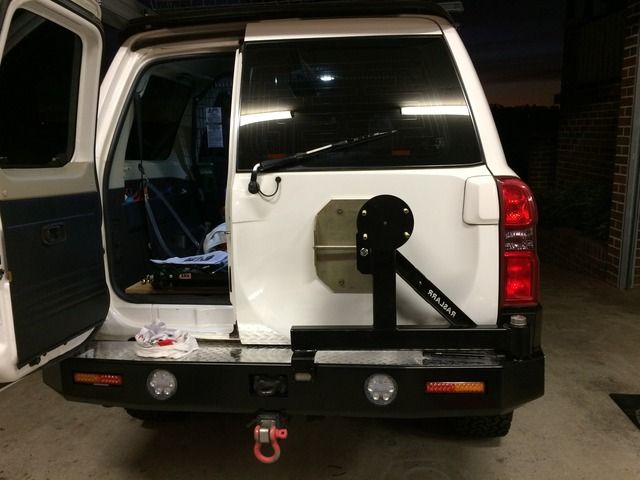
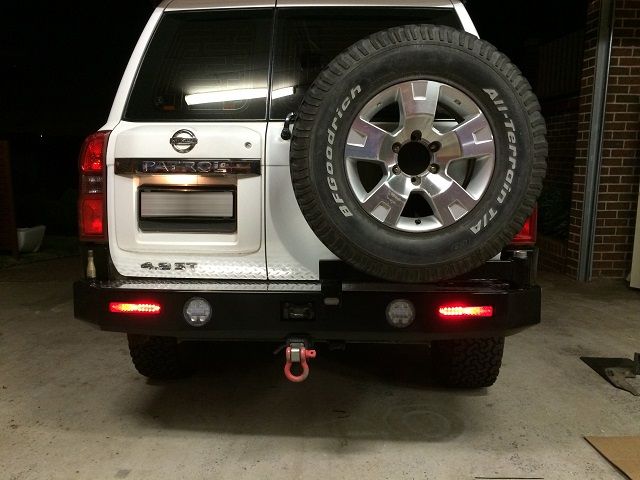
Wired up the lights (what a PITA) put the spare back on and finished... Well nearly, never got around to putting the mudflaps back on. Job for later
What's not so hot?
- The bracket on the back door is not painted and is easily seen, so that's a job for later.
- The wheel holder (the bit with the wheel studs in it) was not painted, so I painted this, otherwise there would be a big gold section showing through the centre of the wheel.
- There's no hole in this piece to allow you to put some type of lock on the lock the spare wheel up.
- The dust cap on the stub axel that supports the swing arm is not painted, again a job for later.


 Reply With Quote