OUR VIDEOS GALLERY MEMBER SPONSORSHIP VENDOR SPONSORSHIP

User Tag List

Page 4 of 7 FirstFirst ... 23456 ... LastLast
Results 31 to 40 of 63

Thread: Bryan's MQ/MK Project

  1. #31
    Patrol Freak
    Join Date
    Dec 2010
    Location
    Benarkin QLD
    Posts
    932
    Thanks
    0
    Thanked 247 Times in 196 Posts
    Mentioned
    0 Post(s)
    Tagged
    0 Thread(s)
    Man,its hard trying to describe over the internetweb thingy
    The steering/ignition lock has 4 screws underneath,that the heads get broken when fitted (anti theft sorta stuff ???),the best way to undo them is with a flat screw driver and tap the screw around to loosen
    Absolute pain in the ,well,behind
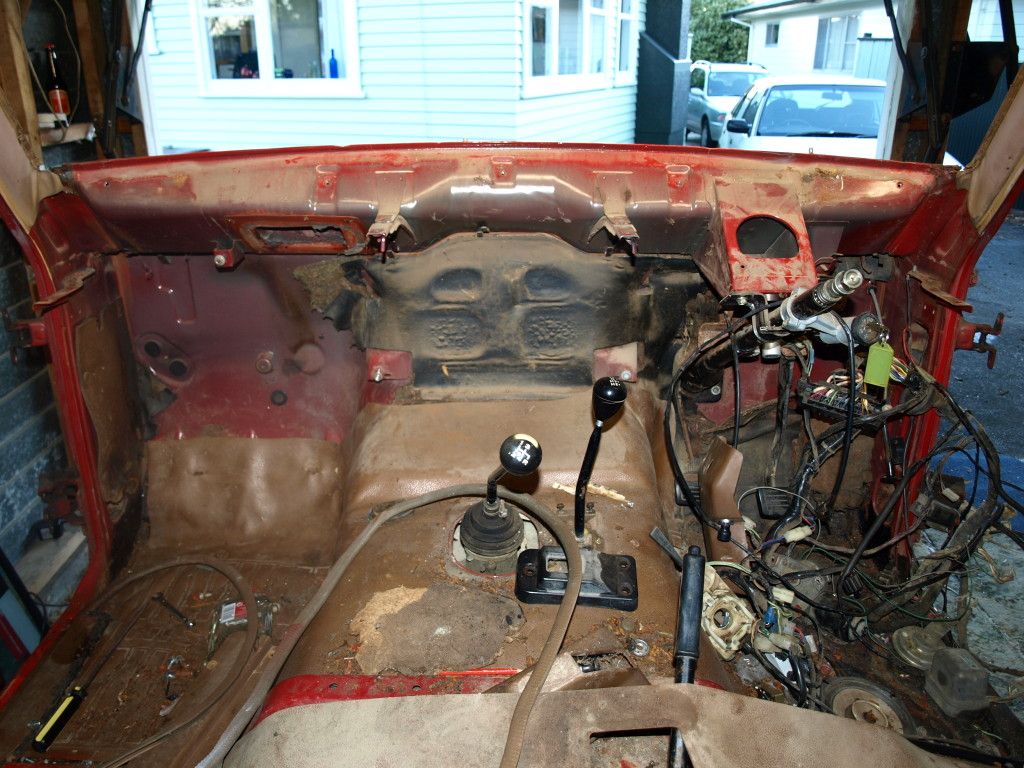
    The steering colomn,undo at the steering coupler ,rubber thingy that bolts the steering colomn to the steer box,then undo the steering colomn under the dash,4 bolts from memory
    The light combination set up in the steering coloumn will be different between MQ and MK,use whatever the petrol set up has
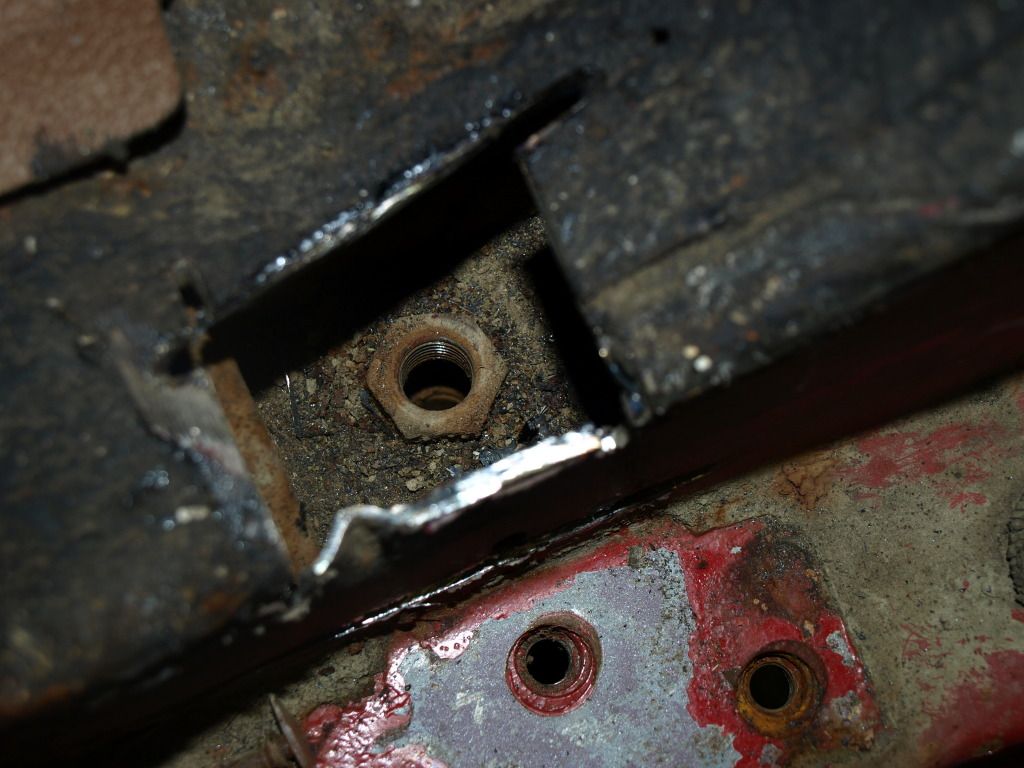
    The brake booster is a 4 bolter ,bolted to firewall under dash, there will be a pin,clip on the shaft between the brake booster and the pedal, that has to be removed as well
    Undo the brake lines first,clip,then the 4 bolts,itll come out engine bay side
    The brake lines come out of the brake master on different sides,between MQ and MK , refer pics, that explains it
    The clutch masters,mite be the same ,but from the pics one has the hydraulic dampener ???,use whatever the petrol car has as the slave cylinders will be different ,petrol/diesel are different
    So whatever set up the petrol has , use it again
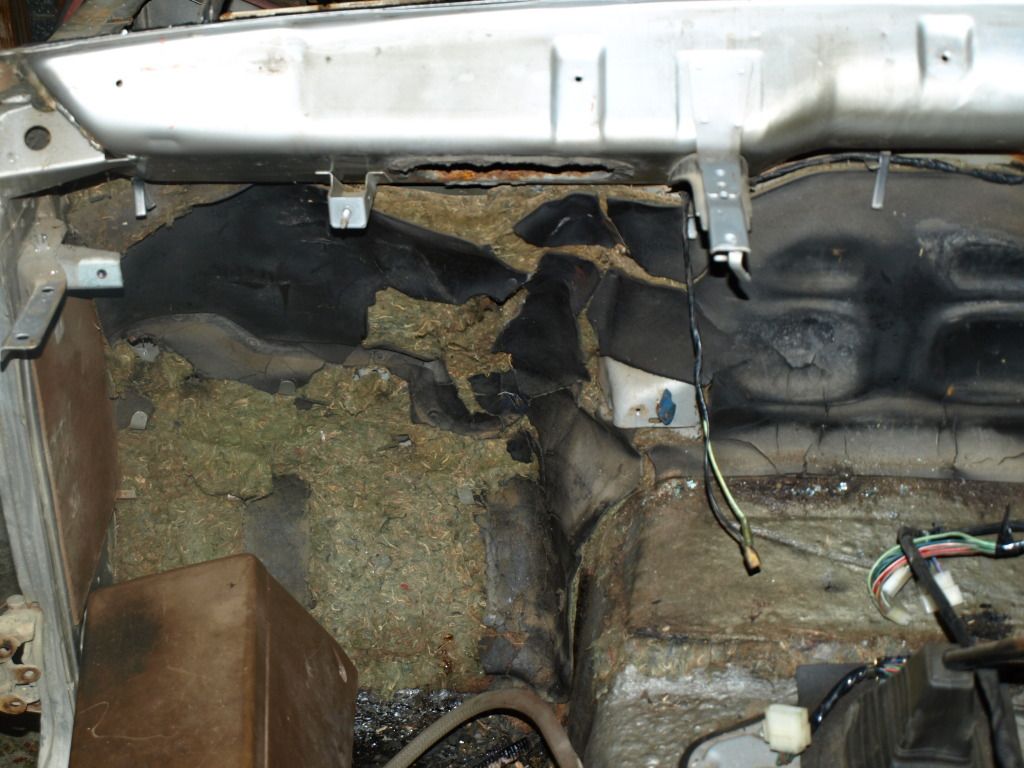
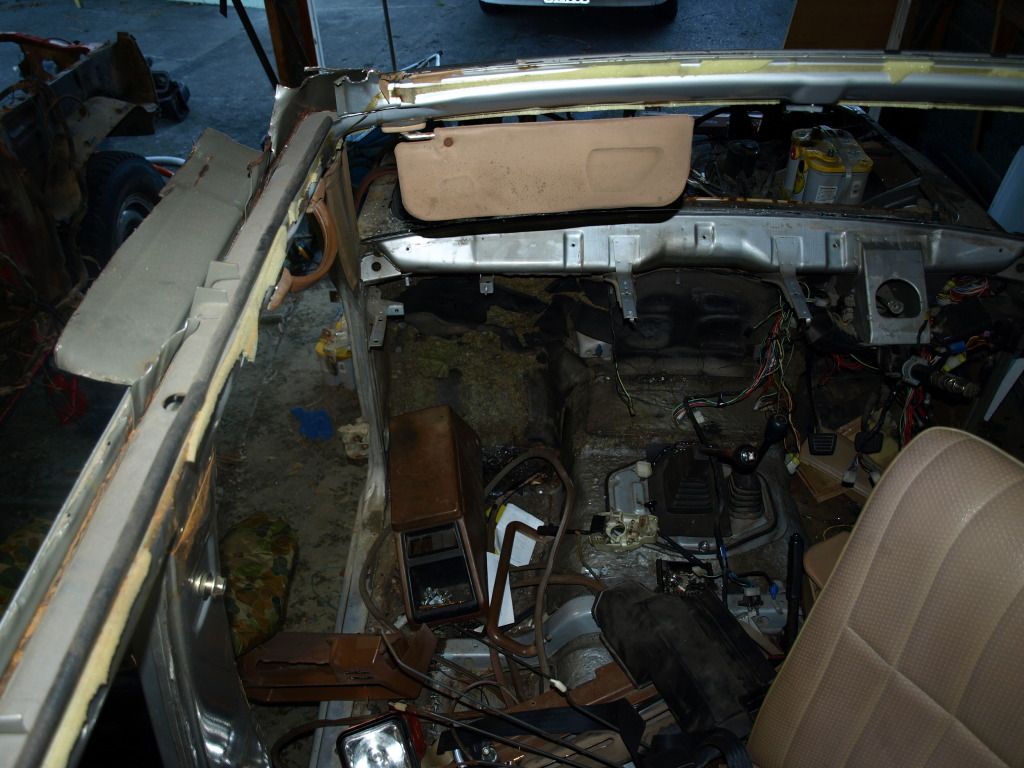
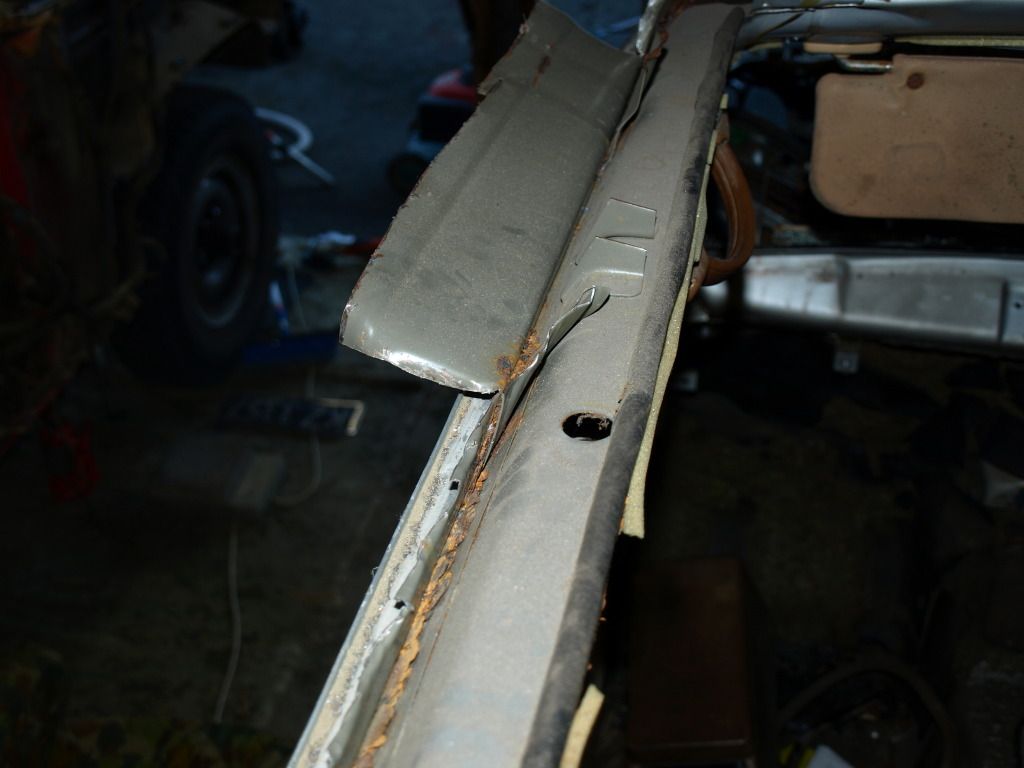
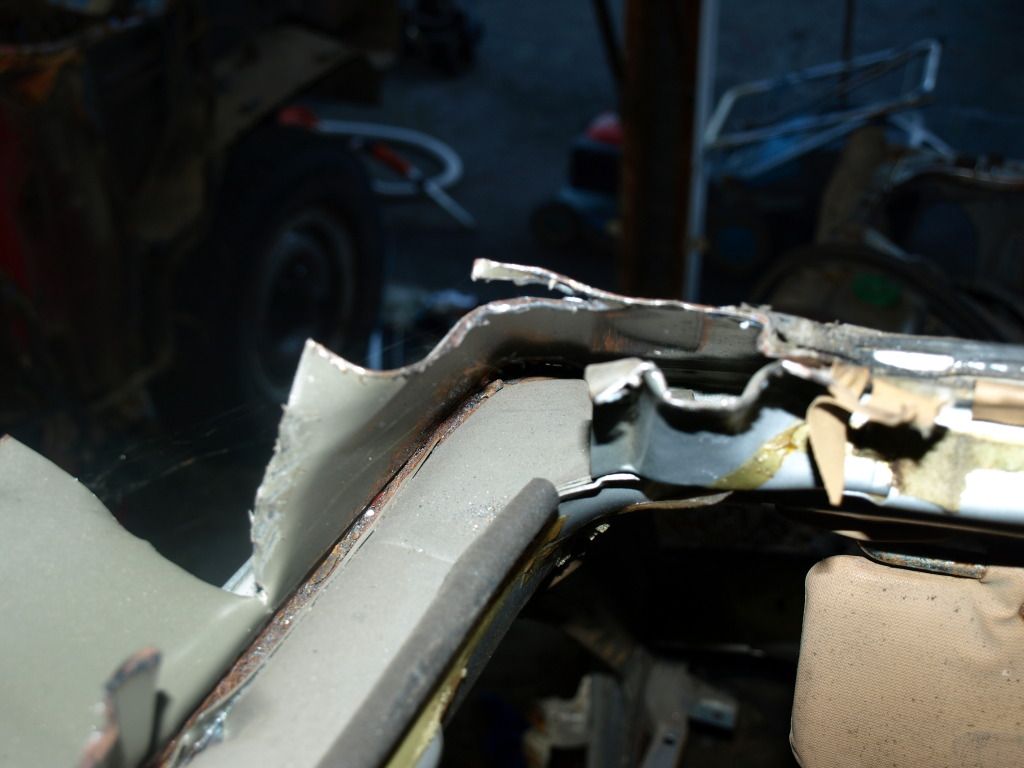
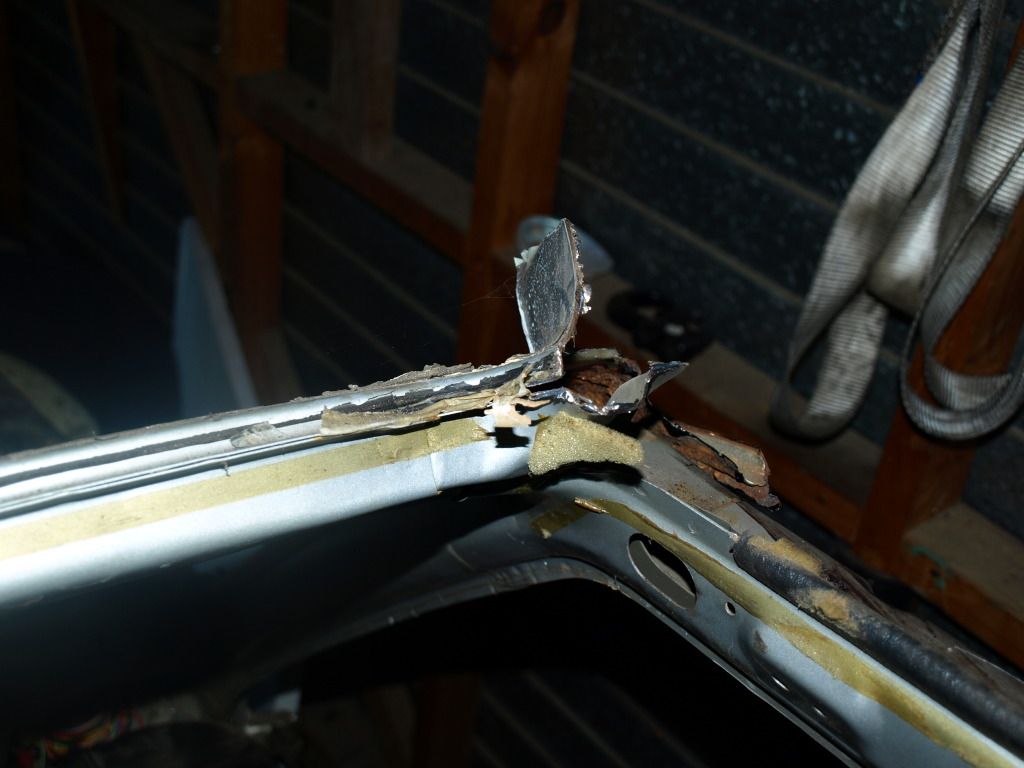
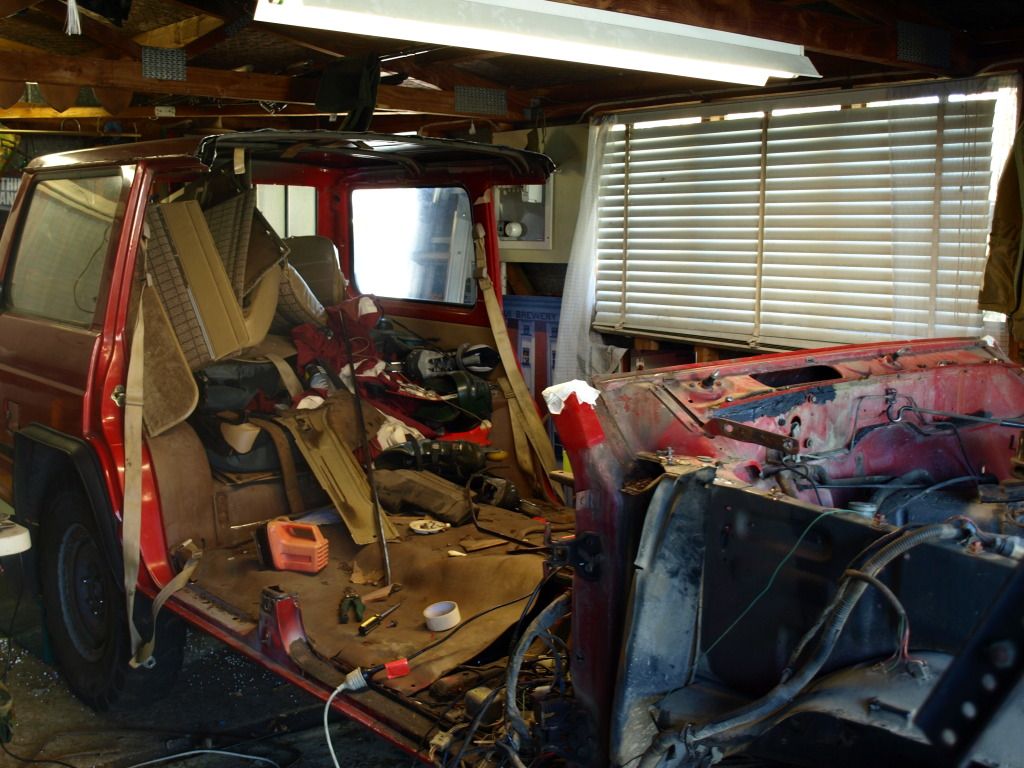
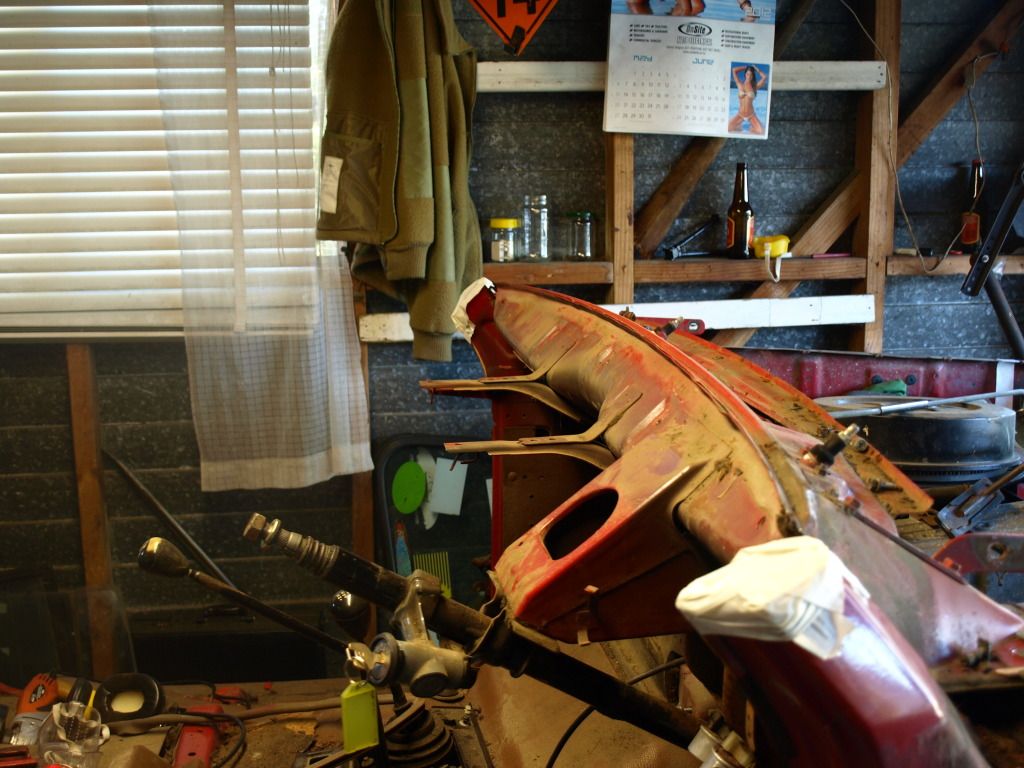
    As for the choppin the front section,only IF yoiur compedant or someone else is,its a main body section between body mounts, not right and it could have issues
    Just make up or use bits to repair small sectioons at a time
    Cut bits from the body thats stuffed ,or not wanted to help repair sections of the one your keepin, recycling at its best
    Last edited by MQ MAD; 4th June 2012 at 07:38 PM.

  2. The Following User Says Thank You to MQ MAD For This Useful Post:

    aussiemale (4th June 2012)

  3. #32
    Expert
    Join Date
    May 2012
    Location
    Napier, NZ
    Posts
    276
    Thanks
    78
    Thanked 38 Times in 30 Posts
    Mentioned
    0 Post(s)
    Tagged
    0 Thread(s)
    Thanks for that MQ, as for the cutting thought that may be the case, cutting would weaken it at that joint, most likely will cut what I need and marry up (read..will get someone else that has a clue).
    With all the input you're giving MQ may need to change the MQs name from TANK to MAD TANK ..hmm..has a nice ring to it LOL
    Whoever disagrees with the saying "Might is right" obviously doesn't own a MQ

  4. #33
    Patrol Freak
    Join Date
    Dec 2010
    Location
    Benarkin QLD
    Posts
    932
    Thanks
    0
    Thanked 247 Times in 196 Posts
    Mentioned
    0 Post(s)
    Tagged
    0 Thread(s)
    Just had a wee look at whats here,mite help ya ....
    The steering coloumn has a fixed bracket on it that attaches to the dash via 2 bolts, the bracket is fixed to the coloumn and will interchange between the 2 bodies
    On the steering coloumn it has a cylindrical thingy that bolts to the firewall, that cylindrical thingy is fixed to the coloumn also,and this needs to be unbolted from the firewall for the steer coloumn to be removed
    Personally, unbolt the steer coloumn at the steer box, and leave it all attached in the body youll be using, then when the body is refitted to your desired chassis,youll only have to rebolt the coloumn to the steer box,and its done, plus fitting the ignition lock and the light combo switch,wheel stuff like that
    Just check the wiring plugs on the ignition,some have a plug that clips straight to them, some are soldered to the ignition ,have a wiring tail then a clip/plug
    If the wring will be interchangeable, youll get away with leaving the steer lock on the coloumn also
    Ive used a 12V ignition in a 24V,and it works and still does, the ignitions were different as explained but the wiring fitted up no probs
    Your temping me to do this exact conversion on a rig here,although the minister is cracking the poo ,with whats here (i love me ol daddos,arr nissans)maybe ill build her a better kitchen ....

  5. The Following User Says Thank You to MQ MAD For This Useful Post:

    aussiemale (5th June 2012)

  6. #34
    Expert
    Join Date
    May 2012
    Location
    Napier, NZ
    Posts
    276
    Thanks
    78
    Thanked 38 Times in 30 Posts
    Mentioned
    0 Post(s)
    Tagged
    0 Thread(s)
    well, think I'll be doing what you'd do and just unhook it at the steering box. An extremely long way off as only taking it slowly as don't want to turn the project into a chore as that'd ruin it for me. Lil bits here and there with plenty of beer interspersed but have always wanted to do something like this. Going to try and do as much as possible myself but ain't that stupid that I think that I can do everything..know when to take a back seat.
    As much as I don't like to cause marital disharmony however think you should have a go at the conversion, not that I want to check out the pics and hell,...what's a kitchen between bushbashers LOL
    Whoever disagrees with the saying "Might is right" obviously doesn't own a MQ

  7. #35
    Expert
    Join Date
    May 2012
    Location
    Napier, NZ
    Posts
    276
    Thanks
    78
    Thanked 38 Times in 30 Posts
    Mentioned
    0 Post(s)
    Tagged
    0 Thread(s)
    Removed the dashs from both Vehicles and pulled the wiring loom from the engine bay into the cab. Will post some pics tomorrow, wish I took some before and after shots though as have a few loose ends I've got no idea wtf they go LOL.
    Found more differences between the MQ/MK but have posted those pics on the MQ/MK differences thread to prevent double ups.
    Got a dozen more cutting discs for the grinder.
    Thinking of buying a welder but have no clue (sound familiar lol).
    What would be the best to get ARC, MIG or TIG? don't need to know the tech names of them, just what one would be best for a guy with no idea..will have one body to practice on
    Whoever disagrees with the saying "Might is right" obviously doesn't own a MQ

  8. #36
    Expert
    Join Date
    May 2012
    Location
    Napier, NZ
    Posts
    276
    Thanks
    78
    Thanked 38 Times in 30 Posts
    Mentioned
    0 Post(s)
    Tagged
    0 Thread(s)
    Another day mucking about, removed the heaters from both


    Had an incident with the windscreen


    Have tomorrow off so will have a play with the grinder and hammer to tidy up this


    Expecting a fair amount of blood loss, skinned knuckles and a healthy dose of expletives
    Whoever disagrees with the saying "Might is right" obviously doesn't own a MQ

  9. The Following User Says Thank You to aussiemale For This Useful Post:

    maxblack (10th June 2012)

  10. #37
    Patrol Freak
    Join Date
    Dec 2010
    Location
    Benarkin QLD
    Posts
    932
    Thanks
    0
    Thanked 247 Times in 196 Posts
    Mentioned
    0 Post(s)
    Tagged
    0 Thread(s)
    Welder, just get a gasless mig, can be had cheap as long as you get one that will do the job you want , dont need something that welds 50 mm plate,just a small welder

  11. The Following User Says Thank You to MQ MAD For This Useful Post:

    aussiemale (10th June 2012)

  12. #38
    Advanced
    Join Date
    Jun 2012
    Location
    Vic
    Posts
    52
    Thanks
    8
    Thanked 5 Times in 5 Posts
    Mentioned
    0 Post(s)
    Tagged
    0 Thread(s)
    Mig deffinately, I'm a welder by trade and for someone with no experience it's the easiest to self teach and really practical
    Last edited by Rhyso; 10th June 2012 at 10:01 PM.

  13. #39
    Expert
    Join Date
    May 2012
    Location
    Napier, NZ
    Posts
    276
    Thanks
    78
    Thanked 38 Times in 30 Posts
    Mentioned
    0 Post(s)
    Tagged
    0 Thread(s)
    Awesome day off today
    First up I cut off the roof of the MQ body (one that I'm throwing away)


    No real reason apart from the fact I played with a grinder, cut steel, made lots of sparks, seriously..the reason for cutting it off was I was getting "annoyed" the banging my head on the roof and apart from that now I can see what I'm doing with the extra light

    Removed the last two bolts from the back of the patrol
    Didn't need to cut as it's a fixed nut

    Took photos of everything I did step by step


    The rear bolt has the following configuration

    Whoever disagrees with the saying "Might is right" obviously doesn't own a MQ

  14. #40
    Expert
    Join Date
    May 2012
    Location
    Napier, NZ
    Posts
    276
    Thanks
    78
    Thanked 38 Times in 30 Posts
    Mentioned
    0 Post(s)
    Tagged
    0 Thread(s)
    Went to remove the key barrel however found that I was only able to take out 2 of the four bolts


    the other two seem to have been filled in with something, any ideas on how to undo them.?
    Whoever disagrees with the saying "Might is right" obviously doesn't own a MQ

Page 4 of 7 FirstFirst ... 23456 ... LastLast

Posting Permissions

  • You may not post new threads
  • You may not post replies
  • You may not post attachments
  • You may not edit your posts
  •