Another update:
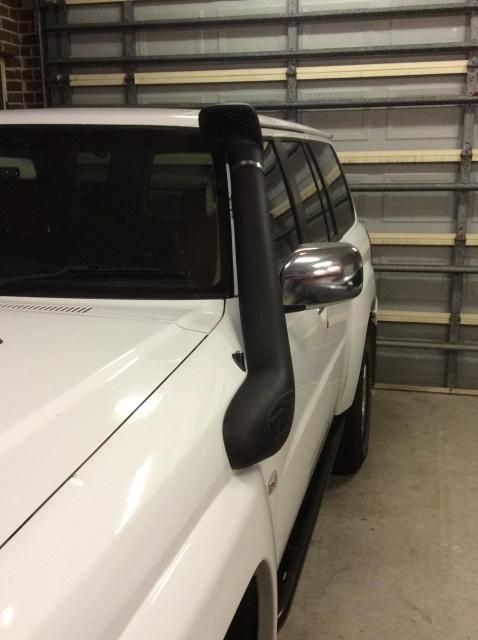
While I was installing my overhead switches I ran all the wiring for the dash cam, it just fits behind the mirror. I'm contemplating painting the back of the mirror a dark grey to hide the camera a bit.
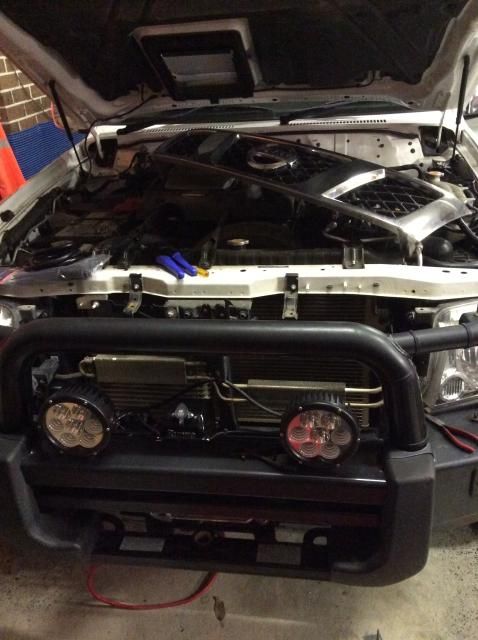
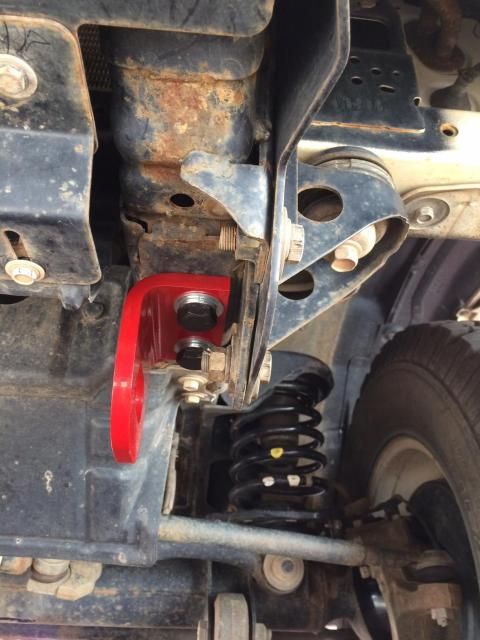
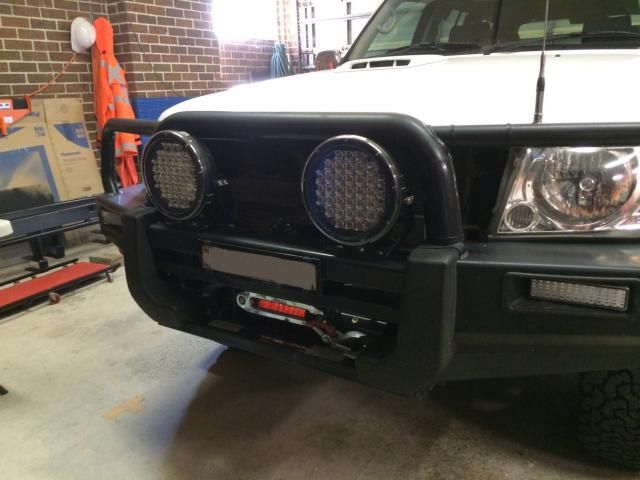
The following weekend I installed my winch. A few weeks ago I picked up a Runva 11XP. The winch slips in from underneath really easily and bolts up through the front of the bull bar. This means the rope has to spool off the top of the drum, no big deal, just means it gets mounted with the gearbox on the drivers side. Because of this I had to remove the gearbox and rotate it 90 degrees to bring the level back up to the top, this took less than 10 minutes.
Because the top mounting bolts also hold on the fairlead, I had to get 10mm longer bolts.
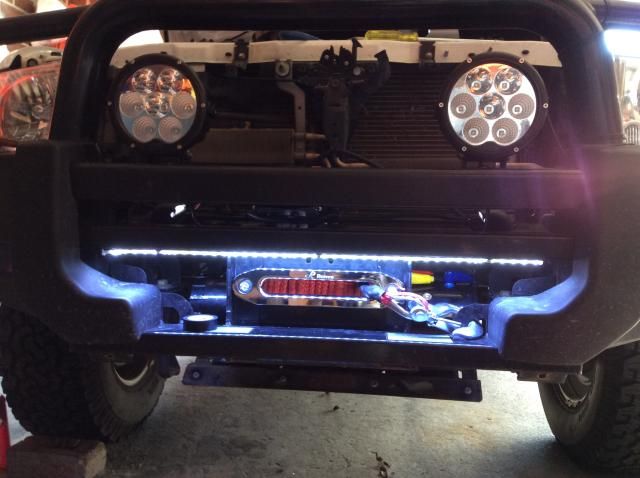
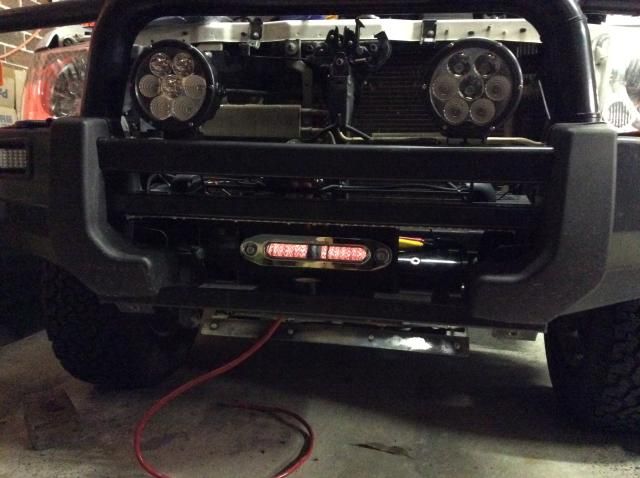
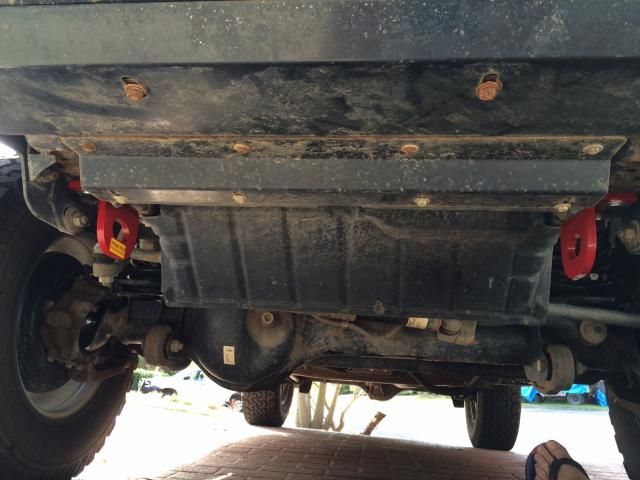
I popped the grill out (undoing those two bottom clips was a PITA, next time I'll just replace them with little bolts) which gave me tonnes of access to wire up the winch. There's cavernous amounts of room behind the grill, but nothing to mount the solenoid box to. So I made a bracket that spans the chassis rails and mounted it to that just drivers side of centre. While I was there I wired up a couple of Hella LED numberplate lights I had lying around from a previous project to light up the drum behind the grill, pretty straight forward and worked a treat.
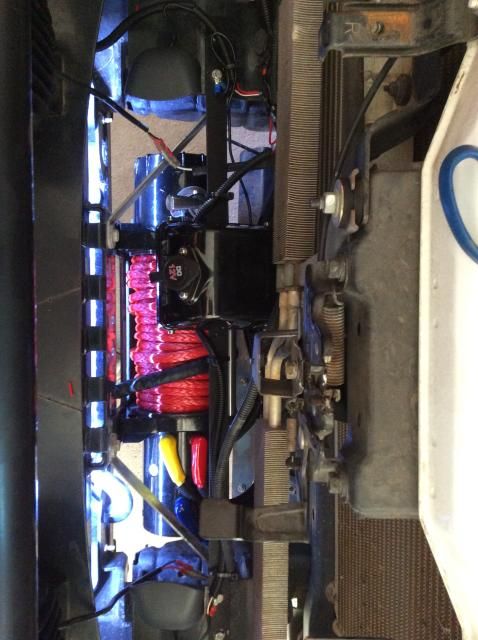
In this pic which is looking straight down from above the car you can see my bracket, solenoid box and LED lights
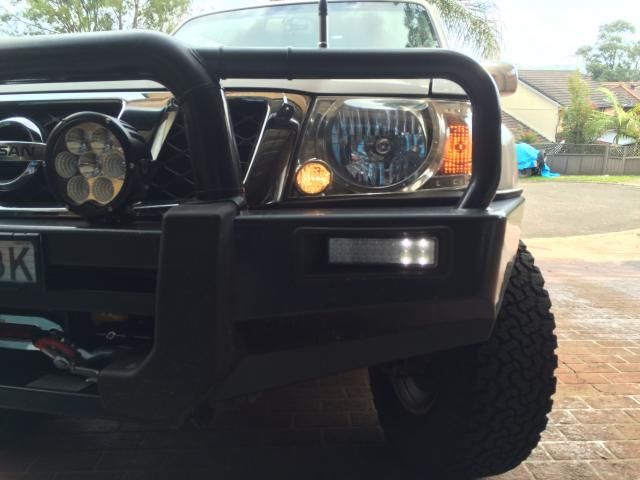
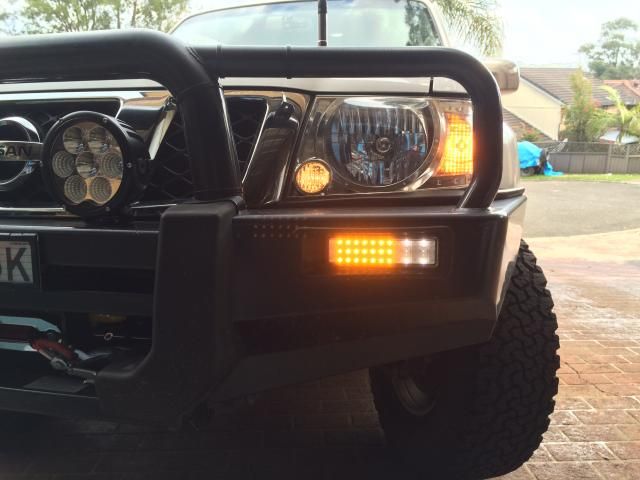
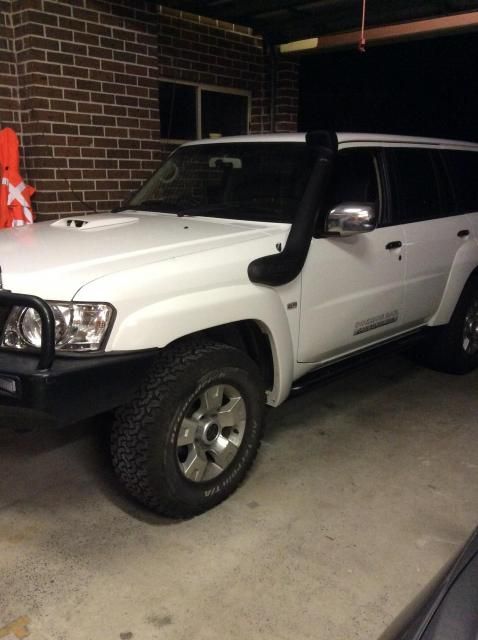
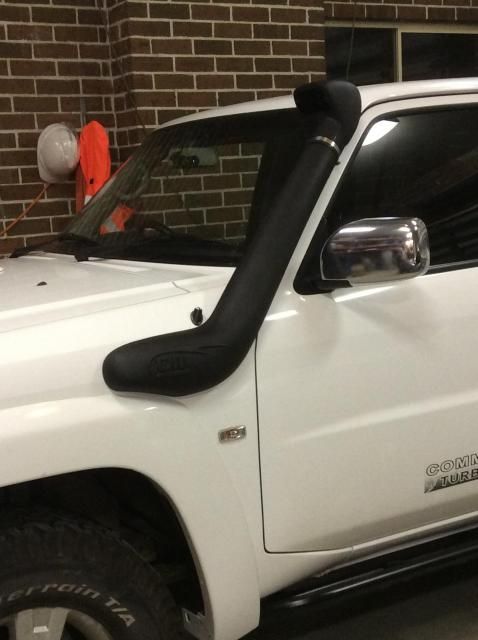
To finish it off I installed a strip of LED just above the fairlead to light up the front of the car. The internal switch which activates the winch also turns on the lights, should make winching of a night time a bit easier, well that was my rational, but really its just a bit of LED bling and wank factor


 Reply With Quote
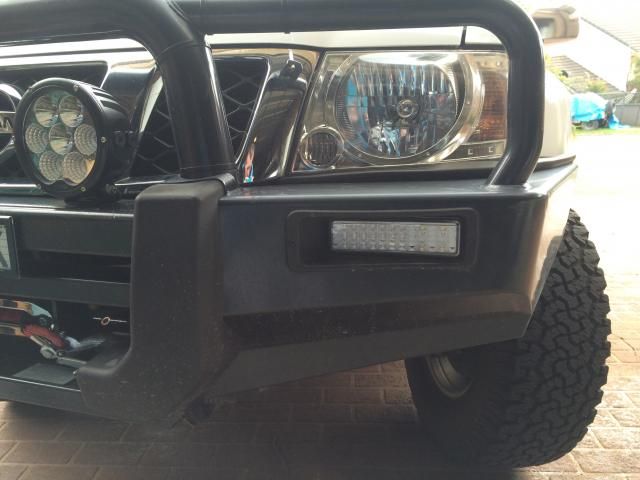
 )
)


 I left the grill out to make adjustments easier and drove off with the grill clips still sitting on the bull bar, so now I need to get some new ones...

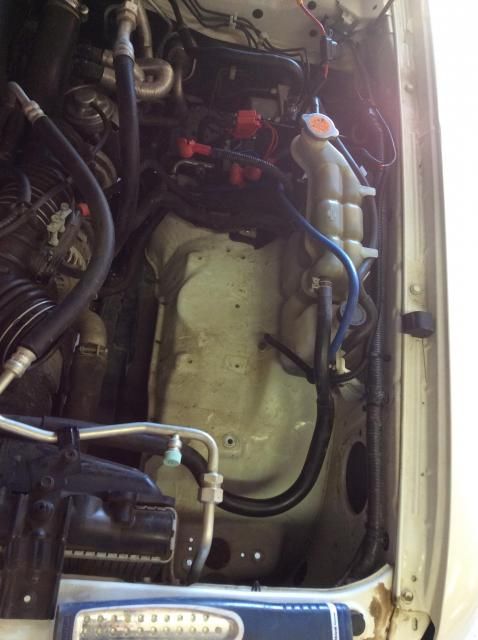
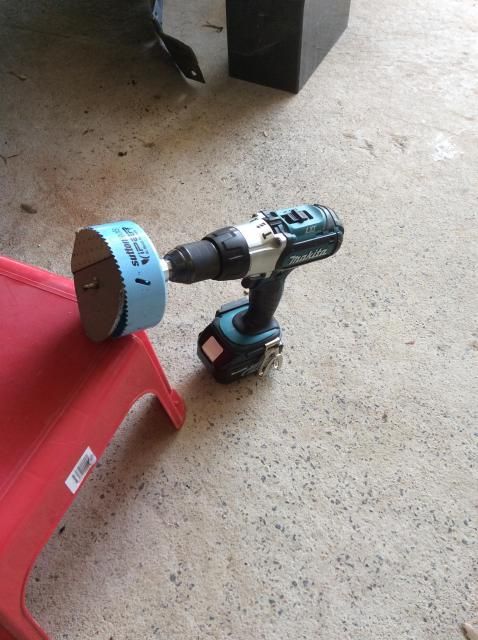
 I'm thinking WTF! Nothing a generous helping of Sikaflex won't fix, a good bead around both surfaces, airbox in and I could see it squeegee out all the way around, put everything else back in and job done.