Welcome to the Nissan Patrol forum. To post a question and to see less adds on the forum then you will have to register
first. We are an easy going friendly forum so join in the conversations and feel free to ask any questions.
Become a forum sponsor for only $20 and see no adds with faster page loading times and many extras benefits.
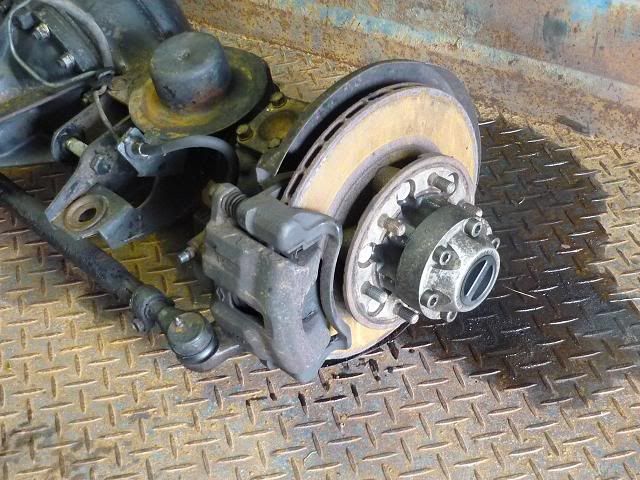
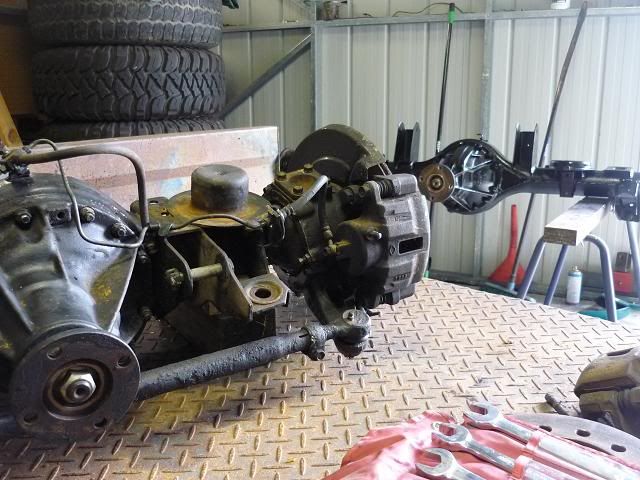
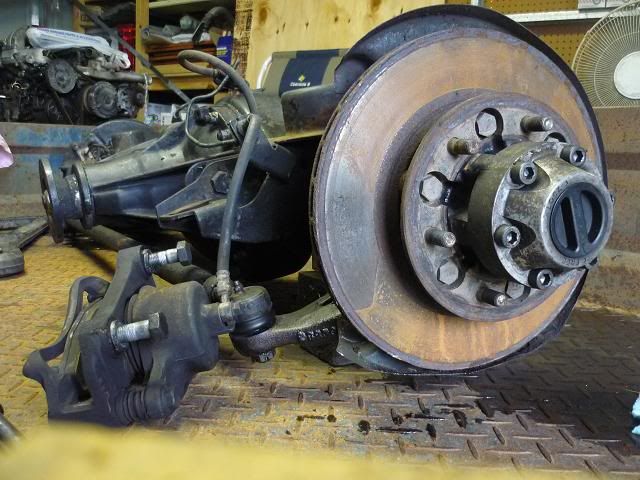
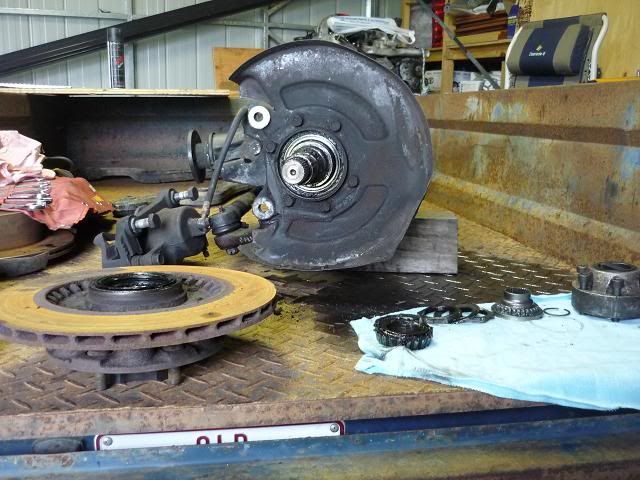
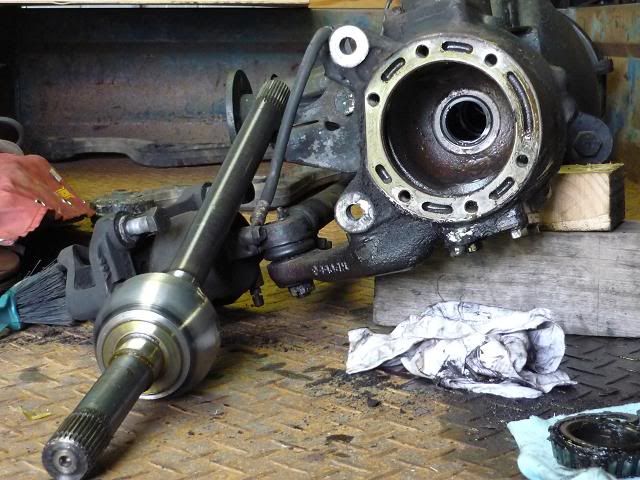
The front diff I was working on for this article was out of a GQ Patrol and was fitted with Nissan manual hubs. The job is the same on GU Patrol with only minor differences in the hub nut area.
Step 1; Jack up front of vehicle and support on jack stands. Remove front wheels.
Step 2; Remove front brake calliper and mounting frame. Secure the calliper out of the way, I usually zip tie them loosely to the coil spring. DO NOT allow the calliper to hang down on the brake hose. Tools – 7/8 or 22mm socket and short extension bar.
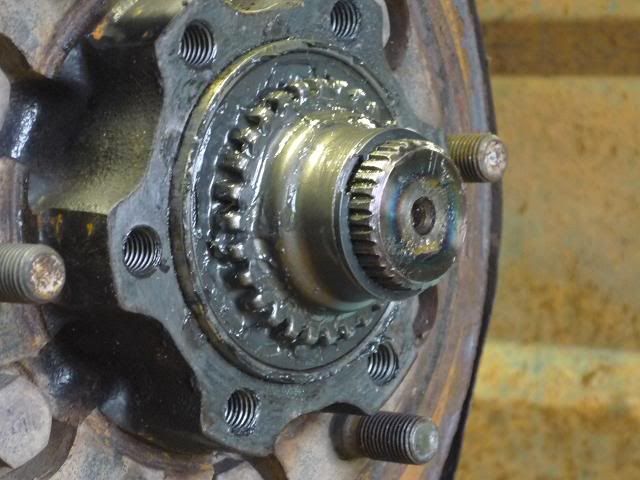
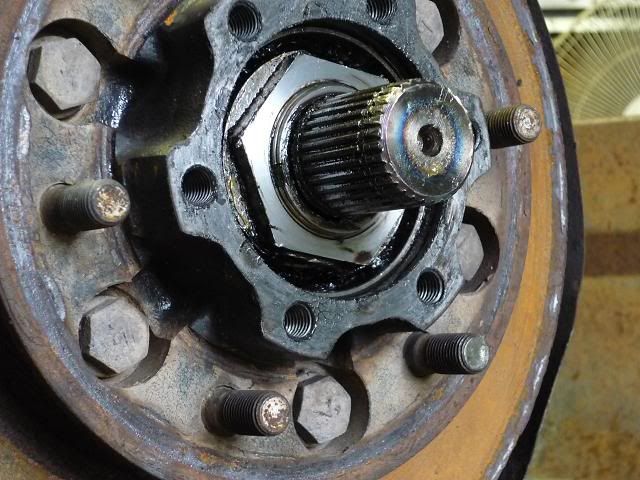
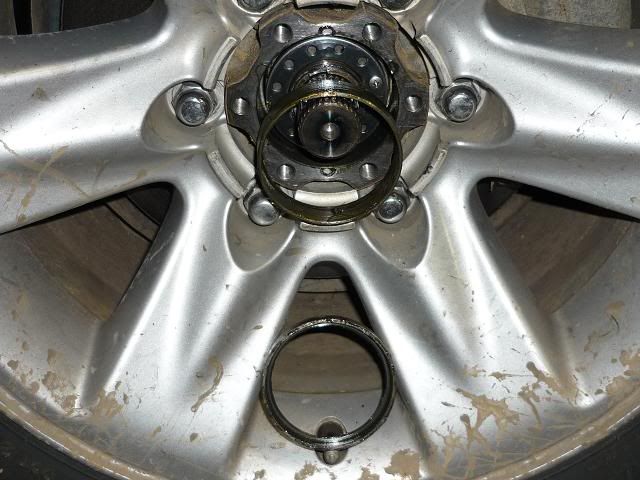
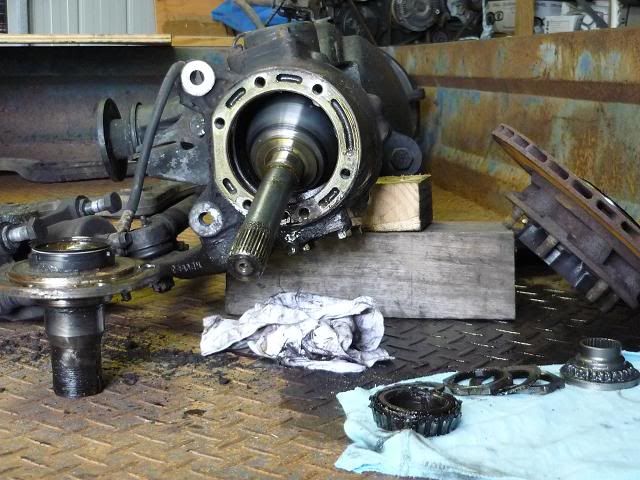
The pic above is what you will see behind a Nissan manual hub, with a circlip on the outside of the hub drive gear. For vehicles with auto hubs you will not have the drive gear and will look more like the pic below, with the circlip further in on the splines. For auto hub vehicles, do not loose the spacer/washer behind the circlip.
Step 4; Remove the circlip and (for manual hub vehicles) hub drive gear. Tools – circlip pliers.
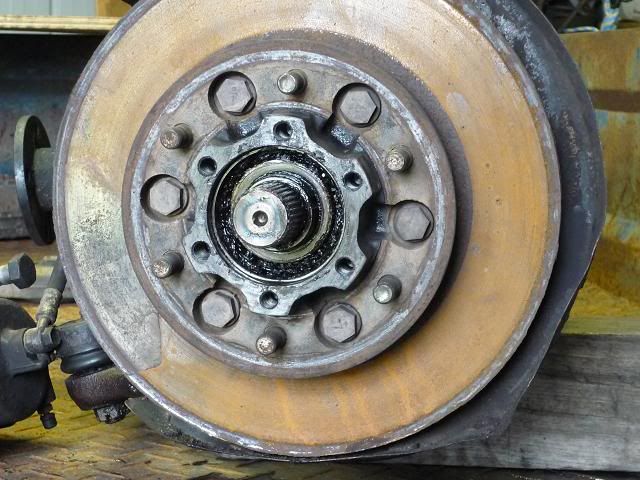
Step 5; Using a flat blade screw driver prise out the 2 spacers from the hub. The GQ diff I was working on was missing the outside (stepped) spacer, but the inner parallel spacer can just be seen in the pic above. The pic below is a GU front end with both the spacers removed. The (stepped) spacer is sitting on the valve stem. When reassembling, the step on the spacer goes to the inside.
Step 6; Remove the hub nuts. This is where there are minor differences between GQ and GU.
First pic below is GQ. There is a locking tab between the 2 hub nuts, one section of the tab will be folded up against one of the flats on the outer hub nut. Using a hammer and chisel, straighten out the flattened piece of tab and undo the lock nut. The correct tool is a 53mm hub socket (which has a narrower wall than a regular socket), but as not many people have these hub sockets, a hammer and chisel is often used.
Remove the locking tab and the inner hub nut.
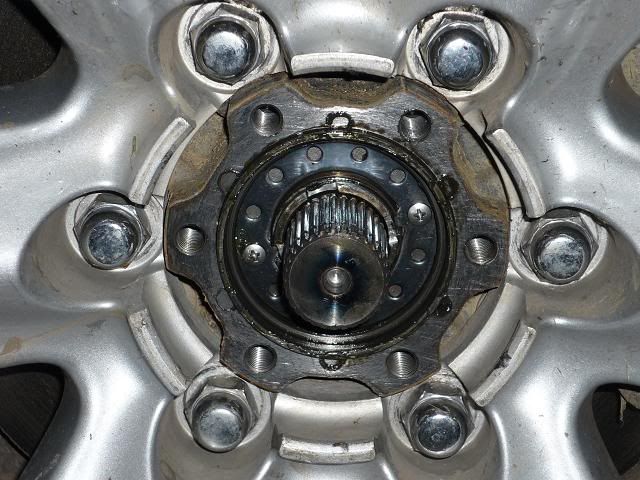
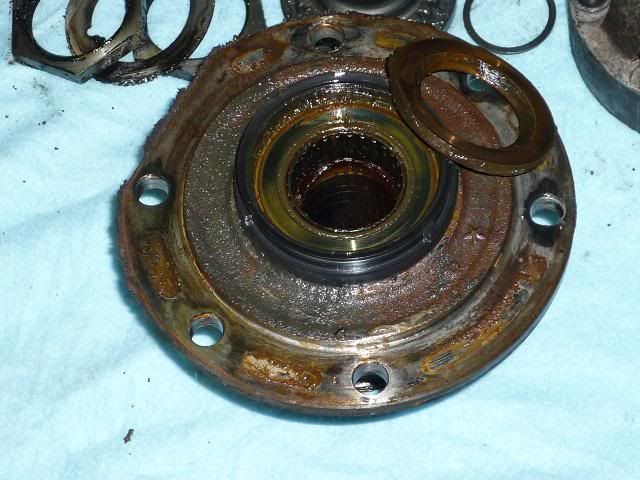
Second pic below is GU (GQ 4.2 EFI is the same). Undo the 2 small Phillips head screws and remove the lock washer. Remove the hub nut.
Step 7; Remove the brake hub.
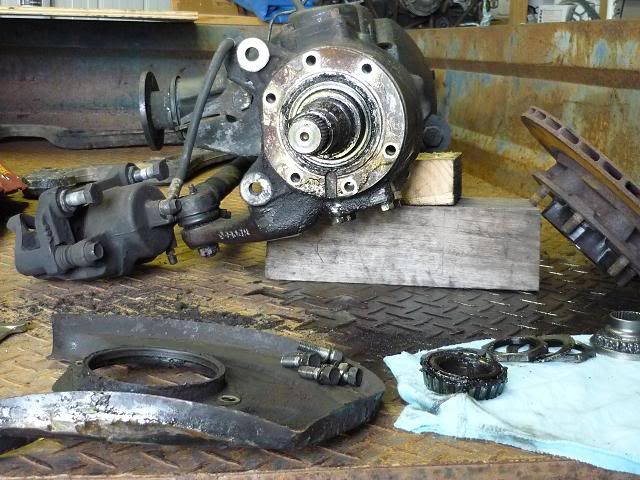
Step 8; Remove the 6 backing plate/ spindle bolts. Remove the backing plate. Tools – 14mm socket or spanner.
Step 9; Remove the spindle.
Be careful when removing the spindle as there is a brass spacer on the inside that is easily lost.
Step 10; CV joint can now be removed.
Assembly is the reverse of above, I will add details for adjusting wheel bearings in a few days.
Tony
Last edited by YNOT; 13th August 2011 at 08:36 PM.