


Reverse camera
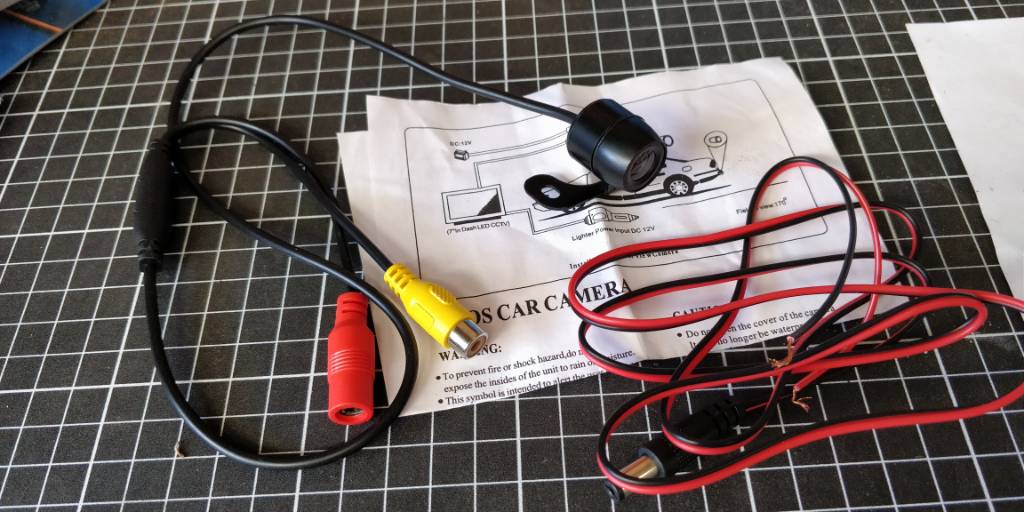
I originally bought a cheap $10 camera from China but it wasn't wide angle enough, so I got a Kenwood CMOS-130 for $45.
After much research on where others had mounted a reverse camera on their patrols, the main issue many encountered was the spare wheel obscuring half of the view.
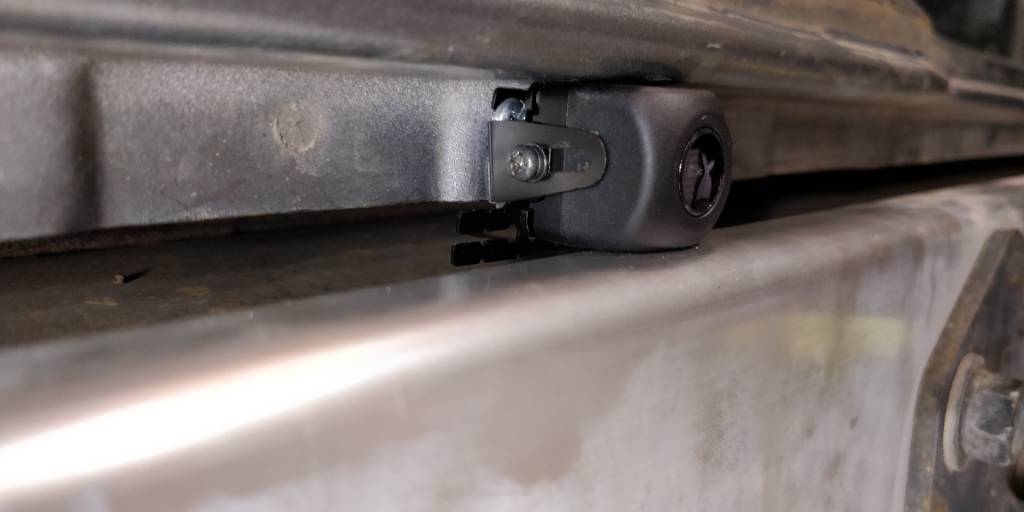
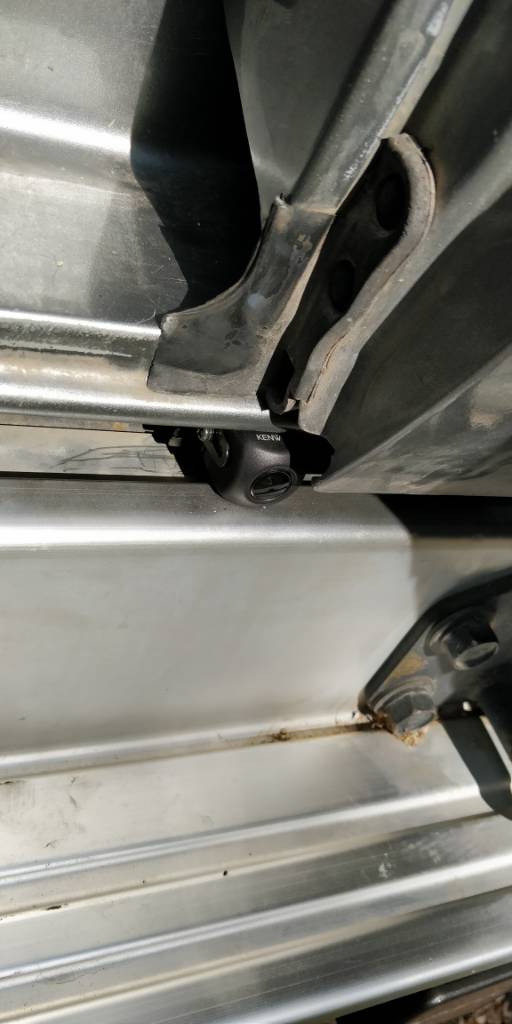
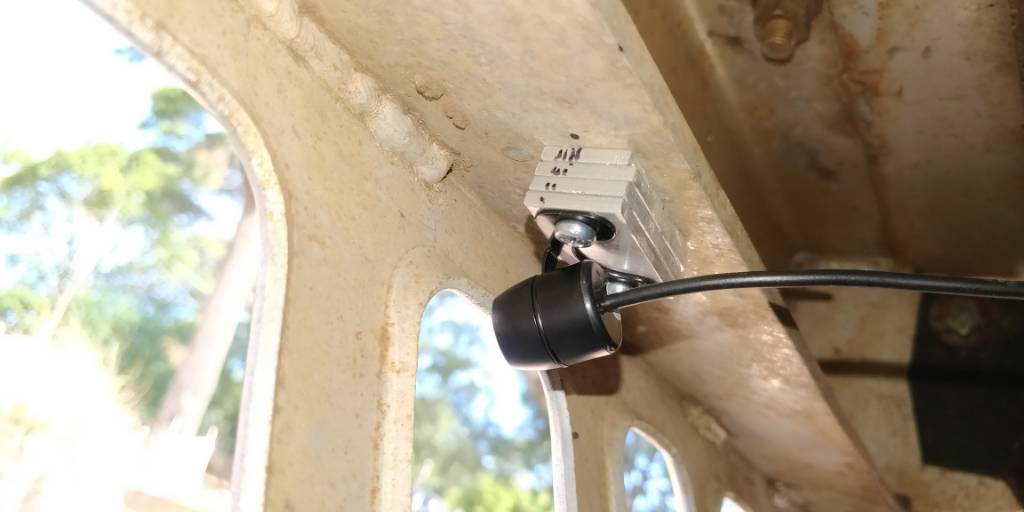
I decided I would mount mine above the bumper between the barn doors.This tucked it out of harm's way and allowed vision under the spare wheel.
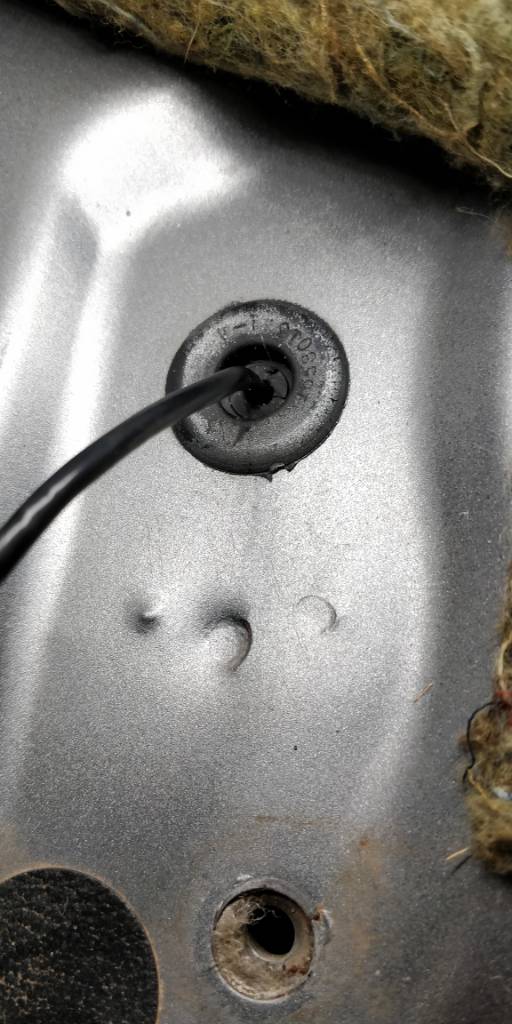
The cable came straight out of the rear of the camera so I need to drill a hole in the panel seam and Dremel a slot to feed the cable through.
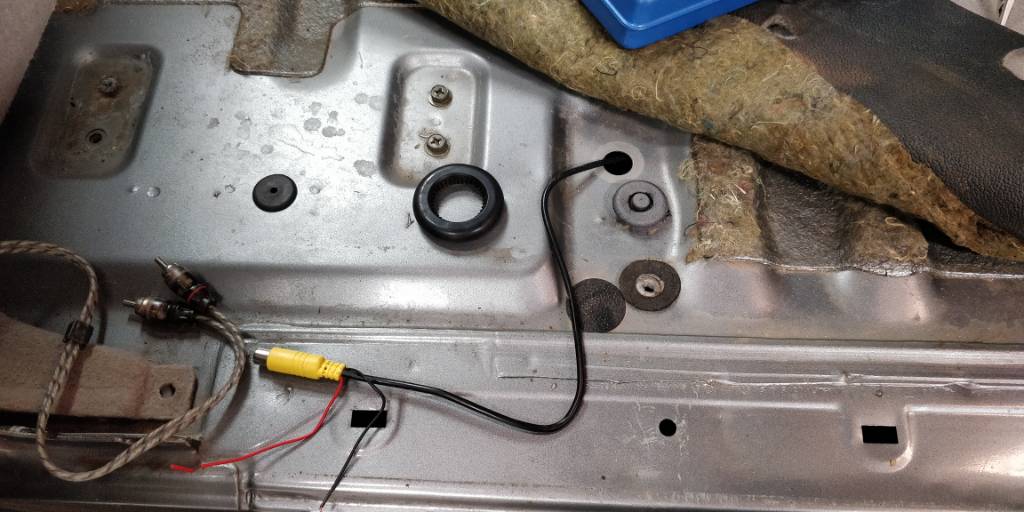
I ran the cable up under the body and through an existing grommet under the carpet and taped it in place.
I mounted the camera to the car with the supplied bracket screwed to the panel seam. Here it is fixed in place.
The trigger wire for the head unit needed a reverse wire signal, 12 volts when reverse gear is engaged, which is located in the passenger footwell.
The yellow wire in the large plug. I removed the connector from the plug and soldered the wires then covered with heat shrink.The head unit allows configuration of the parking lines. This is the view from the camera after I had adjusted the parking lines to the parking space.
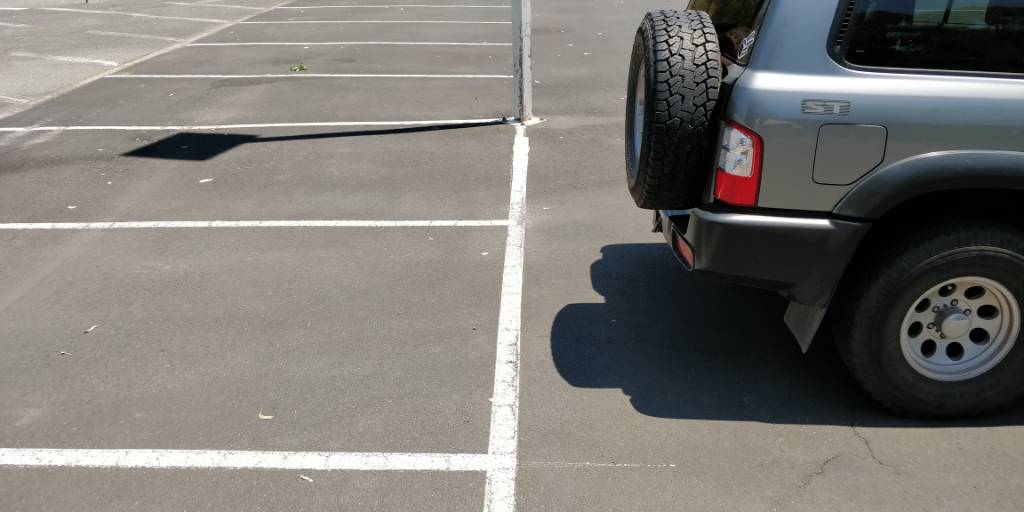
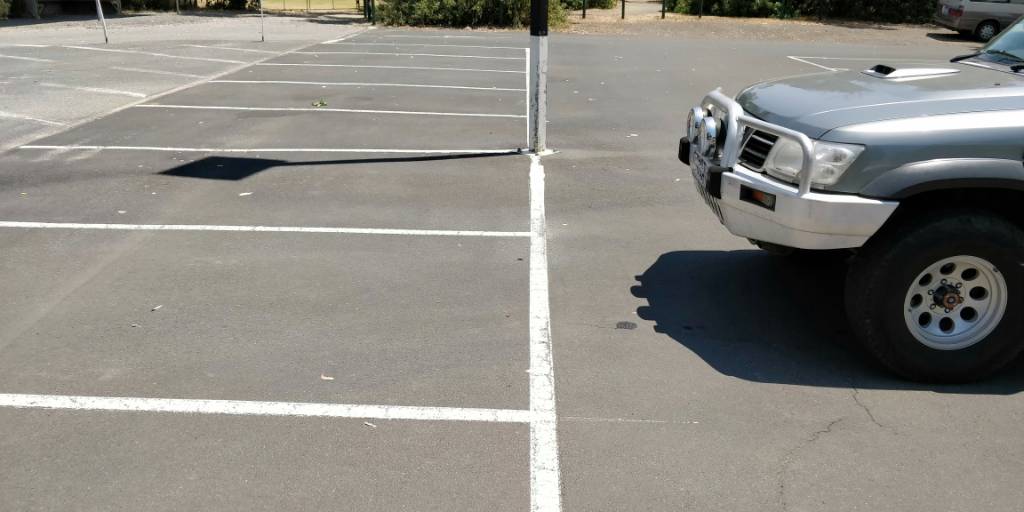
This is the view from the outside.
And this is reversing until the gutter becomes just obscured under the bumper from the camera view.
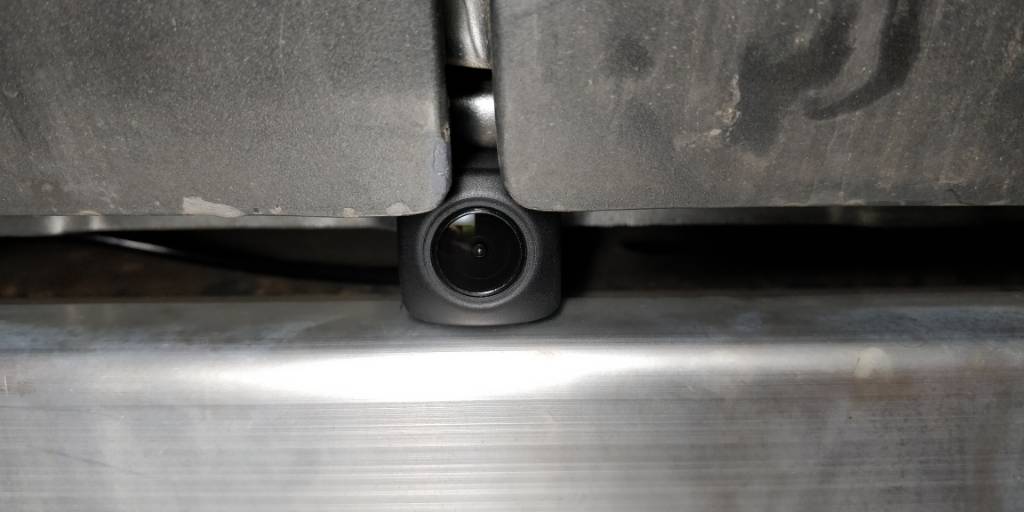
Only about 150mm from the gutter to the spare wheel.I used the cheap $10 camera to mount on the front bumper to allow me to see forward too. Some 3mm aluminium flat bar made good spacers.
Here it is from the front on the 3rd from the left bumper vent.
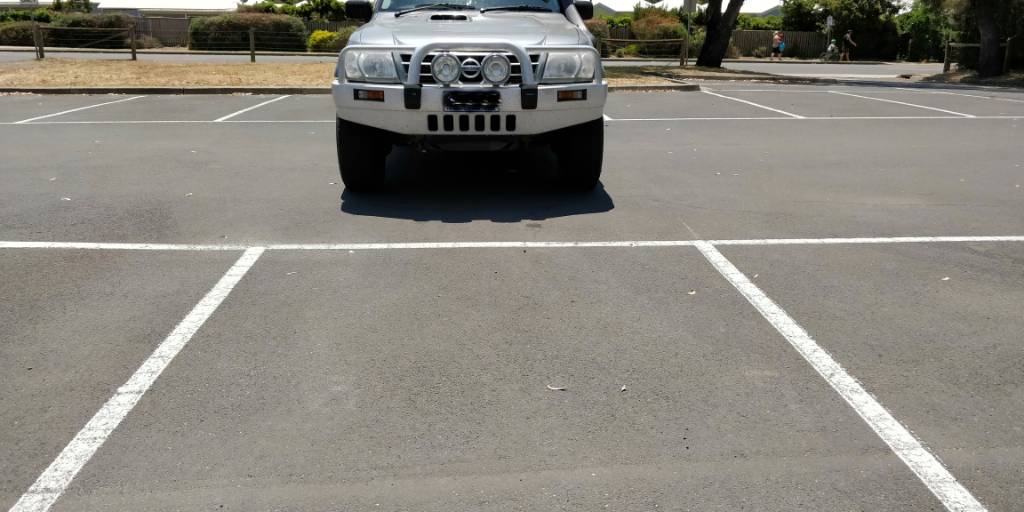
Front view on the screen.
And this is the front of the car in relation to the parking lines.


 Reply With Quote