-
20th August 2015, 09:22 PM
#1
Patrol Freak

-
The Following 6 Users Say Thank You to Parksy For This Useful Post:
bomberNZ (2nd November 2016), Clunk (20th August 2015), MudRunnerTD (20th August 2015), NissanGQ4.2 (22nd August 2015), Rossco (20th August 2015), Winnie (20th August 2015)
-
20th August 2015 09:22 PM
# ADS
Circuit advertisement

-
20th August 2015, 09:40 PM
#2
Patrol Freak
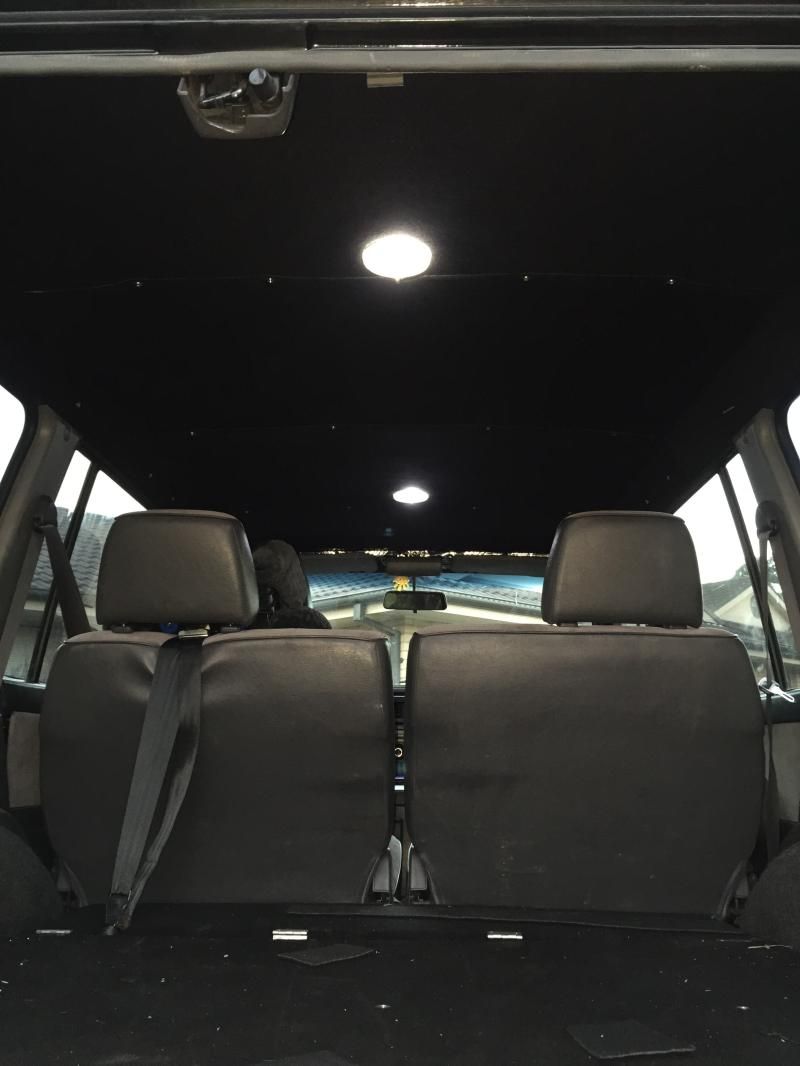
Because the Patrols roof has the 3 support beams that run across the roof, i cut four sections of carpet to cover each section. I did it in segments at a time to make installation a lot easier. Also, if you look at the bare roof pics, you can kind of see that the perimeter of the entire roof section has a void like section, and using this, i was able to tuck the edge of the carpet into. This holds the carpet in place very well. I also took the opportunity while it was bare to apply bulk rust proofing into the inside seams to prevent rust. I am lucky with this Patrol in that it doesn't have any rust.
Using Sikaflex on the carpet, i applied it to one section of roof at a time. It was tucked into the voids on the edges and the lumps and bumps worked out by hand to help smooth out the Sikaflex. I used Sikaflex because i didn't want something that was quick drying for this very reason. When i was happy with the result, i used a large section of ply wood to cover the majority of carpet and some timber to prop it up firmly into the roof and let it dry over night. I repeated this another 3 times to cover the rest of the roof sections. By using the ply wood and propping it up, it did result in a very nice flat finish that impressed me.
I should have mentioned first, while i still had the 3 support beams visible, i installed some 6mm rivnuts that were going to be used later on. In the last pic, you can see some screws installed which don't really serve any purpose in holding the carpet in. It's just so all the holes line up when i go to install them later on.
The perimeter sections of the roof weren't too difficult to cover up. The front and rear were very easy. Having everything removed, such as rear view mirrors, sun visors, rear bar door latches and what ever else there was, i used the yellow contact adhesive where you apply the glue to both surfaces and wait 20 minutes until they're both tacky. So i cut a section of carpet that would cover either the front or rear section, remembering that any excess can either be covered by the front window seal or the rear bar door pinch weld, and tucked into the void section.
The left and right sides were covered by dressing some timber with the carpet and screwing them in place. I used rivnuts on the side sections also.
IMO and should be taken with a grain of salt.
-
The Following 2 Users Say Thank You to Parksy For This Useful Post:
Clunk (20th August 2015), MudRunnerTD (20th August 2015)
-
20th August 2015, 09:47 PM
#3
Patrol Freak
-
The Following 2 Users Say Thank You to Parksy For This Useful Post:
Clunk (20th August 2015), MudRunnerTD (20th August 2015)
-
20th August 2015, 09:52 PM
#4
The 747


I would love to go for a quick ride in your car... Must be like driving a little soundproof room
-
The Following User Says Thank You to Winnie For This Useful Post:
Parksy (22nd August 2015)
-
20th August 2015, 10:13 PM
#5
Dribble Master

Very very tidy indeed..... so when are you coming over to WA?
-
The Following User Says Thank You to Clunk For This Useful Post:
Parksy (22nd August 2015)
-
20th August 2015, 10:13 PM
#6
The master farter


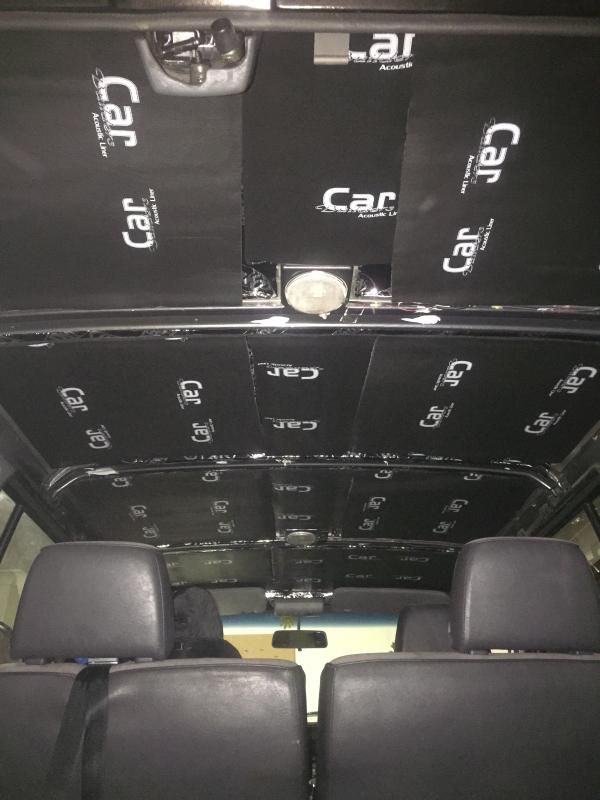
Top job there mate. Something thats on my list is to insulate the roof cavity.
Sent from my SM-P600 using Tapatalk
-
The Following User Says Thank You to mudski For This Useful Post:
Parksy (22nd August 2015)
-
22nd August 2015, 07:33 PM
#7
Patrol Freak
Cheers gents. It is a nice quiet patrol but filming while I'm driving just doesn't do it justice. Still a few annoying noises but I know where they are coming from.
IMO and should be taken with a grain of salt.
-
-
23rd August 2015, 11:10 AM
#8
Great work, thanks for the pictures  gotta re-glue my roof skin as the roof flaps in certain conditions
-
-
29th June 2019, 03:00 PM
#9
Old post I know but looking at doing this. Looks great. How it is done around the bottom of the rear windows? is it just butted up to the rubber or did you manage to tuck it in behind the rubber? what thickness was the carpet and what kind?
-


 Reply With Quote