Welcome to the Nissan Patrol forum. To post a question and to see less adds on the forum then you will have to register
first. We are an easy going friendly forum so join in the conversations and feel free to ask any questions.
Become a forum sponsor for only $20 and see no adds with faster page loading times and many extras benefits.
Truth is, this is a pretty easy install but there was a bit of a tweak that wasn't included in the instructions that made me think perhaps it was worth posting up. Apologies about the quality of the photos. It gets dark quickly this time of year!!
I should also say that I have no affiliation with Drifta but am happy to say I found them fantastic - Luke and the team were incredibly helpful, no question was too dumb, they were happy to discuss payment options and so on. I also love supporting Aussie small business. Now that I have the drawers, I can say I'm not disappointed! Great quality, well thought out and worth every cent.
Finally, the option I chose comes with a fridge slider kit - I've not installed as yet and won't until I get a fridge.
You will need:
1 x set of Drifta Drawers - I went with the Nissan Patrol GU (Y61) Drawer Package.
1x Phillips head Screwdriver
1x 14mm socket
1x 5mm drill bit
1x 5mm self tapping wood screw (extra to what comes with the kit)
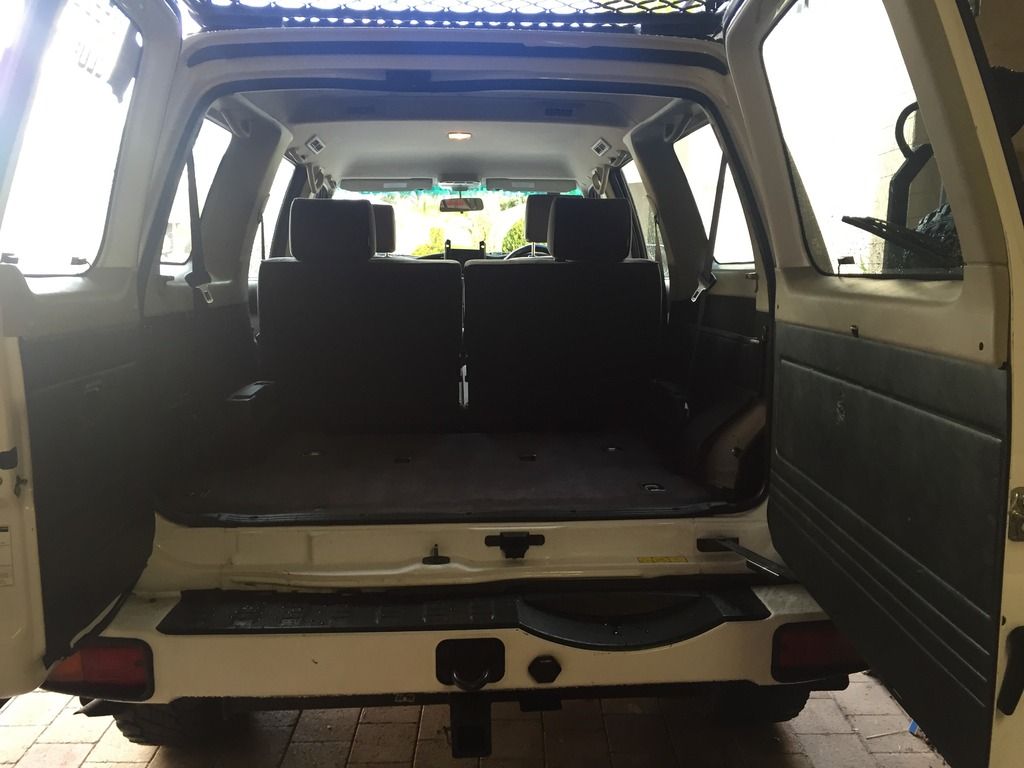
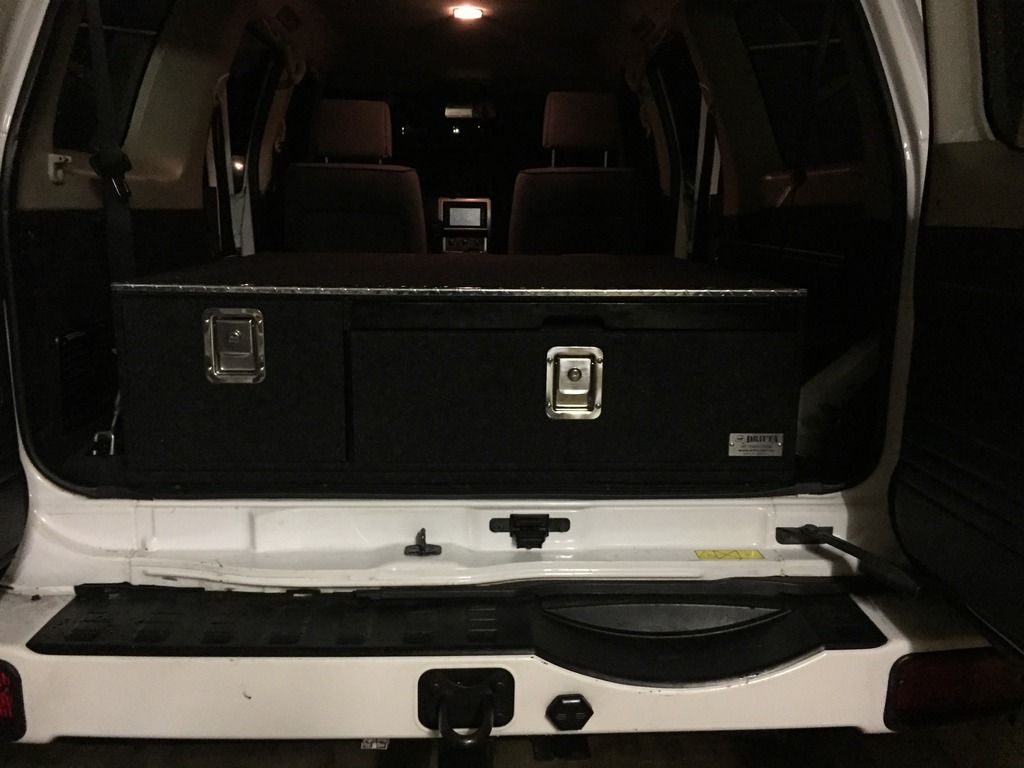
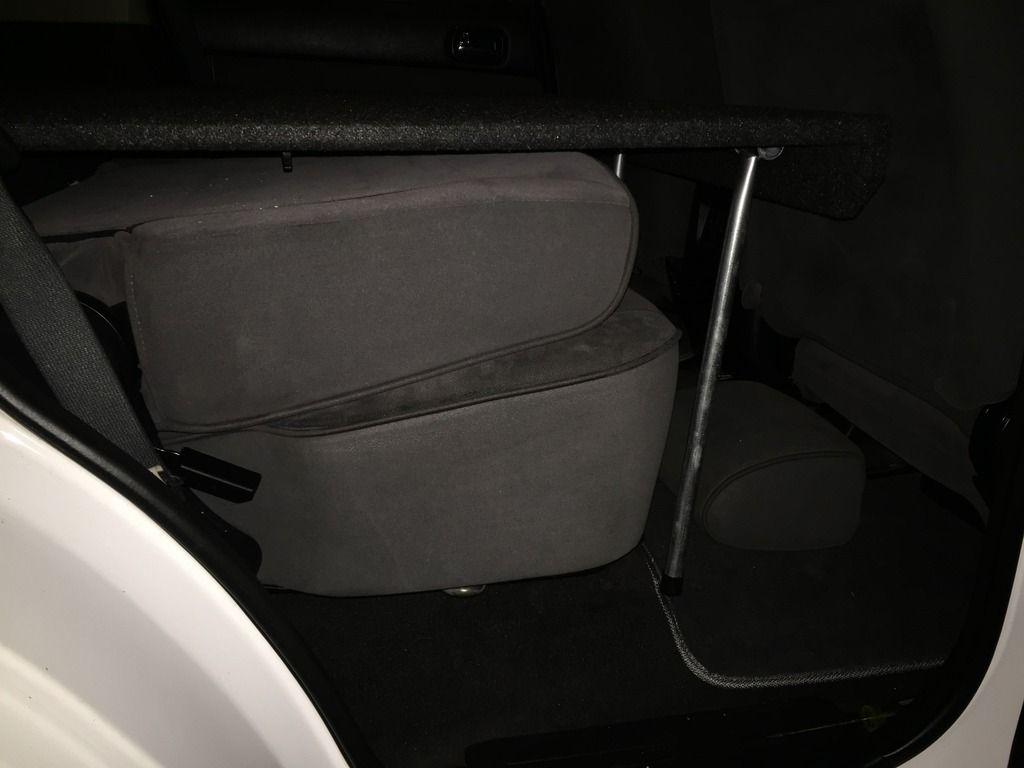
Before Shot
Steps (this is following the steps supplied with the kit with a bit of variation)
Step 1
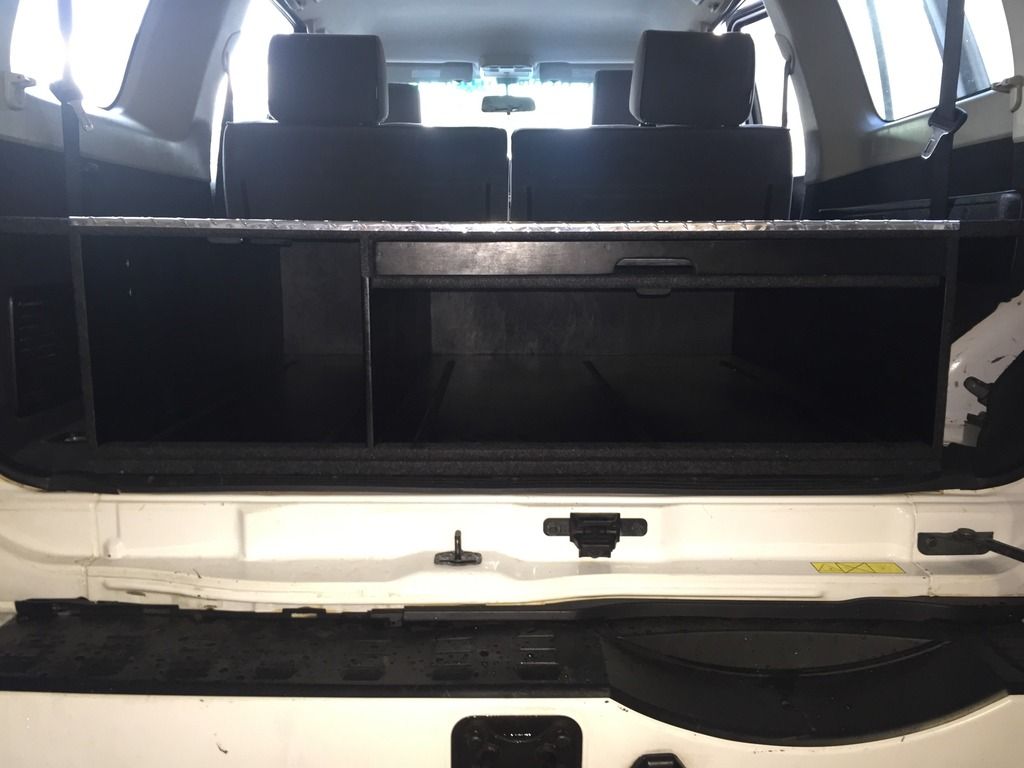
Remove drawers from the carcass and lift the unit into place (I lifted this on my own as my son had not arrived home yet - not highly recommended but doable). The drawers have a spring bolt inside that you will need to release. The unit will fit snuggly between the wheel arches and almost up against the back seats. Drop the side wings in to help square it up and align it inside. They will get the carcass in exactly the right position.
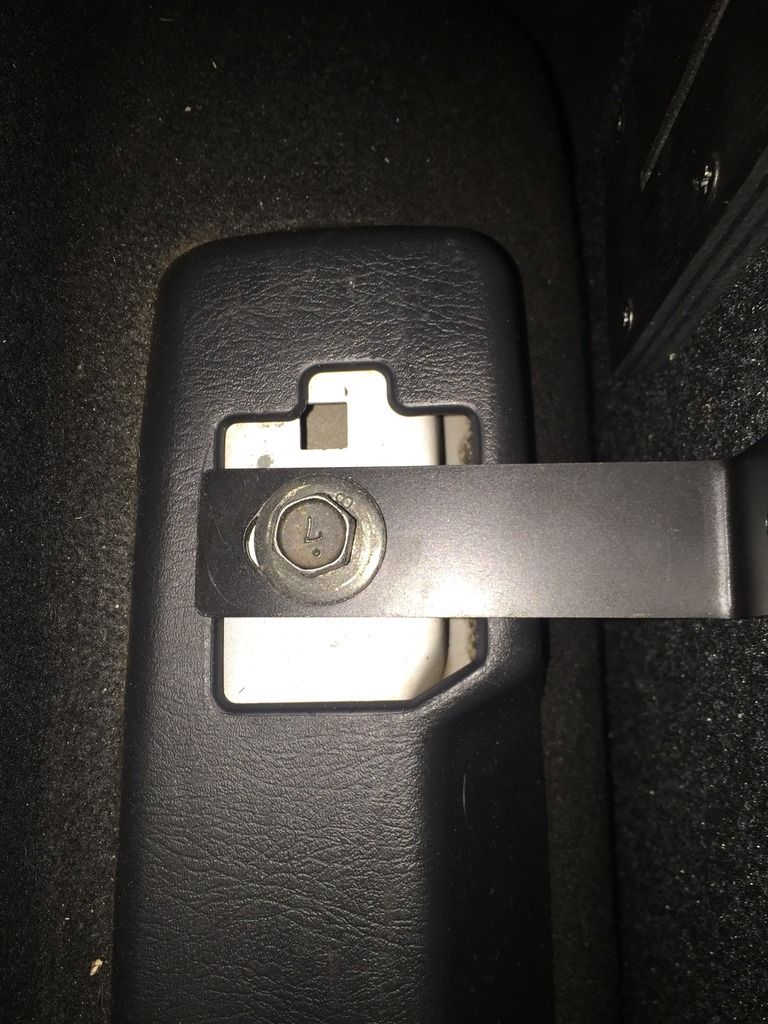
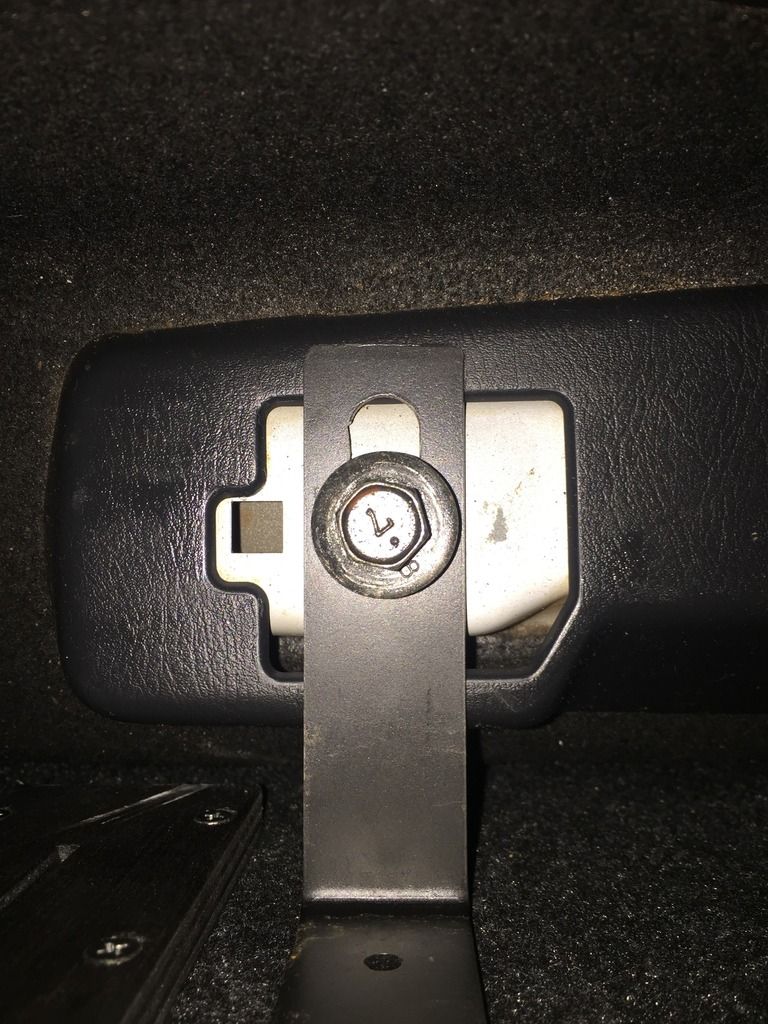
Step 2
The two L-brackets can be fitted to the forward or rear threaded points on the wheel arch (where the seats would bolt in). If you can, use the forward ones as they don't crimp the plastic surround. Use the original vehicle bolts to secure.
Step 3
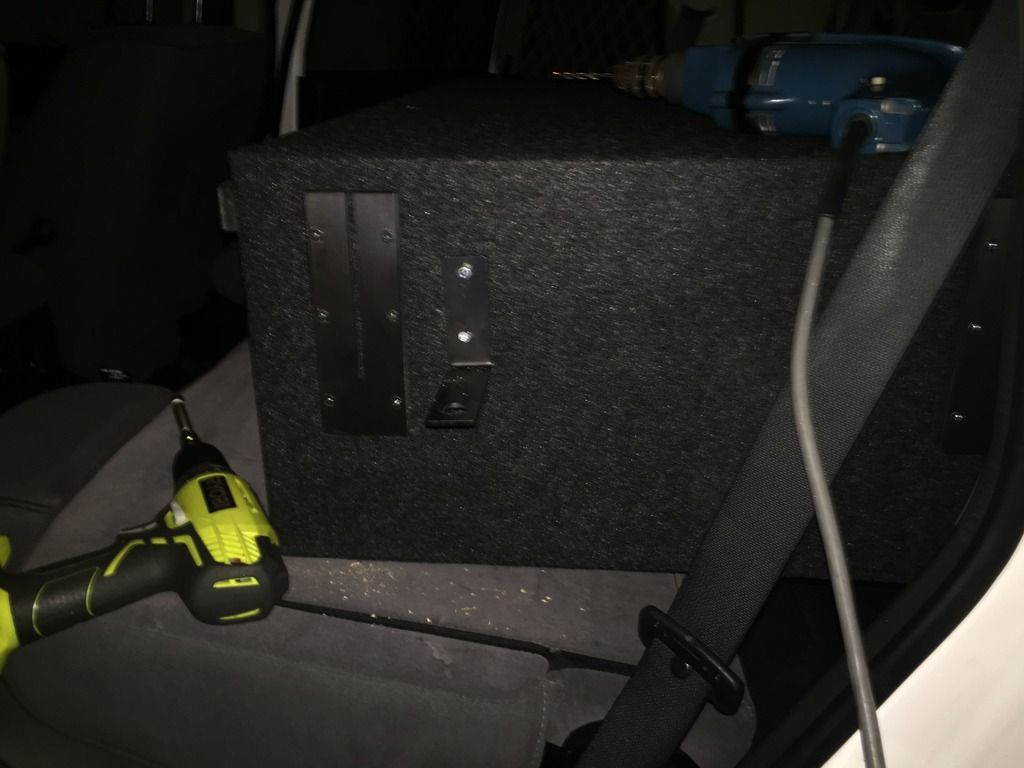
"Screw the wood screw in from the outside in." This is what the instructions that come with the drawers say. To be honest, it was a pain in the proverbial if you have big sausage fingers like mine. So this and the next step is where I deviated slightly.
Step 3A - the LB method
"Screw the wood screw from the outside in" - sufficiently to hold the bracket in place. Do both sides (you will need an extra 5mm self tapper for this). Then, grab a milkcrate (it is just the right height) or similar object to chock the carcass. Undo the bolts, and carefully lift the carcass forward so that the L-bracket is visible at on top of the back seats. This made life sooooo much easier in terms of accessing that space and so on.
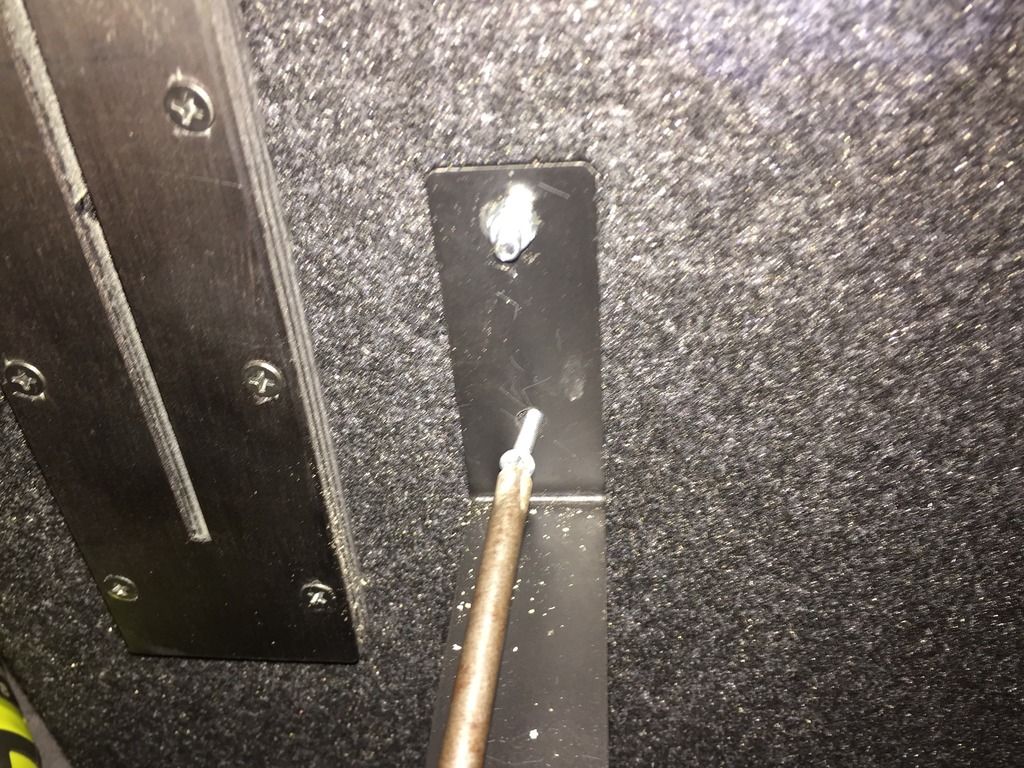
Step 3B - the LB method
Once lifted forward, fix the brackets using the supplied screws. Again worth noting the instructions say in their step 4 "The hole the screw leaves marks the right position so you can drill through from the inside out - easy!! Use 5mm drill." I could not fit a drill into the the small barn door draw (say that ten times fast!) cavity so there was no way I would have been able to follow this step. Pulling the draw carcass forward as described in 3A solved this problem in the most simplest way.
Step 4 - the LB method
Once both L-brackets are secure, slide the carcass back again, and secure using the seat points / bolts as before. All that's left is to drop in the wings and job's done!! Easy as!
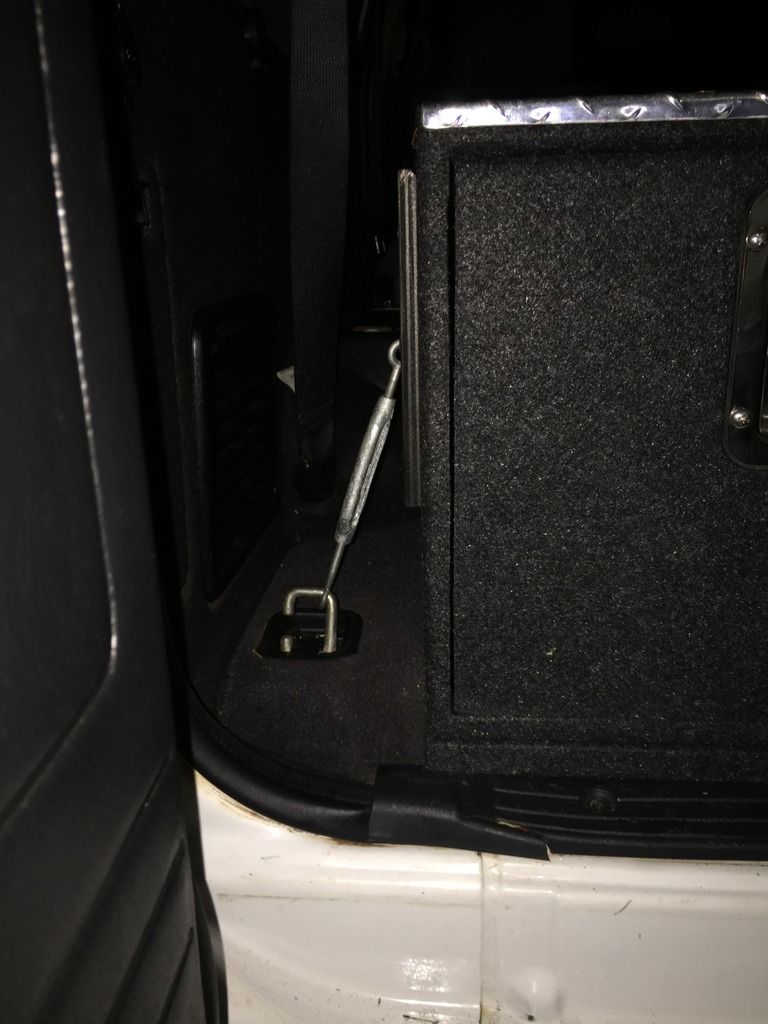
Step 5 - the LB method
Fix the side as shown to steady the carcass. This only needs to be done up hand tight.
Bed extension add on.
I also grabbed the bed extension add-on (you can get set up for with or without the back seats removed):
That's really all there is to it!!
Looking for a 4WD Club in WA that caters solely for Patrol, Safari and Maverick owners? Click here to HERE to visit the Western Patrol Club. Click HERE for the Beagle Mobile Mods!


 Reply With Quote