OUR VIDEOS GALLERY MEMBER SPONSORSHIP VENDOR SPONSORSHIP

User Tag List

Page 3 of 3 FirstFirst 123
Results 21 to 26 of 26

Thread: Rear spring hat bracing

  1. #21
    Patrol God BigRAWesty's Avatar
    Join Date
    Sep 2012
    Location
    Mount Gambier, SA
    Posts
    13,504
    Thanks
    15,792
    Thanked 4,670 Times in 3,128 Posts
    Mentioned
    43 Post(s)
    Tagged
    0 Thread(s)
    Quote Originally Posted by MudRunnerTD View Post
    Holy sh1t!!!! Looks sweat!!!
    X2. They don't look that heavy in the pics..
    Cheers
    Kallen Westbrook

  2. # ADS
    Circuit advertisement
    Join Date
    Always
    Location
    Advertising world
    Posts
    Many


  3. #22
    Patrol Freak Parksy's Avatar
    Join Date
    Jan 2013
    Location
    Nowra NSW
    Posts
    1,592
    Thanks
    963
    Thanked 843 Times in 523 Posts
    Mentioned
    5 Post(s)
    Tagged
    0 Thread(s)
    Got the passenger side in this afternoon. Wasn't quite that awesome an experience I was after, took a little longer than I expected, but it looks solid. Will try and fit the drivers side tomorrow followed by pictures.

  4. The Following User Says Thank You to Parksy For This Useful Post:

    MudRunnerTD (19th September 2013)

  5. #23
    Patrol Freak Parksy's Avatar
    Join Date
    Jan 2013
    Location
    Nowra NSW
    Posts
    1,592
    Thanks
    963
    Thanked 843 Times in 523 Posts
    Mentioned
    5 Post(s)
    Tagged
    0 Thread(s)
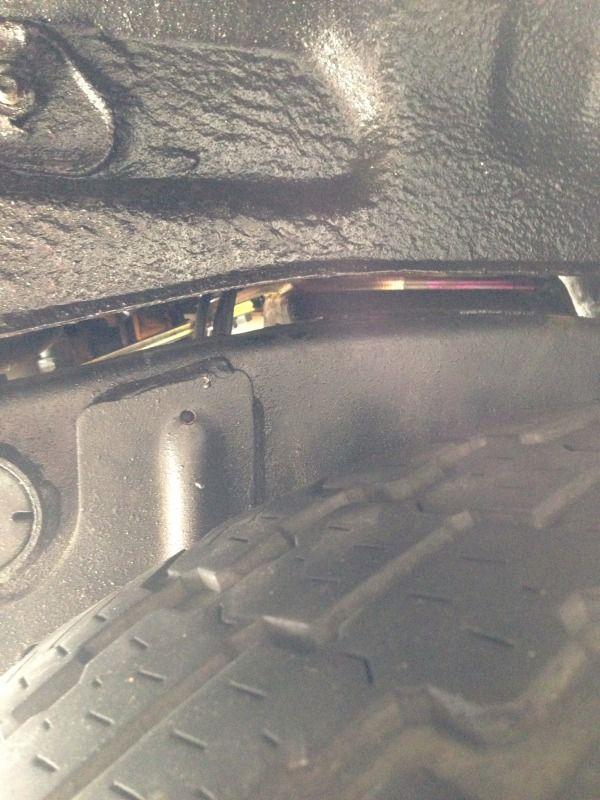
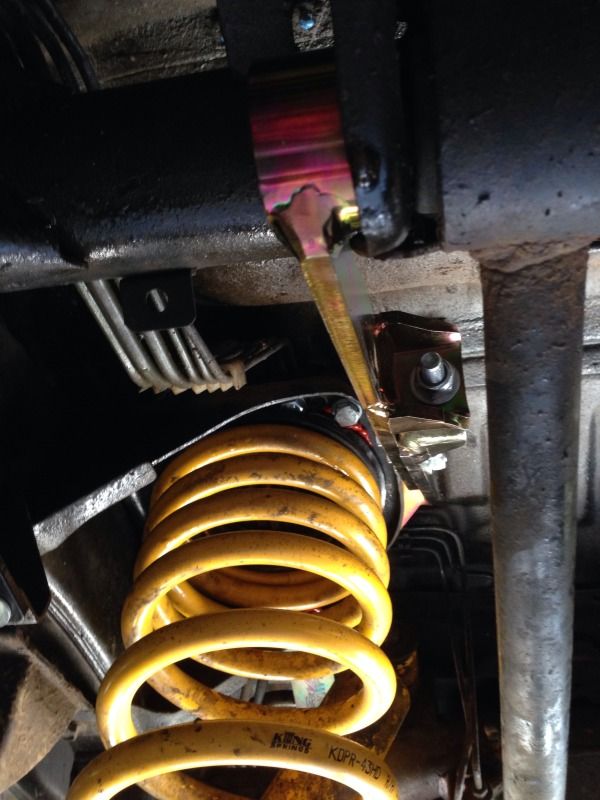
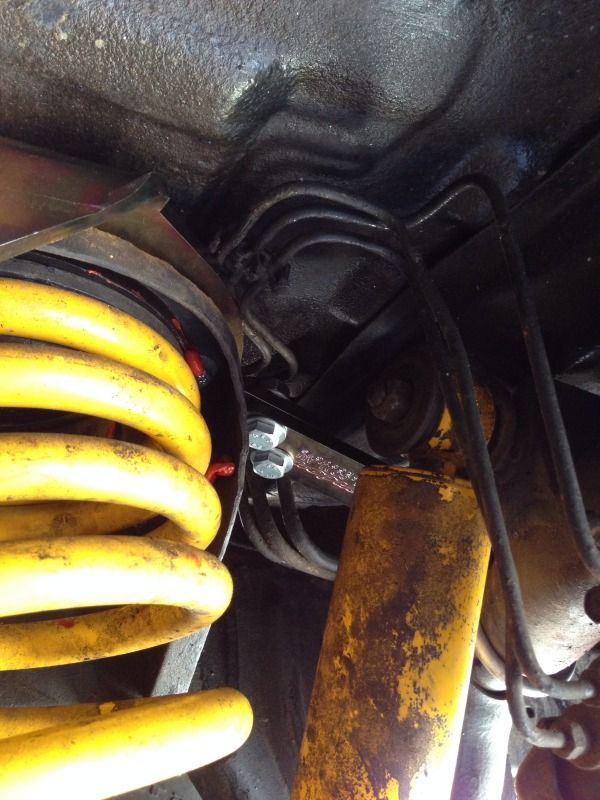
    Drivers side installed. Will post up pics soon. Some tips for the job, get ahold of a 12mm and a 17mm ratchet spanner. Will need vice grips to remove the captive bolts that hold the brake lines to the spring hats. The u bolts are a pain to torque down but a ratcheting spanner should make this a little easier. I spent an hour on them but I only had a regular open ended spanner. There are 6 bolts that hold the brace to the spring hat and on the drivers side, the middle ones will need trimming, otherwise they will extend 5-8mm past the brace and push the brake lines up. Otherwise not too bad to install.

  6. The Following 3 Users Say Thank You to Parksy For This Useful Post:

    BigRAWesty (20th September 2013), GUtsy ute (20th September 2013), Stropp (20th September 2013)

  7. #24
    Patrol Freak Parksy's Avatar
    Join Date
    Jan 2013
    Location
    Nowra NSW
    Posts
    1,592
    Thanks
    963
    Thanked 843 Times in 523 Posts
    Mentioned
    5 Post(s)
    Tagged
    0 Thread(s)
    Thick slab of steel firmly bolted to the top of the spring hat


    Passenger side


    The brake lines appear to be touching the brace, but there is sufficient clearance and they don't budge/vibrate


    You can see in some of the pictures there is red silicone on top of the spring. I only used this to try and hold the spacer that comes with the kit in place while the springs get installed. Tried double sides tape, but it just wouldn't stick to the spacer, so lots of silicone, enough to cause a suction effect, and it stayed in place nicely.
    Forgot to mention that the exhaust caused slight issues when installing the passenger side, I just needed to man handle the brace into place.
    Last edited by Parksy; 21st September 2013 at 01:39 PM.

  8. #25
    Patrol God
    Join Date
    Mar 2012
    Location
    brisbane
    Posts
    4,934
    Thanks
    963
    Thanked 1,830 Times in 1,250 Posts
    Mentioned
    0 Post(s)
    Tagged
    0 Thread(s)
    Do they recommend jacking the body to relax the mounts before tightening the 3 middle adjustable bolts?

  9. #26
    Patrol Freak Parksy's Avatar
    Join Date
    Jan 2013
    Location
    Nowra NSW
    Posts
    1,592
    Thanks
    963
    Thanked 843 Times in 523 Posts
    Mentioned
    5 Post(s)
    Tagged
    0 Thread(s)
    Quote Originally Posted by megatexture View Post
    Do they recommend jacking the body to relax the mounts before tightening the 3 middle adjustable bolts?
    I printed off the instructions and there was no mention of doing this. Everything is installed loosely, then everything is done up bar the tensioning bolt or those 3 you mentioned. The tensioning bolt is torqued just enough to put some preload on the spring hat, then the 3 get torqued to hold it in place.

Page 3 of 3 FirstFirst 123

Posting Permissions

  • You may not post new threads
  • You may not post replies
  • You may not post attachments
  • You may not edit your posts
  •