Welcome to the Nissan Patrol forum. To post a question and to see less adds on the forum then you will have to register
first. We are an easy going friendly forum so join in the conversations and feel free to ask any questions.
Become a forum sponsor for only $20 and see no adds with faster page loading times and many extras benefits.
Well for some time now we've been wanting a draw system for the back of the Q. Buying a pre made one was out of the question, especially as the father in-law is a carpenter...
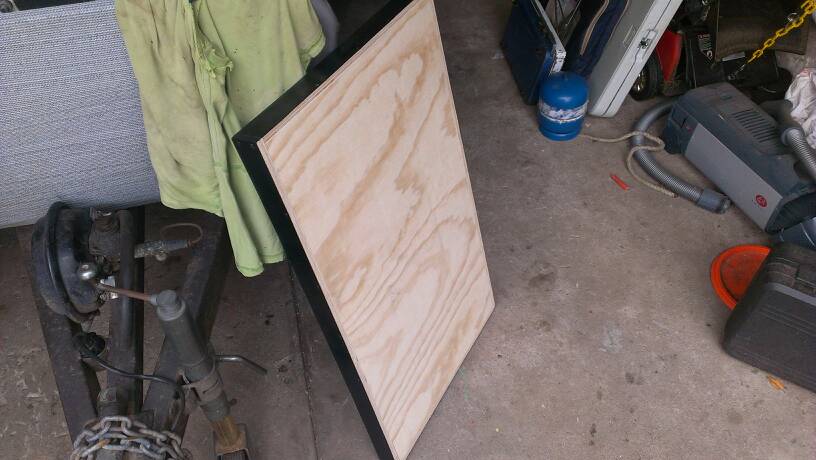
So after a bit of looking, we settled on a design and away we go..
Everything is glues and screwed. All holes pre drilled with a counter sinking bit attached, and good quality treated screws used so they don't rust..
Next step is to frame the top in. This gives a bit extra strength, gives the draws something decent to lever against when out, and allows a lot more area to hold the top sheets down. XX-7AFED20D-1874286-1280-100.jpg
next up the draw runners. Instead of using expensive and heavy ball bearing runners, we've use a product called UHMW. its a very tough, hard wearing nylon which slides like butter on each other when loaded.. Each piece is 8mm wide x 3mm thick. 11-49990C6E-1659158-1280-100.jpg 11-49B53B70-1724136-1280-100.jpg
Next up a fitting and marking of the points to secure to the car. I've used the 2 seat belt points and 2 of the many tie down bolt holes in the rear.. 11-49C352F1-2052592-1280-100.jpg
Next up are the wings. Once the box is secured in the center the winglets can be made to finish the face off. Quite simply a bit of off cut screwed on... IMAG0298.jpg IMAG0299.jpg
Still plenty of room to access the jack
Once happy meassure up the boxes and go nuts. I haven't got any pics as the father in-law smashed these while i was on shift one night..
I can tell you the draws are 550 wide, 900 long, pantry is 280 deep, recovery draw is 210 deep and pull out bench is 50 thick.
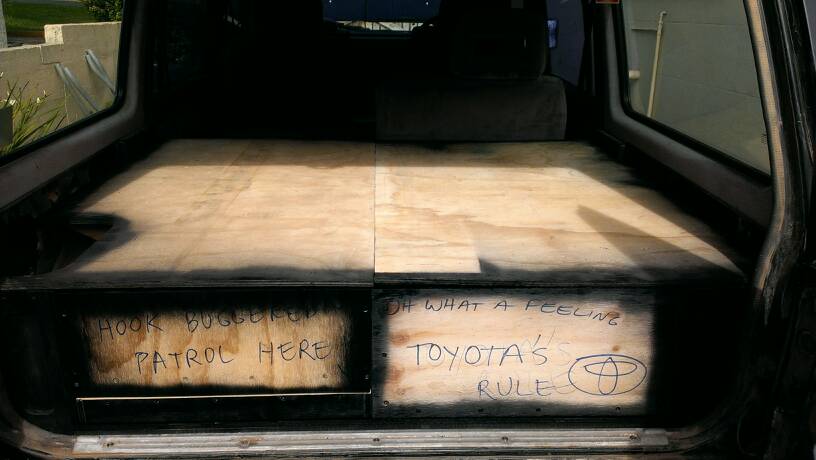
So there now painted.. IMAG0398.jpg IMAG0396.jpg IMAG0399.jpg
(excuse the father in-laws swearing)
The white draw above is the pantry.. have painted it white inside and will be clear coating it to make messes easier to clean. And it feels cleaner being white..
The thin one is the pull out bench, this will have a sheet of laminex vinal (kitchen bench top stuff) glued to the top for food prep.
Last edited by BigRAWesty; 30th April 2013 at 02:24 AM.


 Reply With Quote