-
16th January 2013, 04:58 PM
#11
Beginner

9
Time to put it all back together.
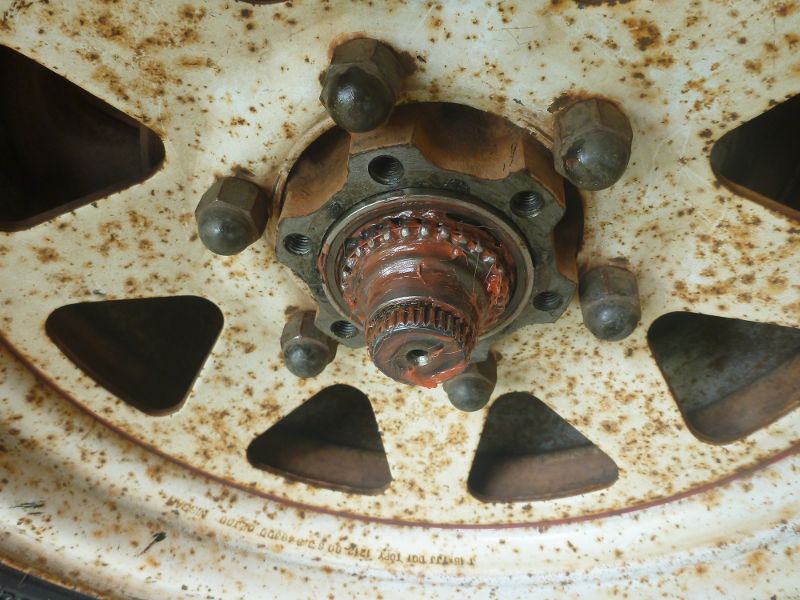
Put the GU locknut on.
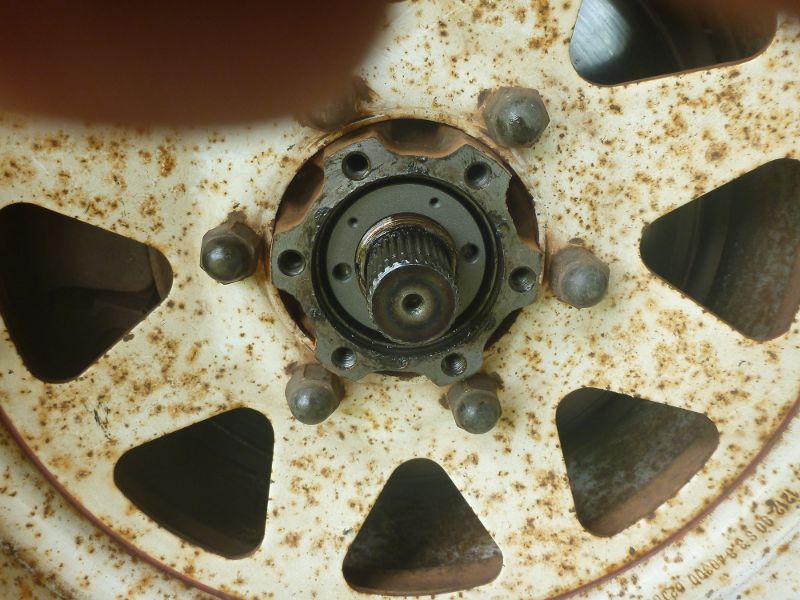
This is a hand tight initally but then I used a pin punch and hammer to get it completely tight. You could make or buy an appropriate tool.
-
-
16th January 2013 04:58 PM
# ADS
Circuit advertisement

-
16th January 2013, 04:59 PM
#12
Legendary

good photos and thread mate this also helps when doing wheel bearings repack and/or replace
-
-
16th January 2013, 04:59 PM
#13
Beginner
10
Put the lock washer on.
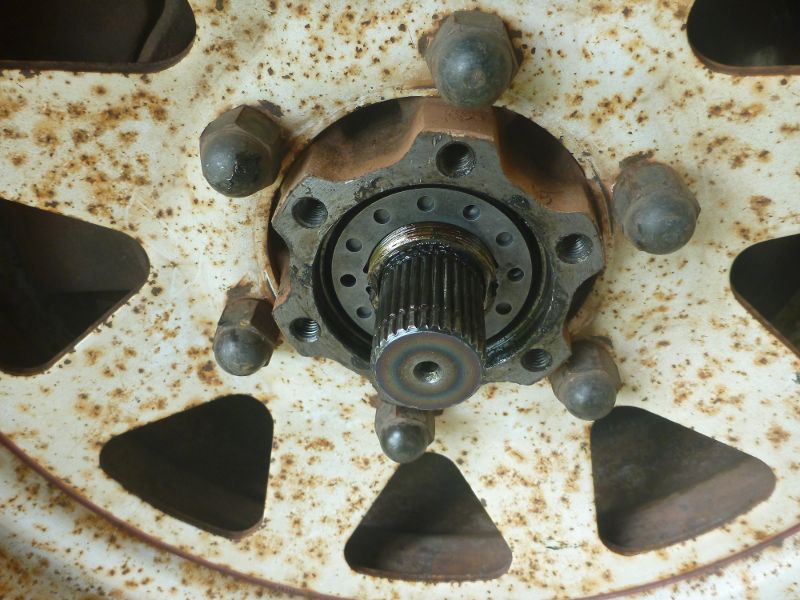
You need to have it so that holes in the washer line up with the two threaded holes in the locknut. So you may have to take it back off and tighten the locknut some more.
-
-
16th January 2013, 05:01 PM
#14
Beginner
11
Put the two screws in.
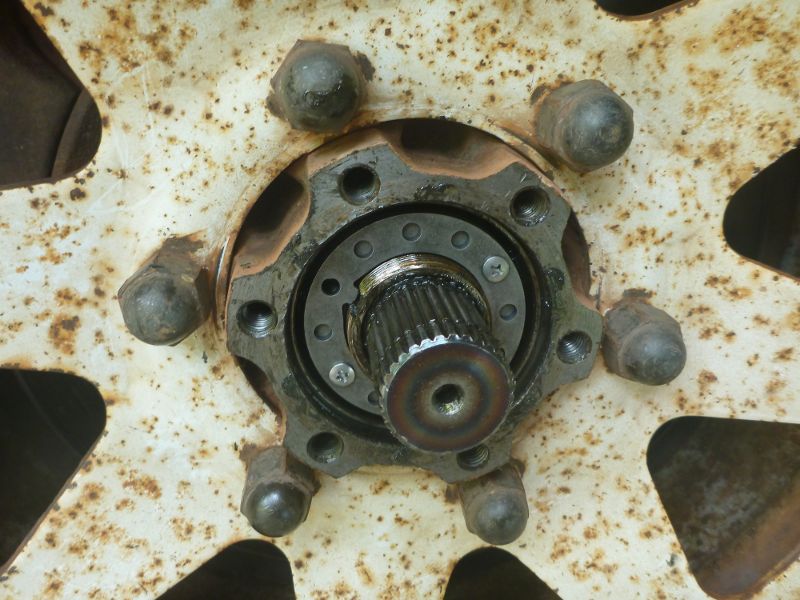
I put low strength thread locker on these as probably not a good idea for them to come loose. The standard nissan ones are 4mm x 6mm phillips cheese head set screws really easy to strip the head. I'm going to find some hex socket head set screws to replace them.
There also appears to be a groove here to take a circlip on the axle but neither side had one.
-
-
16th January 2013, 05:03 PM
#15
Beginner
12
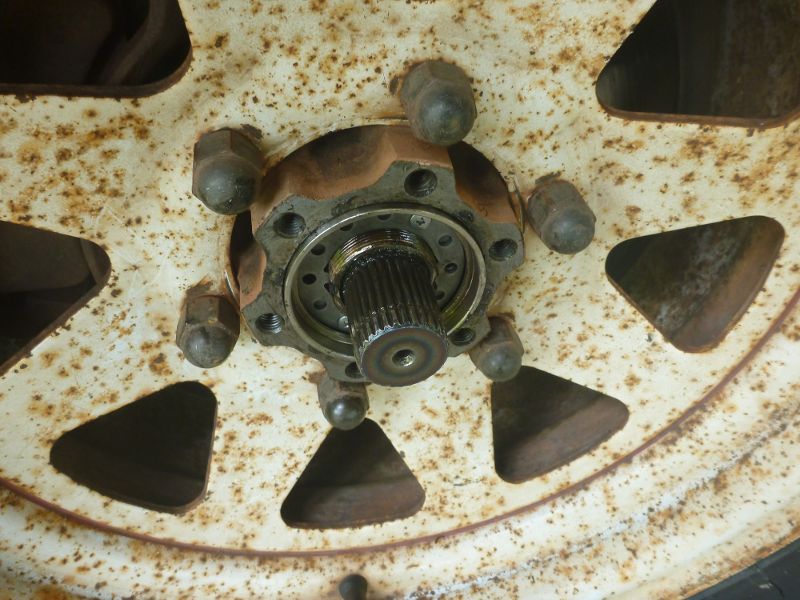
Put the freewheeling hub locator in.
-
The Following User Says Thank You to 4x4falcon For This Useful Post:
threedogs (16th January 2013)
-
16th January 2013, 05:04 PM
#16
Beginner
13
Replace the freewheeling hub inner.
-
-
16th January 2013, 05:05 PM
#17
Beginner
14
Replace the circlip
I found this really frustrating on the first one as well. The axle would keep moving inwards when I tried to put the circlip over it. So pin punch in the center hole and pushed to one side to hold it and slip the circlip on, no problem.
-
-
16th January 2013, 05:06 PM
#18
Beginner
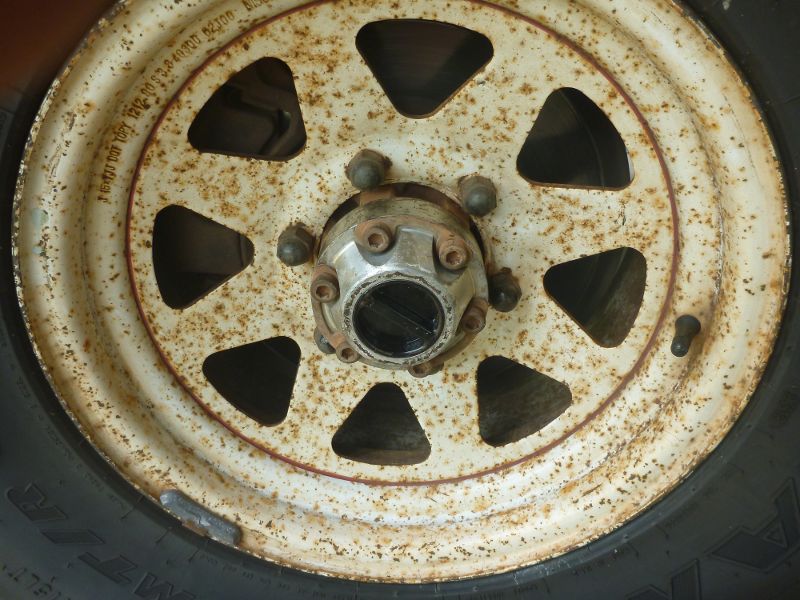
15 All done
Replace the freewheeling hub outer.
-
-
16th January 2013, 05:06 PM
#19
Patrol God


Great pics too good in fact, whats your next thread recoeing rims, I'd be giving them a light sand and a can of spray IMO
Did you re use old hub gasket, new one any RTV required???
Last edited by threedogs; 16th January 2013 at 05:09 PM.
04 ST 3lt auto, not enough Mods to keep me happy, but getting there
-
-
16th January 2013, 05:10 PM
#20
Beginner
Notes
I cleaned and regreased the freewheeling hub whilst doing this.
Used aviation form a gasket when reinstalling the freewheeling hub outer.
You could replace/repack the bearings whilst doing this. However you need to remove the wheel, brake caliper and hub to repack the bearings properly.
Last edited by 4x4falcon; 16th January 2013 at 05:17 PM.
-


 Posting Permissions

 Reply With Quote