OUR VIDEOS GALLERY MEMBER SPONSORSHIP VENDOR SPONSORSHIP

User Tag List

Page 1 of 3 123 LastLast
Results 1 to 10 of 23

Thread: GU wheel bearing locknut and washer install in GQ

Hybrid View

  1. #1
    Beginner 4x4falcon's Avatar
    Join Date
    Sep 2010
    Posts
    20
    Thanks
    0
    Thanked 3 Times in 3 Posts
    Mentioned
    0 Post(s)
    Tagged
    0 Thread(s)

    GU wheel bearing locknut and washer install in GQ

    I've see lot's of references to this but nothing that actually shows what is done.

    So here it is.

  2. The Following User Says Thank You to 4x4falcon For This Useful Post:

    93patrol (16th January 2013)

  3. #2
    Beginner 4x4falcon's Avatar
    Join Date
    Sep 2010
    Posts
    20
    Thanks
    0
    Thanked 3 Times in 3 Posts
    Mentioned
    0 Post(s)
    Tagged
    0 Thread(s)

    What this is for.

    Change GQ (possibly MQ/MK as well) double nut and lock washer to GU single locknut and washer.

    The parts.


    Top the GQ double nut and lockwasher, bottom the single GU locknut and washer.


    Tools I used, not show is 8mm hex bit and ratchet.

  4. #3
    Beginner 4x4falcon's Avatar
    Join Date
    Sep 2010
    Posts
    20
    Thanks
    0
    Thanked 3 Times in 3 Posts
    Mentioned
    0 Post(s)
    Tagged
    0 Thread(s)

    1

    Remove the freewheeling hub.


    Nothing difficult here just undo the six bolts with an 8mm hex bit and ratchet. There is also no need to remove the wheel.

  5. #4
    Beginner 4x4falcon's Avatar
    Join Date
    Sep 2010
    Posts
    20
    Thanks
    0
    Thanked 3 Times in 3 Posts
    Mentioned
    0 Post(s)
    Tagged
    0 Thread(s)

    2

    Remove the hub locating ring (don't know if this is what it's really called but it stayed in the hub when I removed the freewheeling hub.

  6. #5
    Beginner 4x4falcon's Avatar
    Join Date
    Sep 2010
    Posts
    20
    Thanks
    0
    Thanked 3 Times in 3 Posts
    Mentioned
    0 Post(s)
    Tagged
    0 Thread(s)

    3

    Remove the circlip


    Use external circlip pliers.

  7. #6
    Beginner 4x4falcon's Avatar
    Join Date
    Sep 2010
    Posts
    20
    Thanks
    0
    Thanked 3 Times in 3 Posts
    Mentioned
    0 Post(s)
    Tagged
    0 Thread(s)

    4

    Remove the inner part of the freewheeling hub.

  8. #7
    Beginner 4x4falcon's Avatar
    Join Date
    Sep 2010
    Posts
    20
    Thanks
    0
    Thanked 3 Times in 3 Posts
    Mentioned
    0 Post(s)
    Tagged
    0 Thread(s)

    7

    Remove the lock washer.


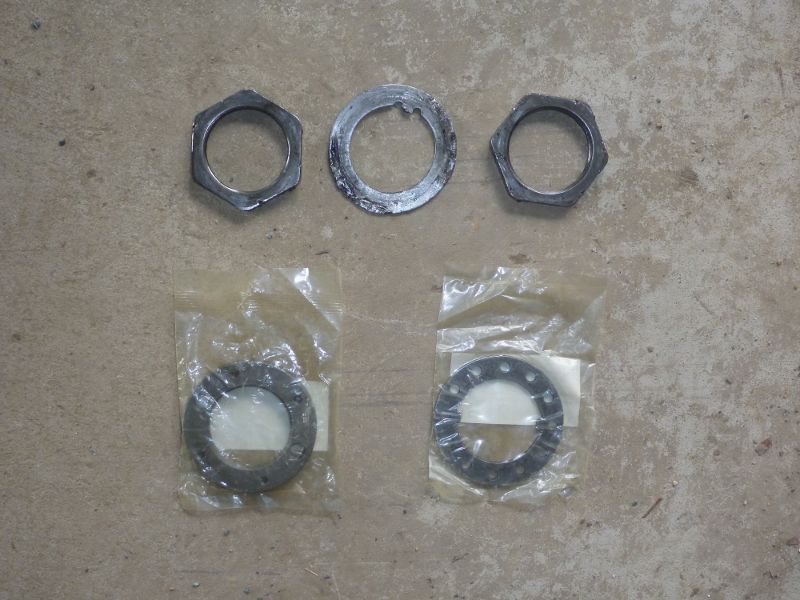
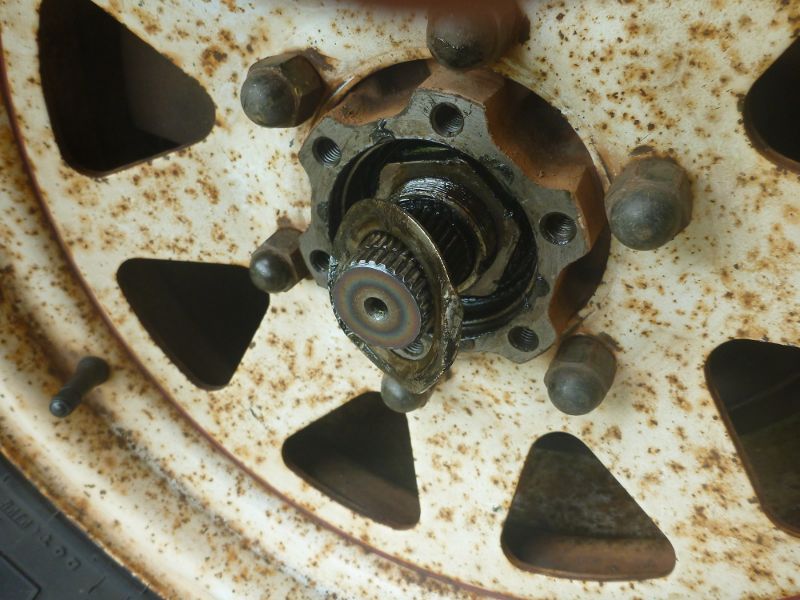
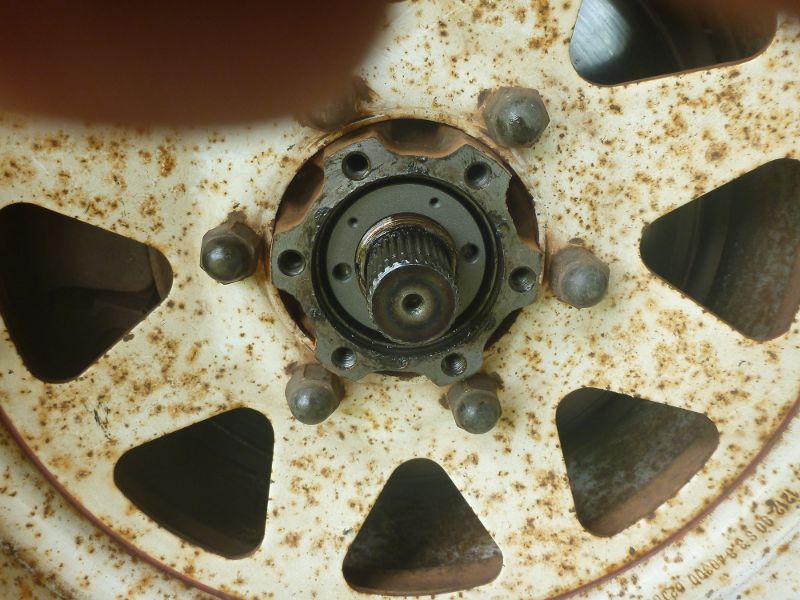
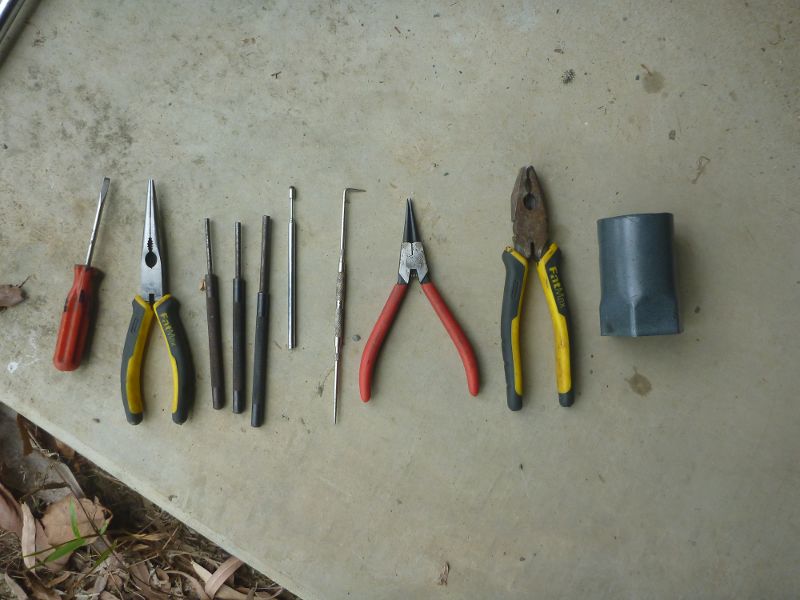
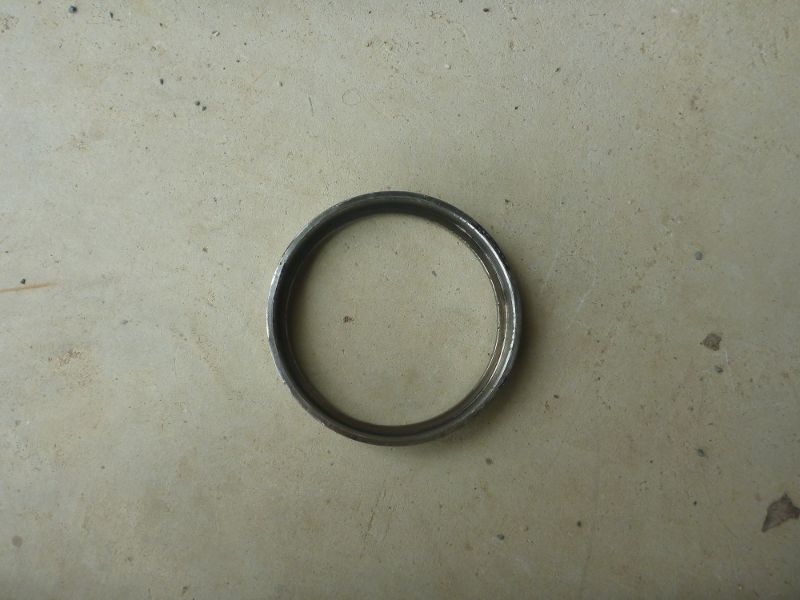
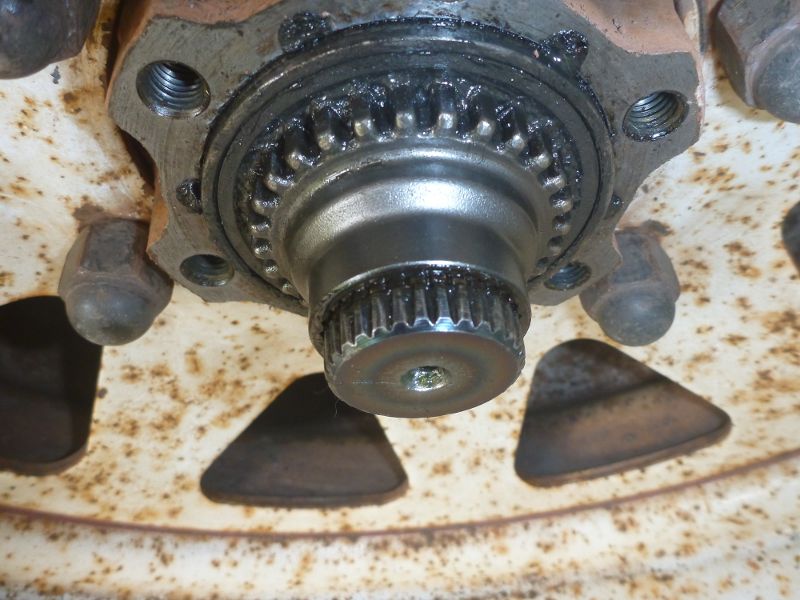
    I found this the most frustrating as it kept getting jammed on the thread and there's really not a lot of room to get hold of it. Using a magnetic pickup and long nose pliers for one side it came relatively easily but the other I had to get a small screwdriver to lever it out.
    Last edited by 4x4falcon; 16th January 2013 at 05:14 PM.

  9. #8
    Beginner 4x4falcon's Avatar
    Join Date
    Sep 2010
    Posts
    20
    Thanks
    0
    Thanked 3 Times in 3 Posts
    Mentioned
    0 Post(s)
    Tagged
    0 Thread(s)

    8

    Remove the inner nut.


    Once again I used the socket but really not necessary.

  10. #9
    Beginner 4x4falcon's Avatar
    Join Date
    Sep 2010
    Posts
    20
    Thanks
    0
    Thanked 3 Times in 3 Posts
    Mentioned
    0 Post(s)
    Tagged
    0 Thread(s)

    9

    Time to put it all back together.


    Put the GU locknut on.


    This is a hand tight initally but then I used a pin punch and hammer to get it completely tight. You could make or buy an appropriate tool.

  11. #10
    Legendary 93patrol's Avatar
    Join Date
    Dec 2012
    Location
    Bunbury
    Posts
    2,983
    Thanks
    3,442
    Thanked 1,326 Times in 805 Posts
    Mentioned
    0 Post(s)
    Tagged
    0 Thread(s)
    good photos and thread mate this also helps when doing wheel bearings repack and/or replace

Page 1 of 3 123 LastLast

Posting Permissions

  • You may not post new threads
  • You may not post replies
  • You may not post attachments
  • You may not edit your posts
  •