-
9th December 2012, 12:44 AM
#1
The Half-arsed Camper build
Firstly, apologies if this is in the wrong spot.
Secondly, I will just be copying and pasting from another forum I'm on
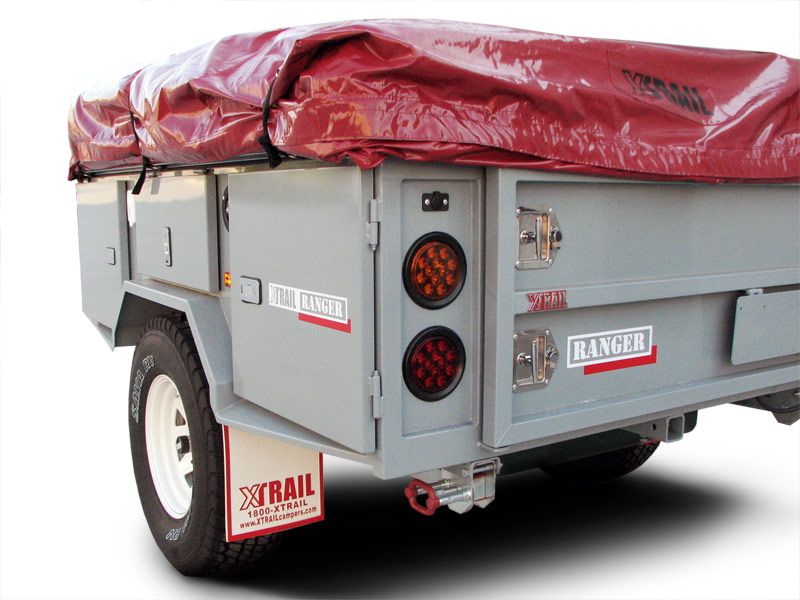
Back in may, I had to decide what I was going to do with my camper.
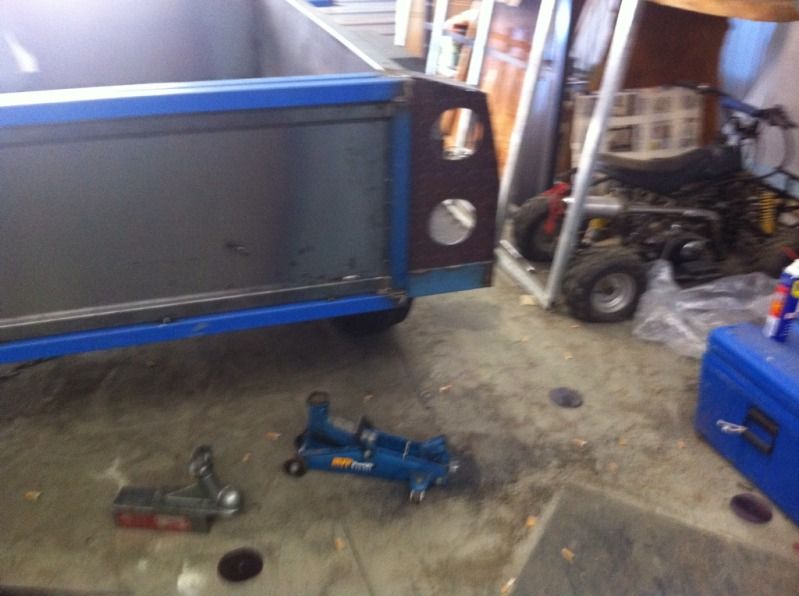
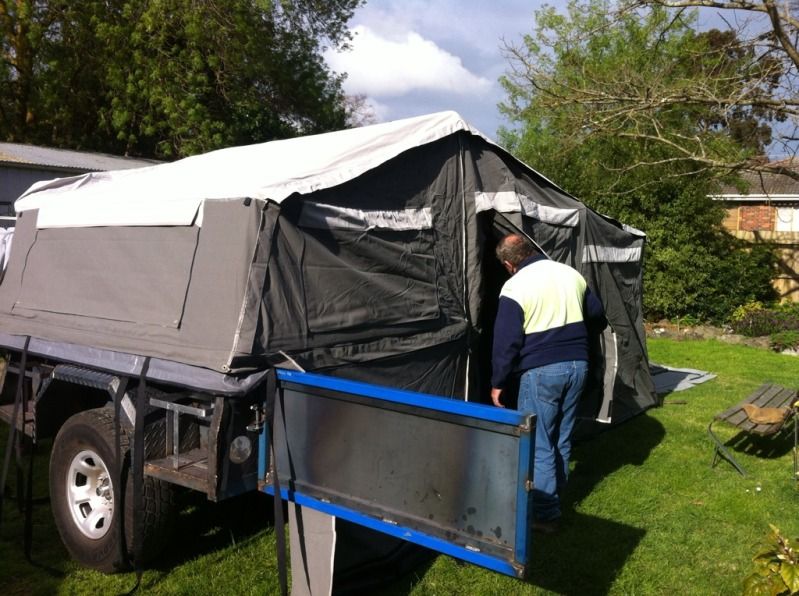
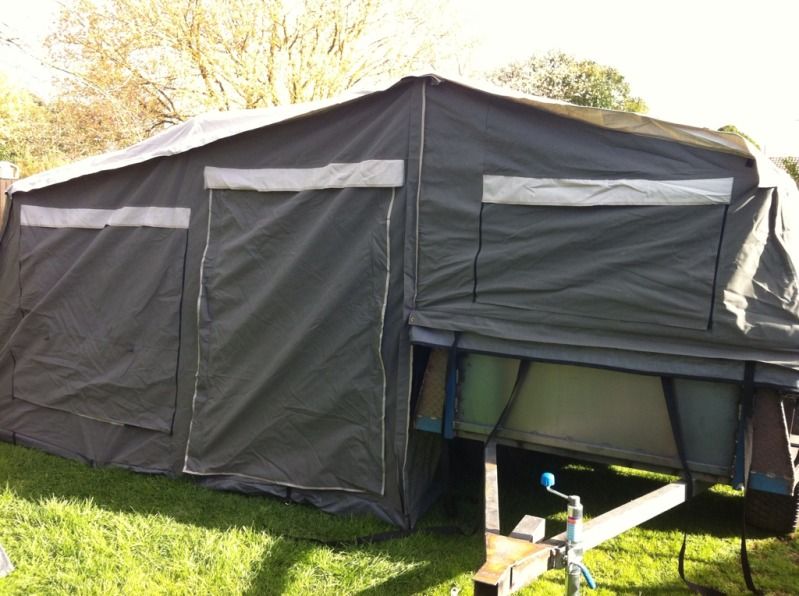
Here's what I started with:

Paid $1200 off eBay about 12 months ago, I knew when I bought it that it needed a bit of work, had no rego, brakes, canvas was old, but it was solid.
We have used it about 6 times over the last 12 months and the time to start making decisions got closer and closer.
I considered just selling it, making my money back and replacing it with another trailer, but the tight arse came out in me!!!
If I rebuild the trailer and add a new camper top, brakes and rego, I get a trailer that is made just for us, and should owe us no more than $5,000 when completed.
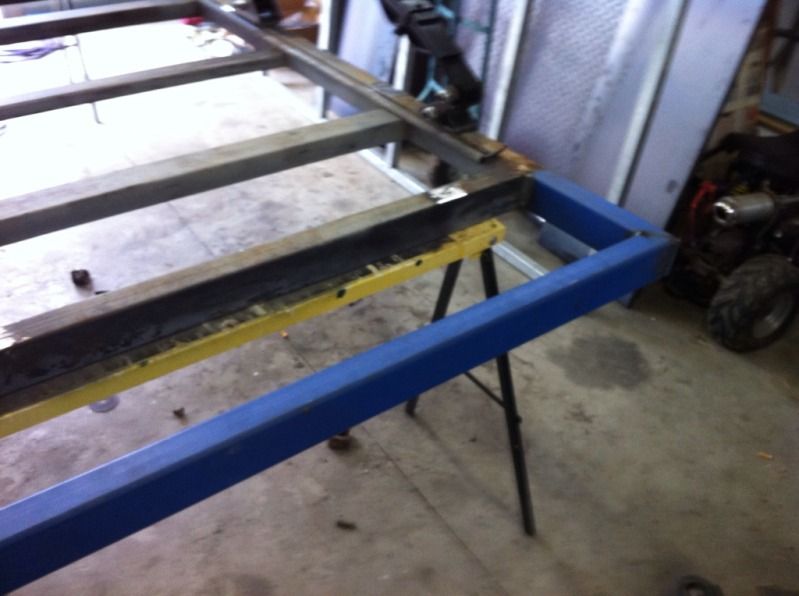
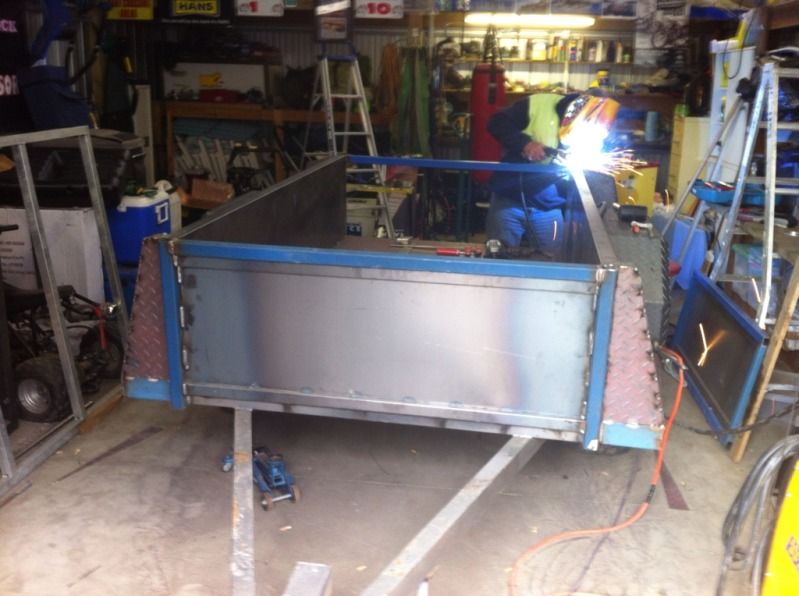
Cut off the old box the sides were only 280mm high, useless for storage.

-
The Following 3 Users Say Thank You to Reddave For This Useful Post:
AB (10th December 2012), jayisbikes (11th August 2014), NissanGQ4.2 (9th December 2012)
-
9th December 2012 12:44 AM
# ADS
Circuit advertisement

-
9th December 2012, 12:48 AM
#2
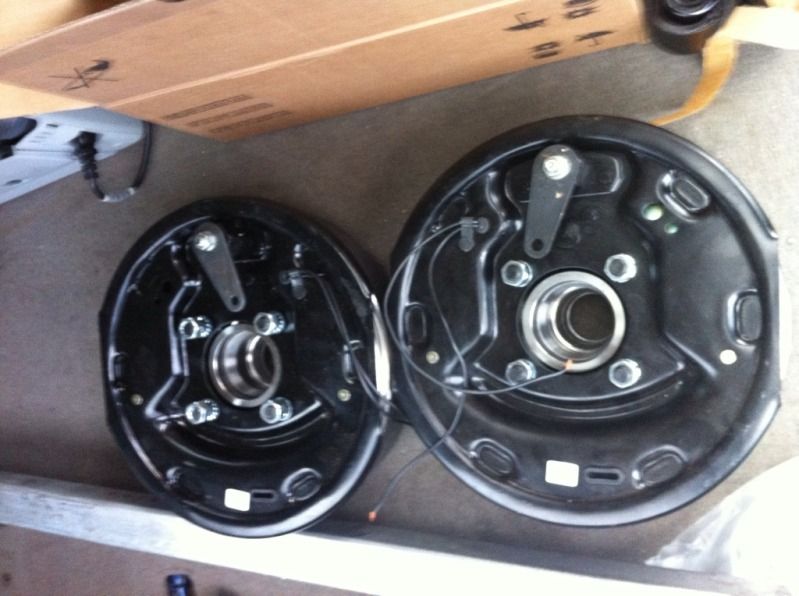
Once I got my tax return in July, I went on a bit of a spending spree
6 Stud electric brake backing plates and drums
45mm square axle with brake mounting plates welded, rated to 1500kg, same track as the GU (1676mm)
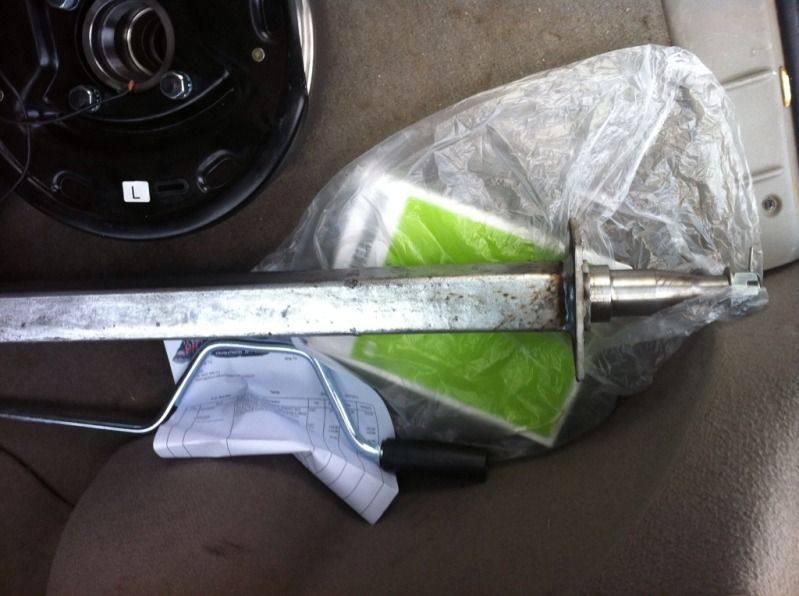
Drop down ALKO style stabiliser legs
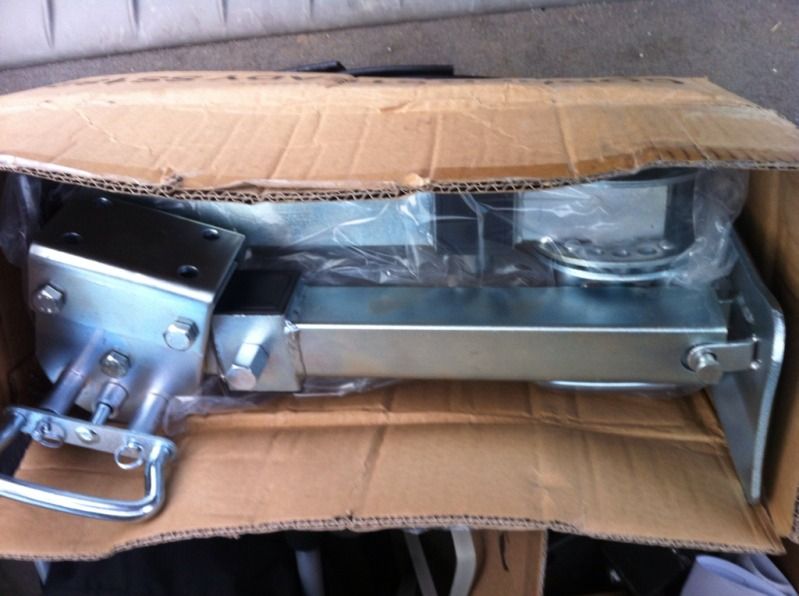
7 leaf Off road springs, 60mm wide, eye to eye
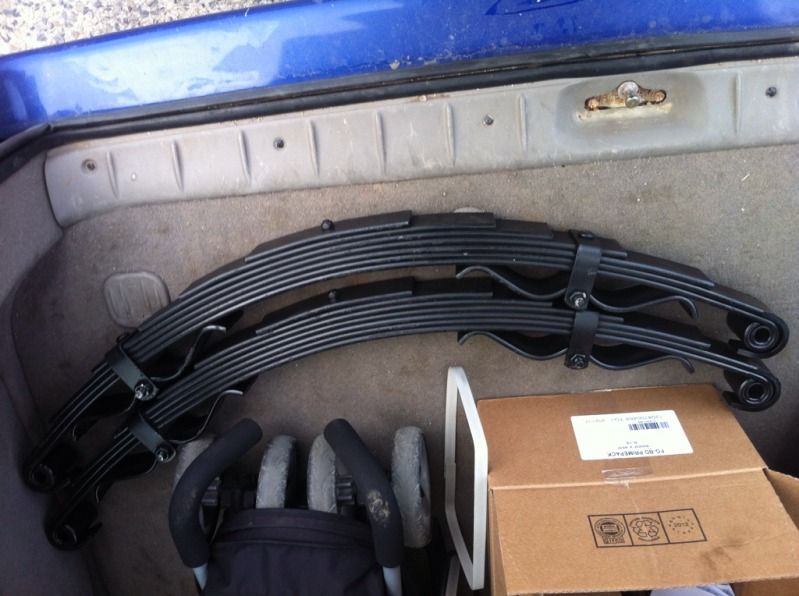
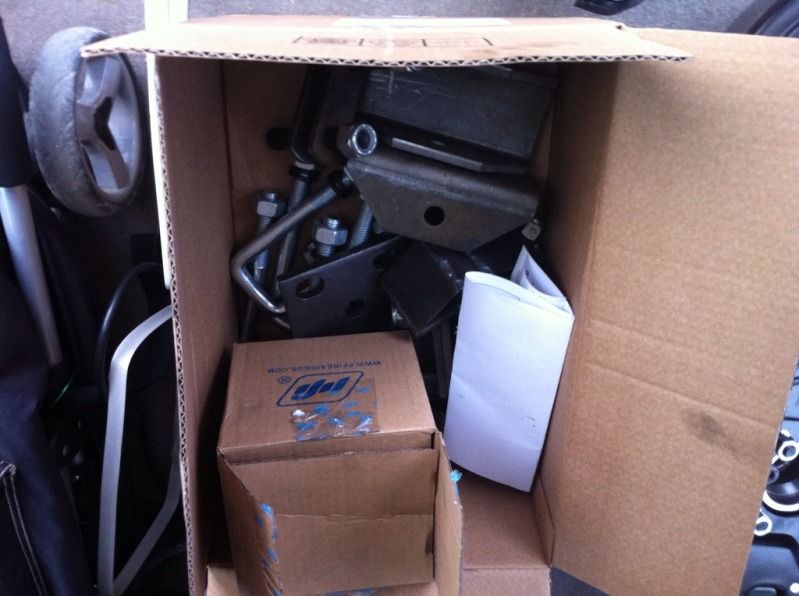
Assorted bearings, wheel nuts, shackles and hangers, spring plates and U bolts
Just need to get my new floor steel, fit all this stuff then I can work out the final height that I need for the sides for a tent drop of somewhere between 1000mm and 1200mm
Got all this stuff direct from a trailer spares place that advertises on eBay, eBay price for springs, axle and brakes $670.00 plus postage.
Rang them direct, asked for a good deal, all the above for $633.00 (so $40.00 off eBay price and free stabiliser legs)
Rang CARAC today and ordered my sides and tailgate, could be up to a 2 week wait, if I knew that I would have ordered them 2 weeks ago 
Ordered my steel for the trailer floor
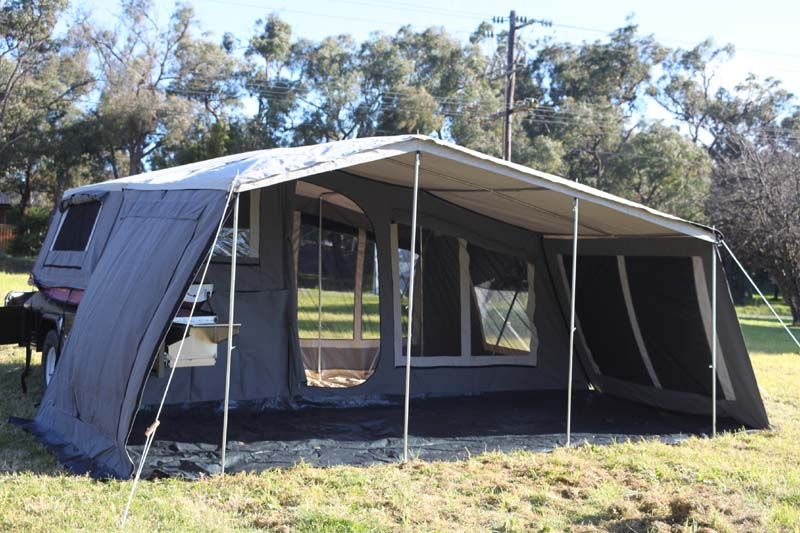
Bought some canvas, only a cheap canvas but will do for a couple of years 
http://www.enztrading.com.au/product...vas-tent-.html
-
The Following 2 Users Say Thank You to Reddave For This Useful Post:
AB (10th December 2012), NissanGQ4.2 (9th December 2012)
-
9th December 2012, 12:50 AM
#3
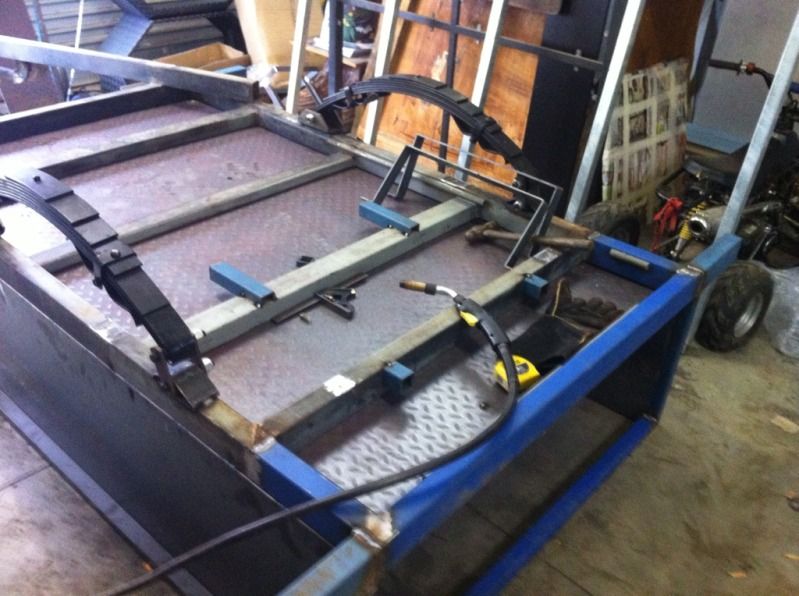
Didnt get as much done today as I would have liked, but still some forward progress at least
Cleaned up all of the frame from where I cut off the old box, cut off the old stabilisers, wire brushed the drawbar and frame
Assembled my axle, packed the new bearings, set bearing preload, marked the position of my spring centre pin spacers, marked the position of the front and rear spring hangers.
Won the tent we were bidding on, it's a steal for $1299, just have to work out how I am going to pick it up now, my trailer is in pieces
Mels Mum and Dad went away for the weekend so no welding
Next weekend should be when the transformation starts
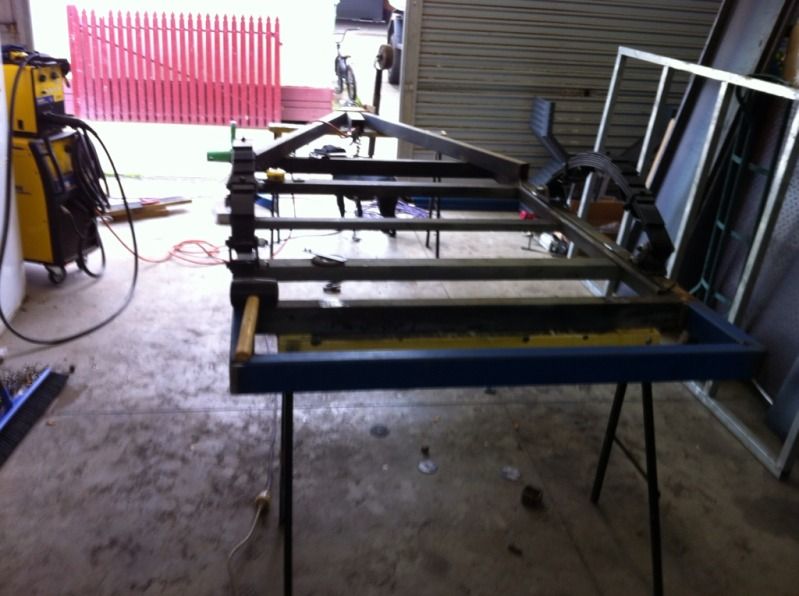
Trailer floor is here, once I get my sides that can all be tacked together
The to do list as of now is:
Cut off the old spring hangers
Weld new spring hangers
Assemble floor and sides
Fit tent
Then the mudguards, light boxes etc
Costs so far:
Springs, axle, electric brakes, stabiliser legs $633
Sides and tailgates $280
Camper tent $1299
Total so far: $2212
So far running under budget 
-
-
9th December 2012, 12:52 AM
#4
August 10th
Went on another spending spree today
Bought taillights, 110mm round, same as the XTRAIL Navigator
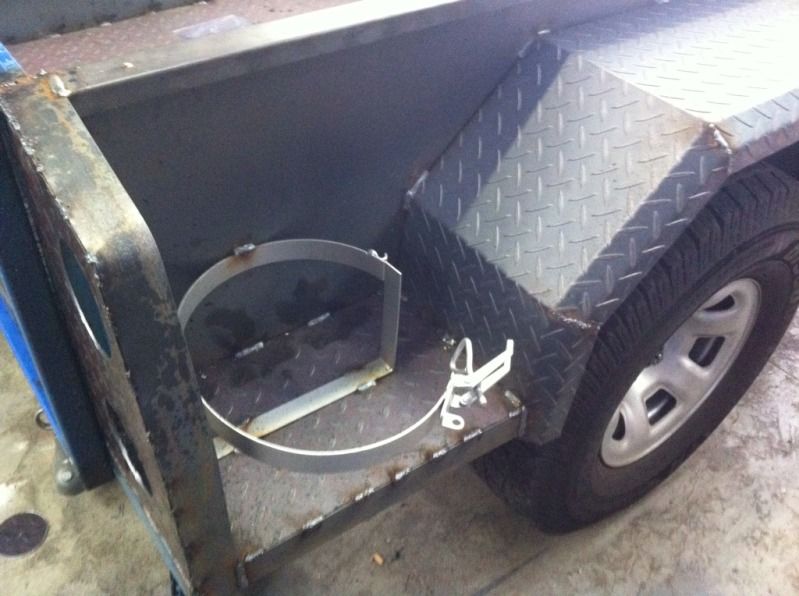
Picked up Tailgates and sides, Offroad chequer plate mudguards, Jerry can holders x2, Gas bottle holder x1, Alko Offroad coupling, Handbrake assembly, Water tank, hand pump and filler.
And put a 40lt Engel on layby (Ran out of money for that one)
The building should hopefully start this weekend, we will be adding a foot to the end of the trailer, mounting the springs and axle and then seeing how much time is left
Hopefully fit up the floor and at least tack the sides and tailgate on as well.
So to recap cost:
Springs, axle, electric brakes, stabiliser legs $633
Sides and tailgates $280
Camper tent $1299
Offroad Coupling and Handbrake $290
Jerry can holders and gas bottle holder $75
Water tank, filler and hand pump $184
Mudguards $115
Taillights $99
Misc Steel $35
Total so far: $3010
So far running under budget, but its starting to blow out
-
-
9th December 2012, 12:54 AM
#5
-
The Following 2 Users Say Thank You to Reddave For This Useful Post:
AB (10th December 2012), NissanGQ4.2 (9th December 2012)
-
9th December 2012, 12:55 AM
#6
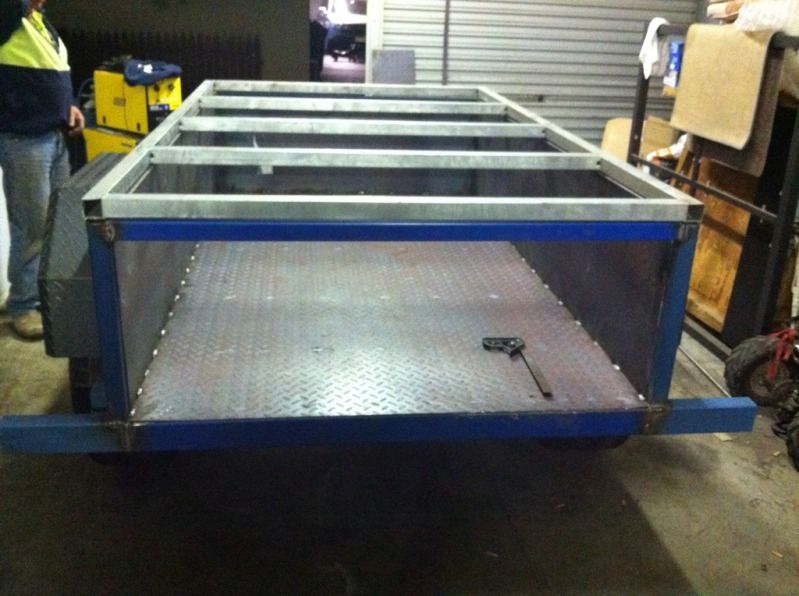
August 18th

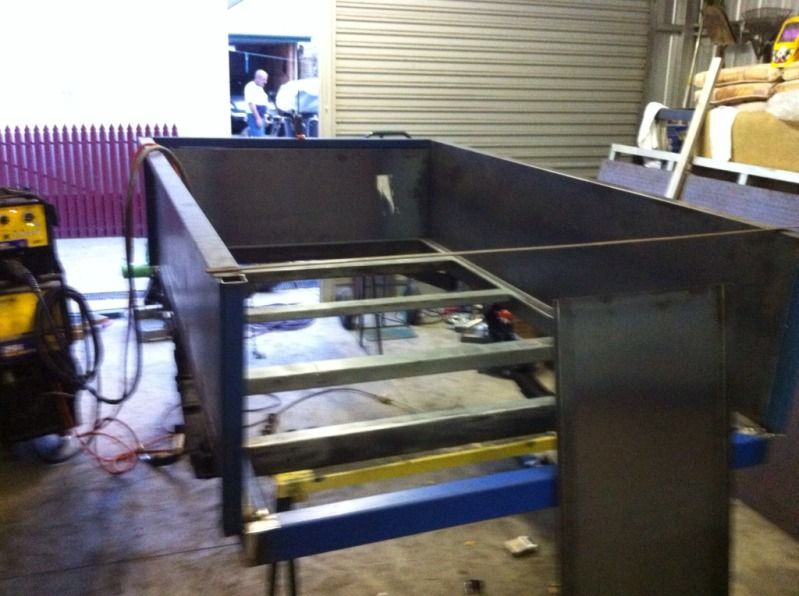
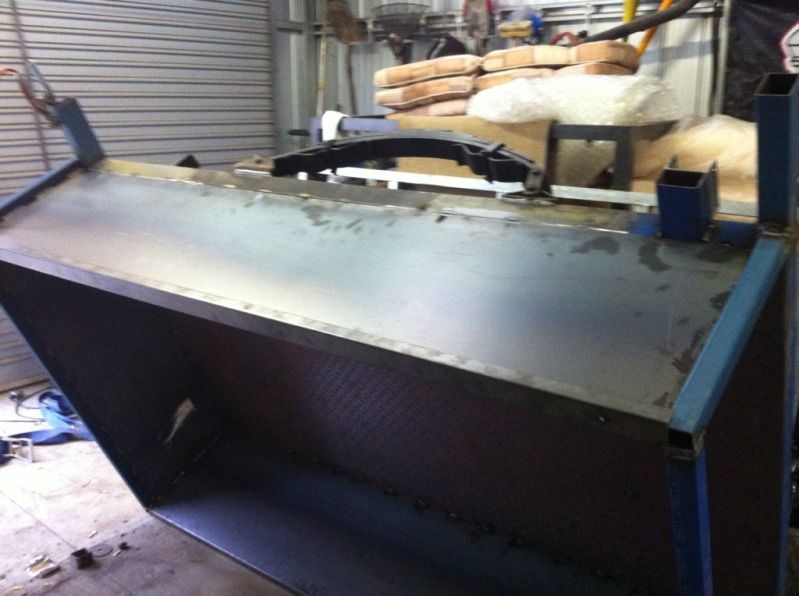
Floor all welded in, had a small bow in it, but clamps and a trolley jack got them all out
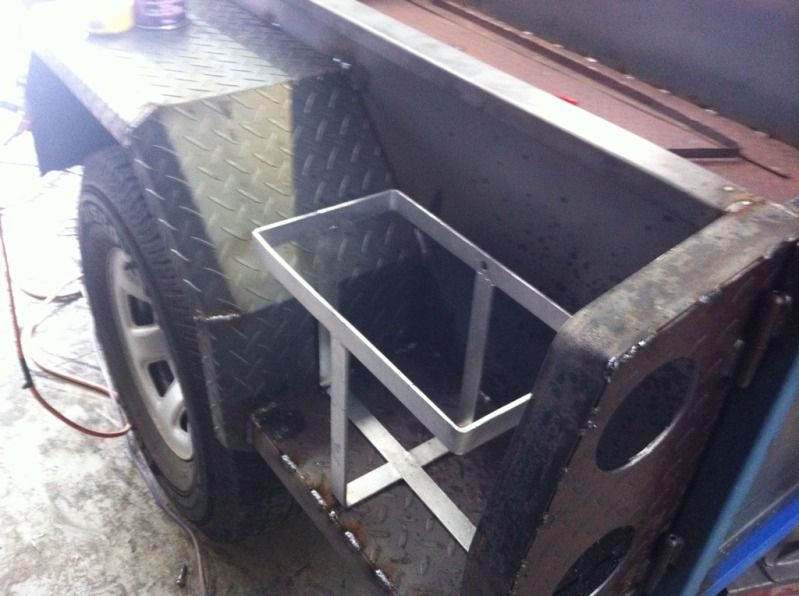
Welded in the brackets to mount the water tank, decided on mounting it just behind the axle, once I get the toolbox on the front and kitchen in the back, it shouldn't have too much weight over the front
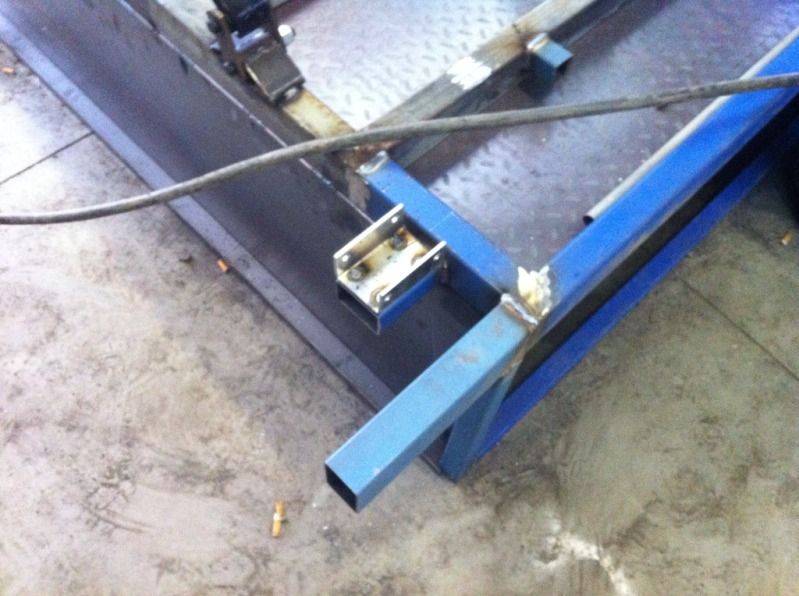
Welded in the brackets to take the stabilizer legs
Welded up the sides to seal the floor completely
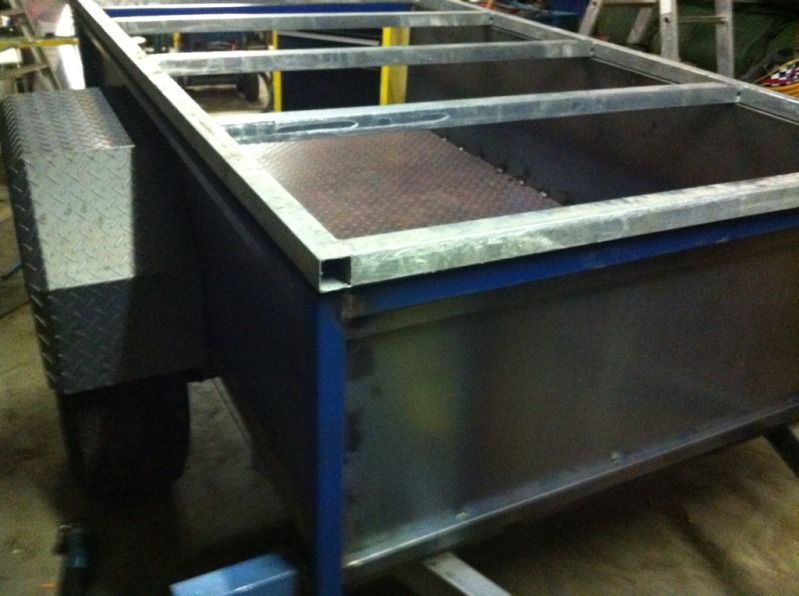
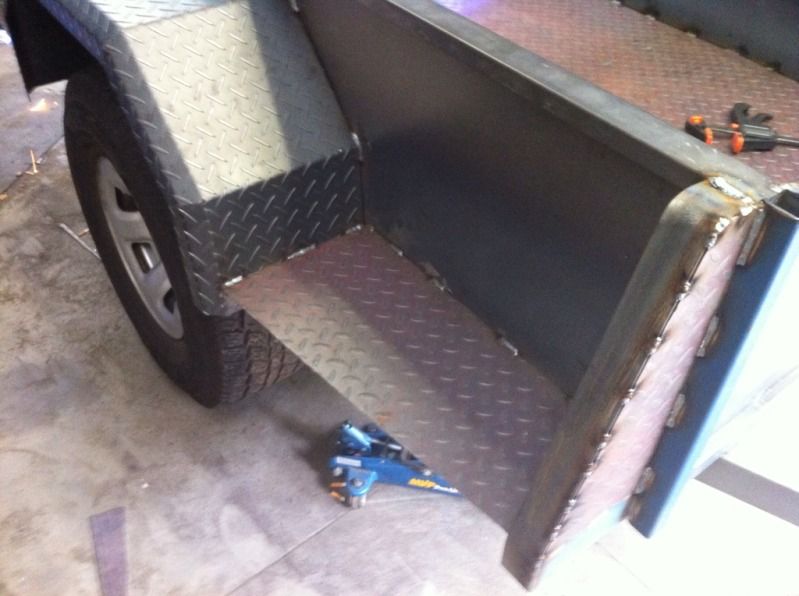
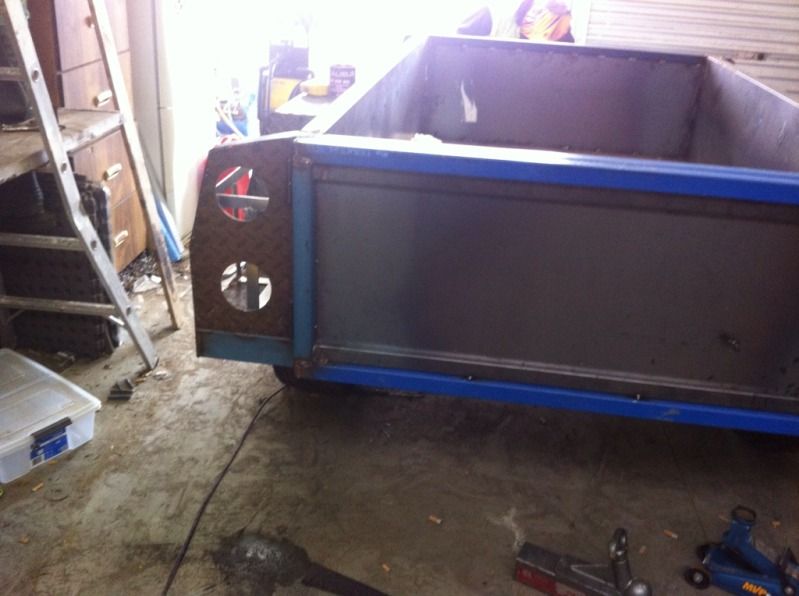
Then fitted the axle to position the mudguards, farkin location plates were 6mm out, cut them off, remeasure and start again also have to run spacers on the hubs, they sit too close to the springs
And the other side
The plate on top of the box we will not be using, it measures at 1120mm from the ground to the top of the box, ideal height
Tomorrow it's time to add the side panels, mount gas bottle and jerry can holders, finish off the tailgate, make light boxes, run all the strapping and then get a start on cutting down the drawbar and mounting the hitch
My list is slowly getting smaller, but still have to paint, run wiring, gas lines, power and battery box, tool box etc etc
-
The Following User Says Thank You to Reddave For This Useful Post:
NissanGQ4.2 (9th December 2012)
-
9th December 2012, 12:57 AM
#7
-
The Following User Says Thank You to Reddave For This Useful Post:
NissanGQ4.2 (9th December 2012)
-
9th December 2012, 12:58 AM
#8
-
The Following User Says Thank You to Reddave For This Useful Post:
NissanGQ4.2 (9th December 2012)
-
9th December 2012, 12:59 AM
#9
-
The Following User Says Thank You to Reddave For This Useful Post:
NissanGQ4.2 (9th December 2012)
-
9th December 2012, 01:00 AM
#10
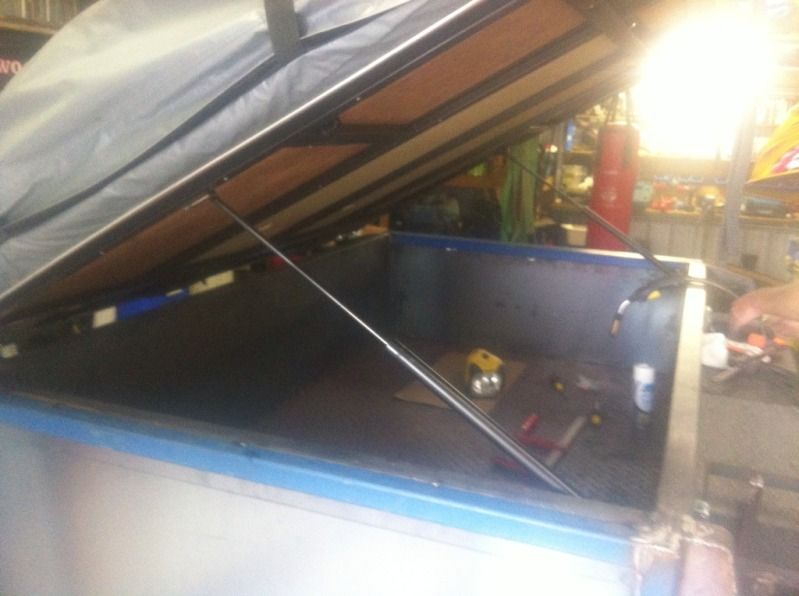
September 16th
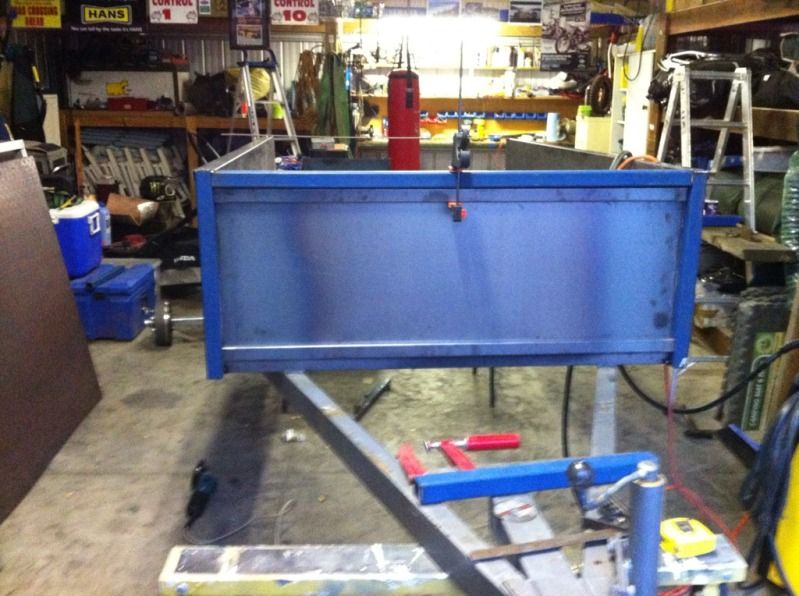
Got a bit achieved yesterday after work, all of the welding is complete!!!
Got the water filler plate welded in, thanks Matt (or Geoff) for cutting the hole out for me
Fitted up the struts to the bedbase
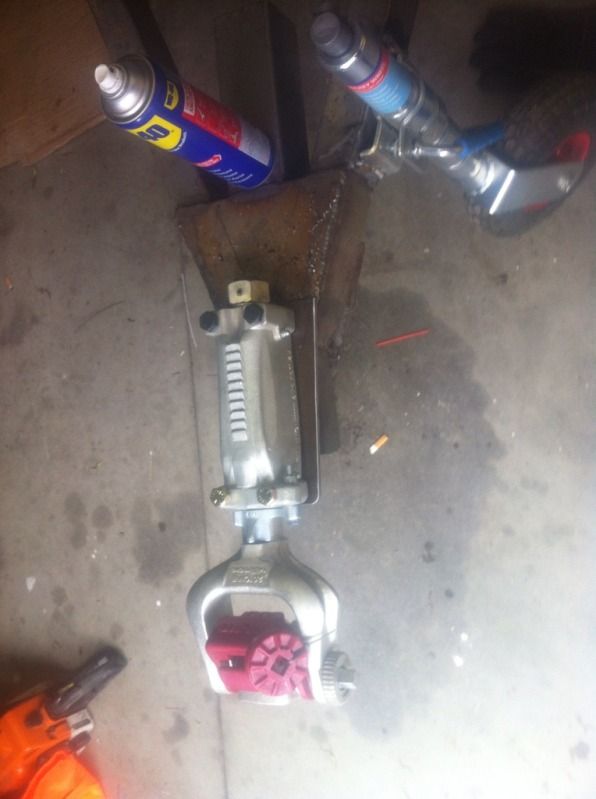
Made up the hitch plate and trial fitted the hitch so I didn't have to weld it to the back of the car
Pulled the bedbase back off, started grinding and then picked it up and flipped it over so we can seal the floor and start painting and wire it up. It's bloody heavy!!!
Need to get some paint during the week!!!
-
The Following User Says Thank You to Reddave For This Useful Post:
NissanGQ4.2 (9th December 2012)


 Reply With Quote