-
25th April 2012, 11:46 AM
#1
Expert

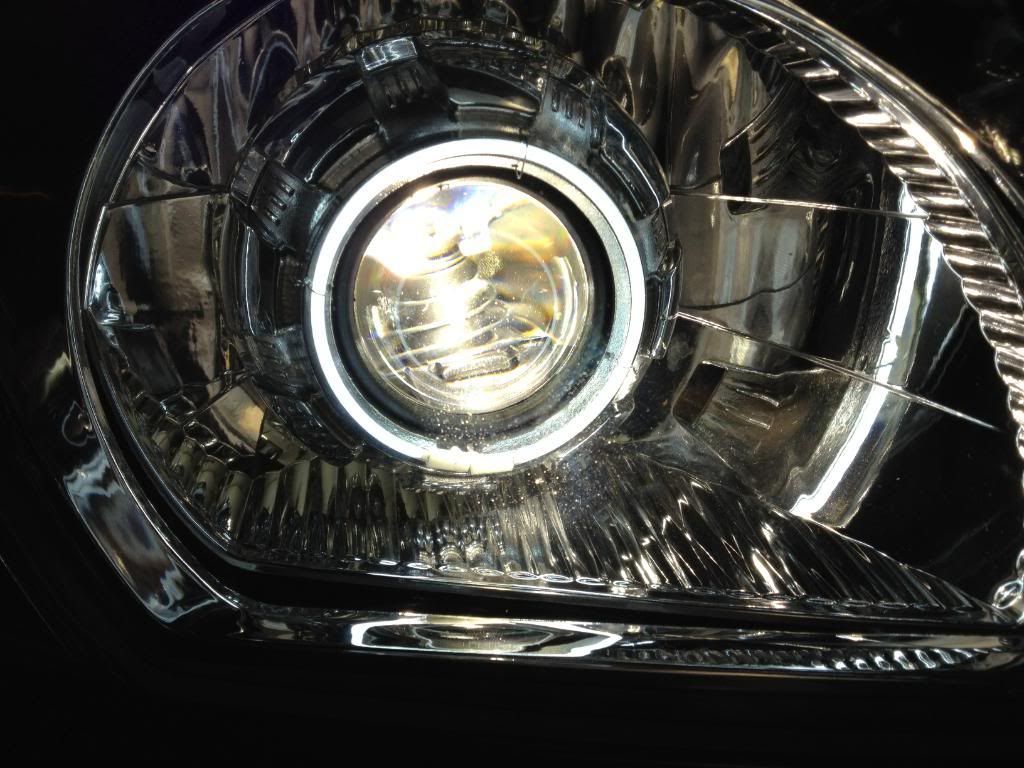
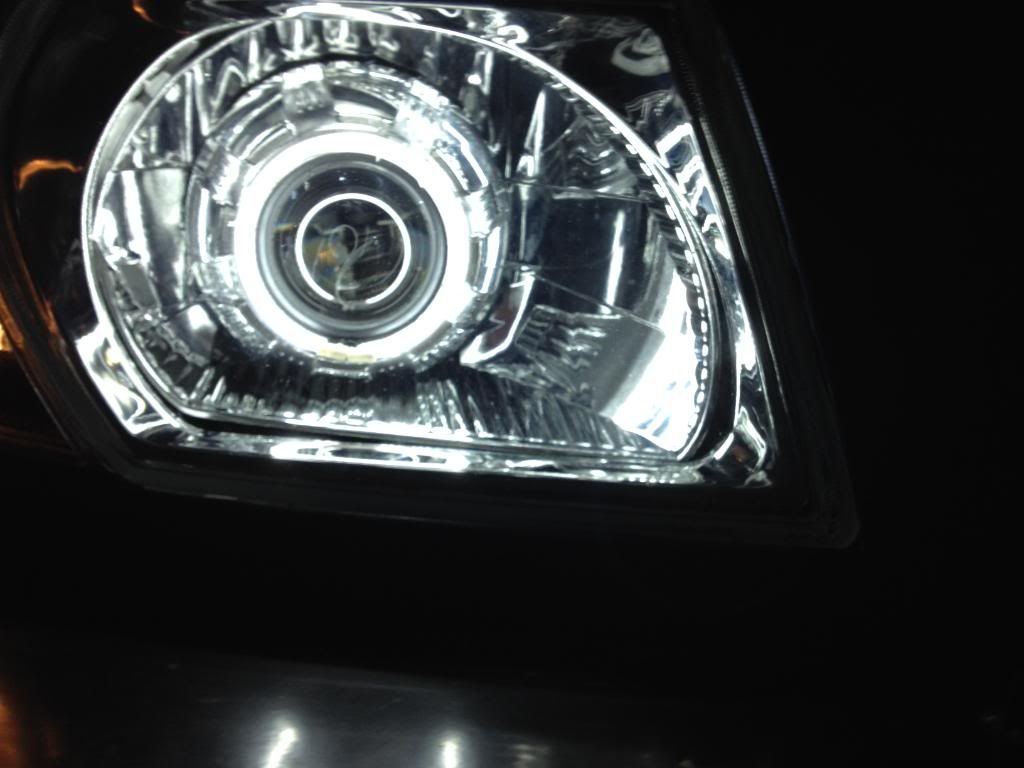
Full HID Retro conversion. (now with pics of 7inch projector insert to suit GQ)
Well I know how much people are liking HIDs these days and I know there are a lot of people just fitting HIDs to there conventional lights which aren't designed for HIDs. So I thought this mod might suit people who want HIDs like what you see in all the new prestige cars. This mod will look factory and the beam will be focused not just spread everywhere like the EBay HID kits that are getting around blinding everyone now.
This is not just a straight bulb swap and add ballast though. I'm hopping the kit I've bought will be pretty straight forward though and I've also done a lot of reading on a forum which is all about HIDs. There's also a buildup on the patrol forum which is where I got the idea.
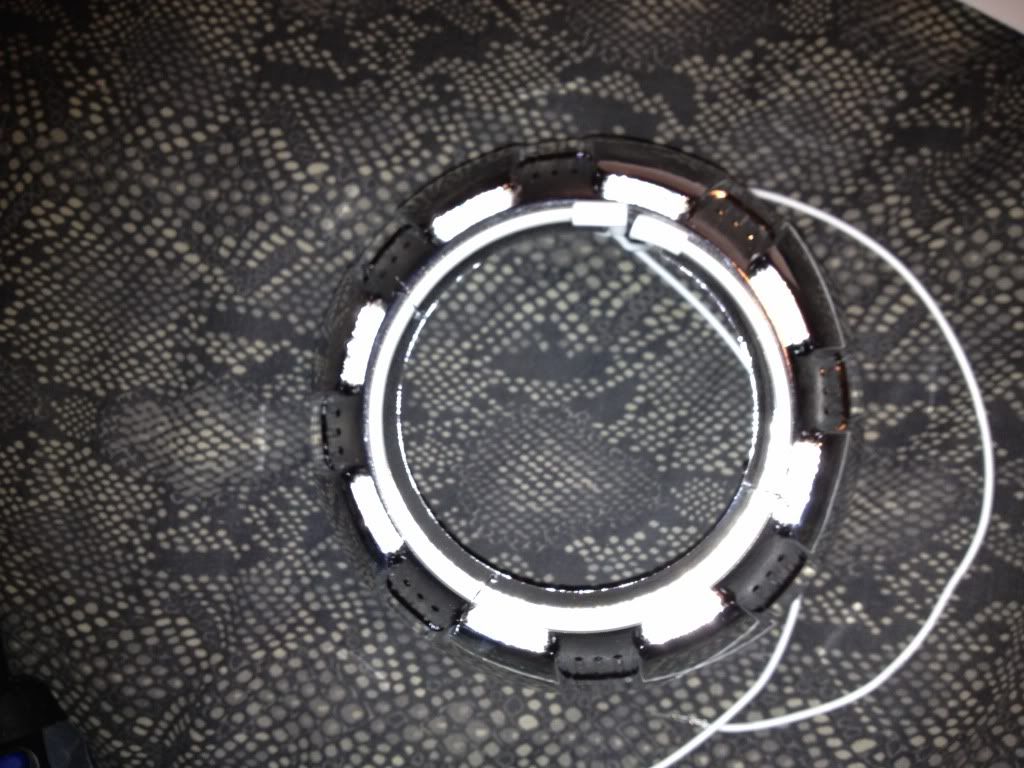
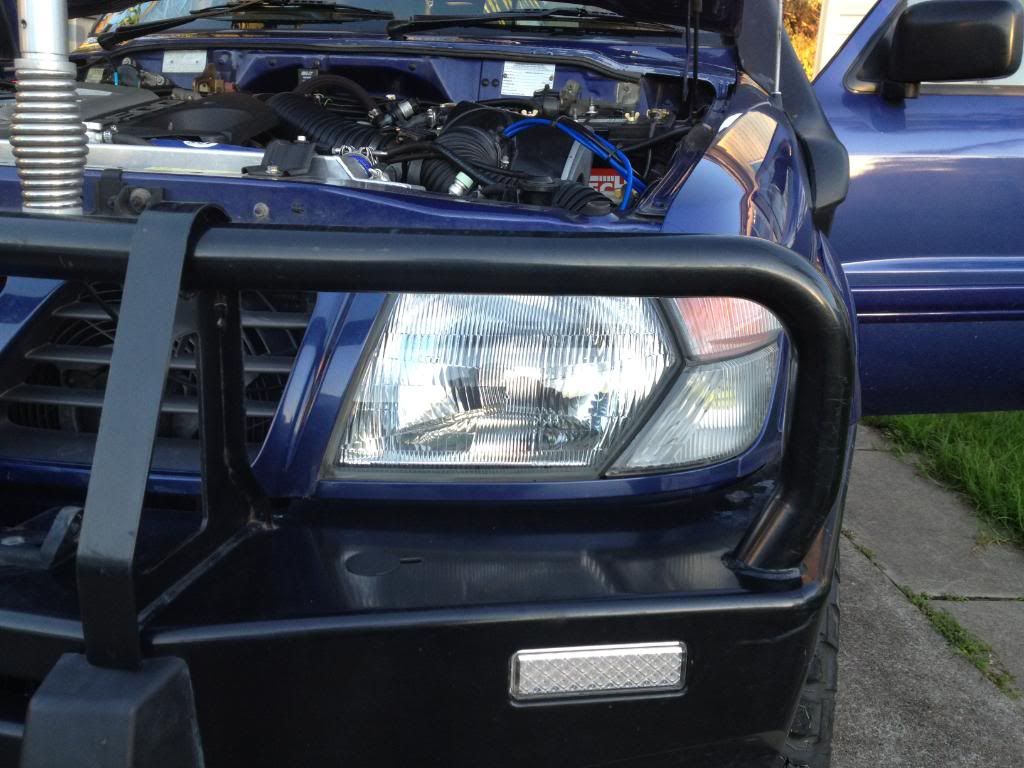
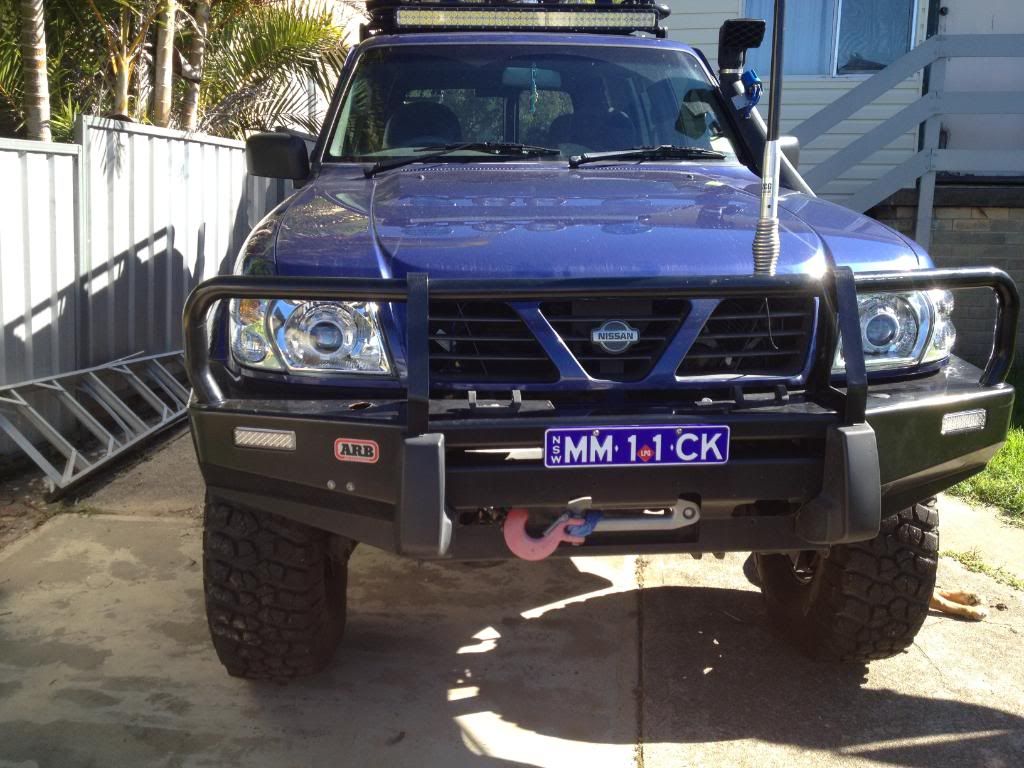
I'll also be adding Angel Eyes for some bling. I've got 3 options there but until the HID kit turns up I don't know which ones I'll use. I'll also post links to all the places I've sourced parts from to help others if there interested. As I don't want my 4wd off the road while I'm doing the mod and do a bit of night driving I thought I'd buy some new aftermarket headlights to fit the kit too. The other reason for this is I wanted series 2 headlights for my patrol as they look more bling then the standard series 1 lights.
Now for the links. These are the guys I got the headlights off. Make sure if you ever purchase headlights you order ones for a right hand drive and this also goes for this whole conversion. The actual protectors need to be ordered for right hand drive also.
http://www.ebay.com.au/itm/300654794...84.m1439.l2649
What I ordered out of that kit are below.
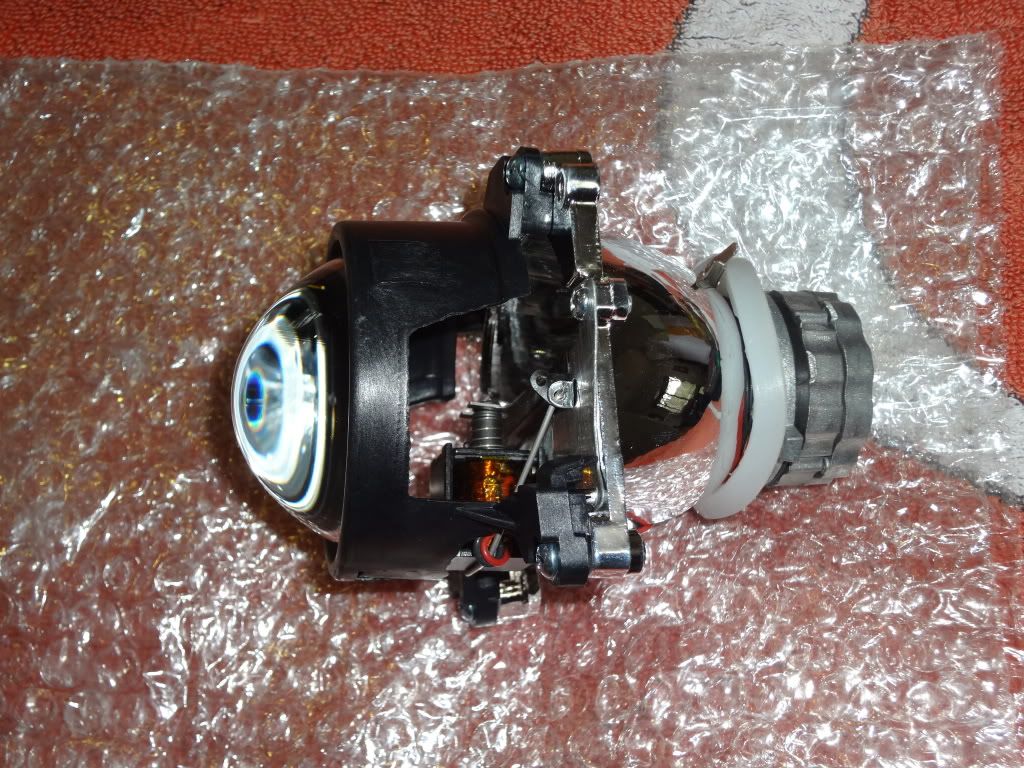
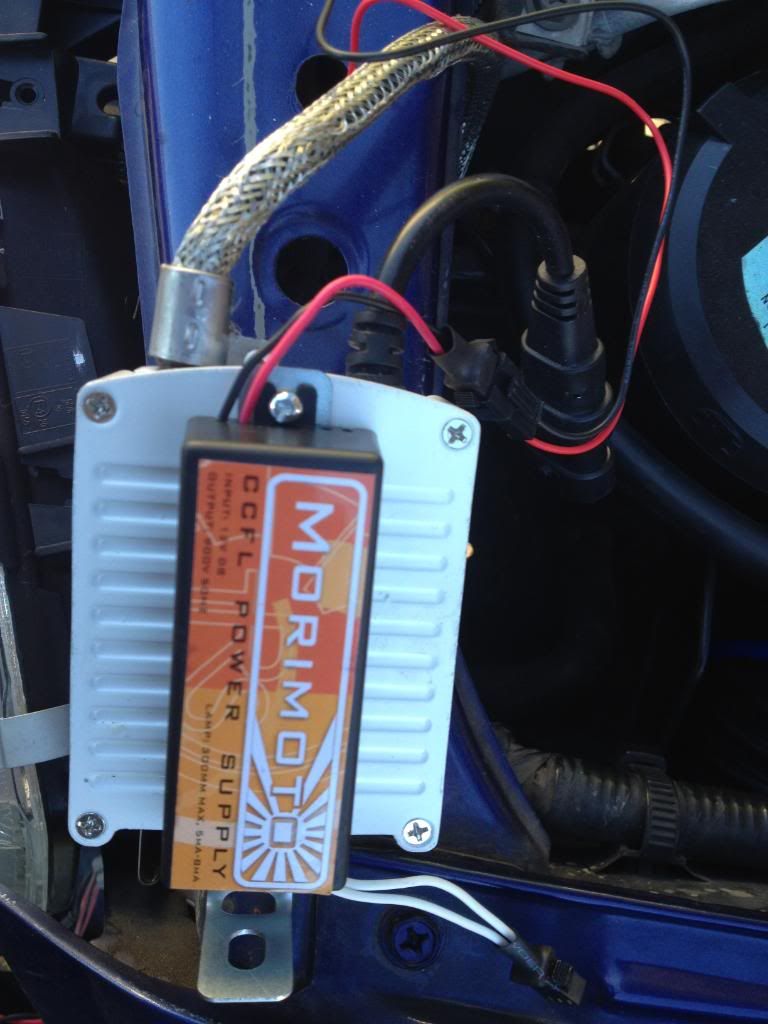
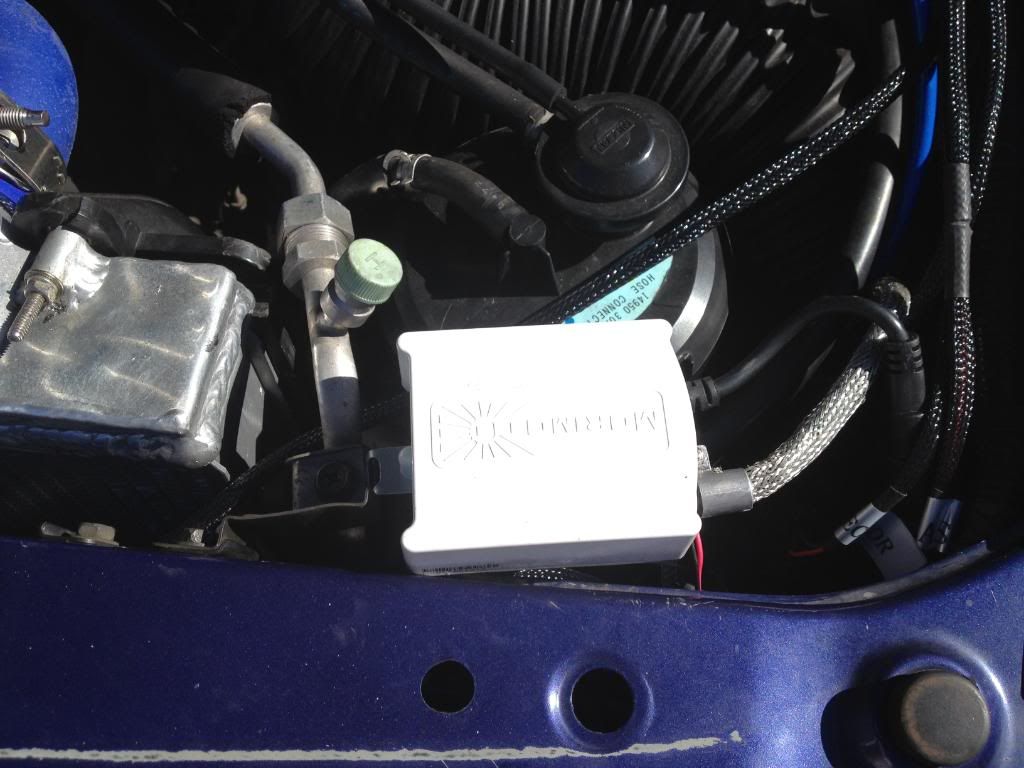
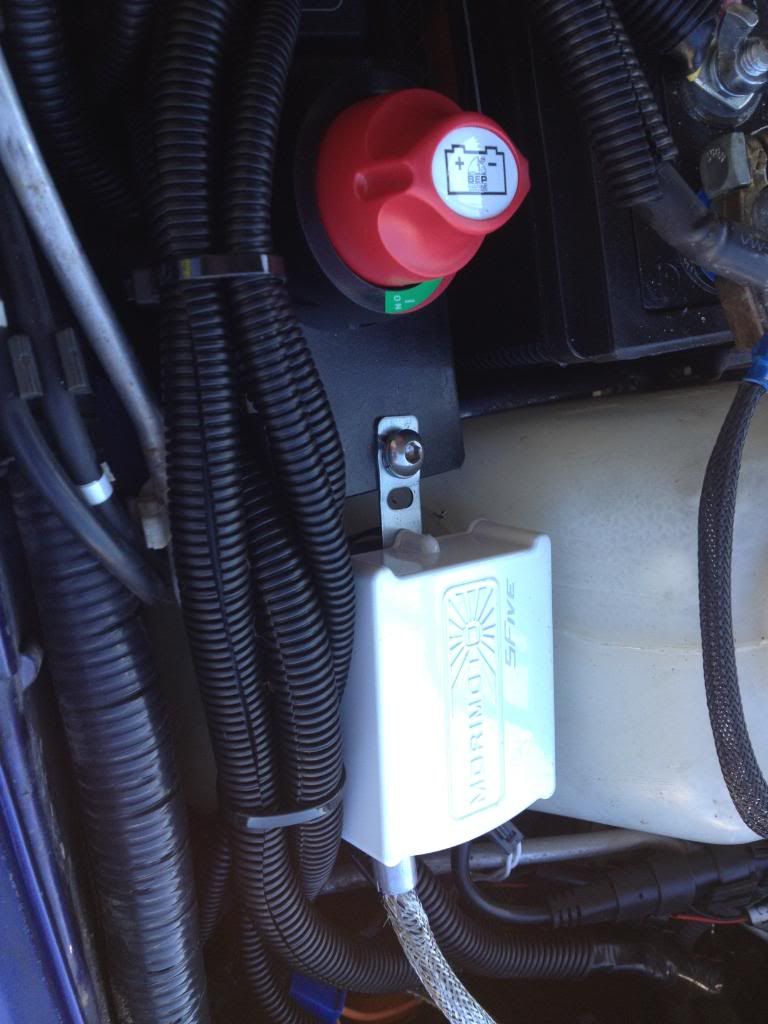
Morimoto 5five 50 watt ballasts x 2
Bulbs are new phillips 85122 + D2S x 2
Right hand drive reflectors x 2
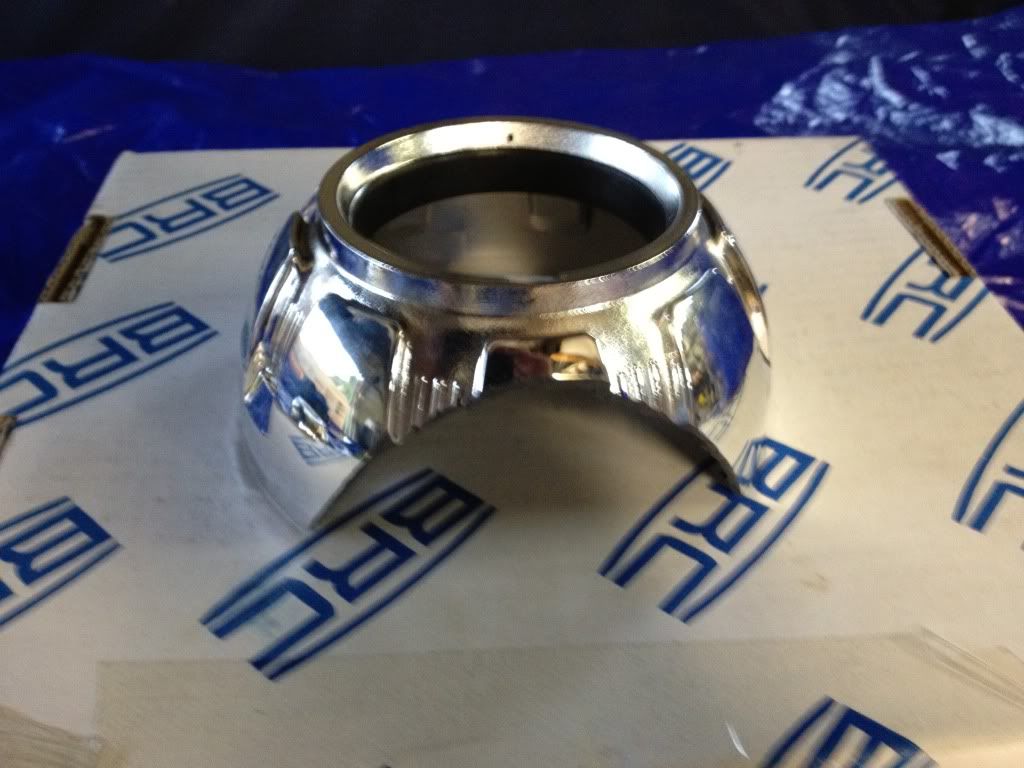
Orbit shrouds x 2
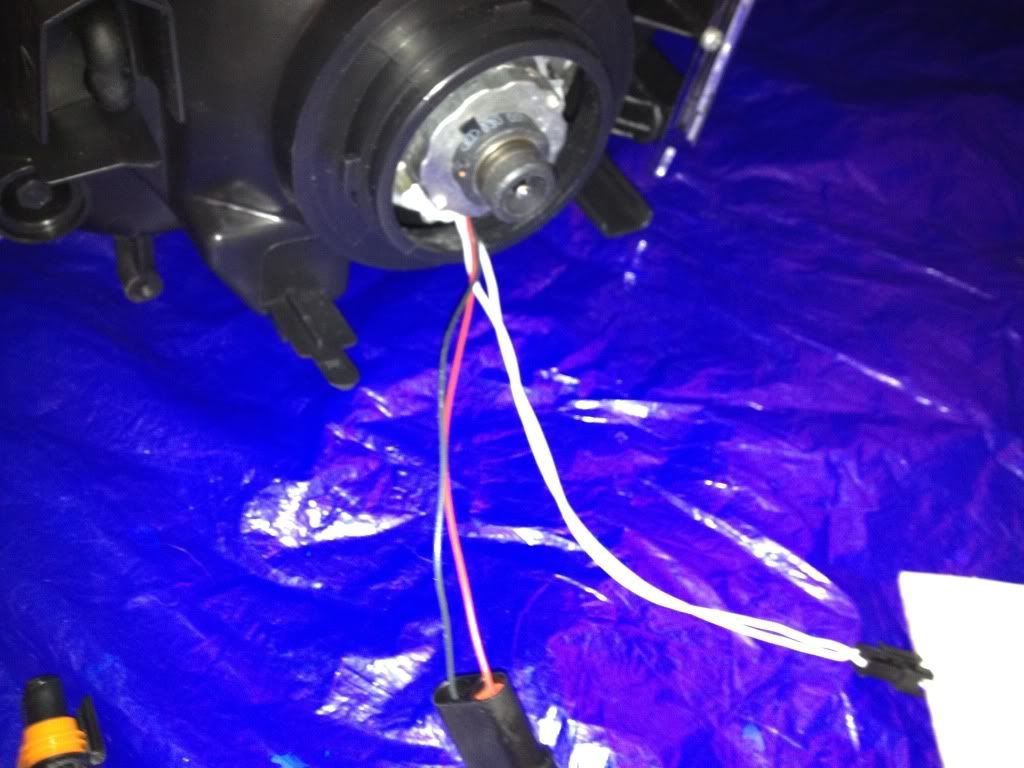
Wiring loom H4/9003
These where recomended to me from heliflyer73 on the patrol forum and also by the guys at Retrofit. There is some pictures on the patrol forum which he has posted up.
Now for the angel eyes I did order a set off those guys but I've also ordered a set from 2 other places as I couldn't really work out which ones will work and what wont. I also didn't want to wait 2 weeks for a set to come from the States and only to have to wait another 2 weeks for more so for the sake of a few extra dollars I ordered 3 types and what I don't use on mine will probably end up being used on another set of lights I may do down the track.
Last edited by mick.; 15th July 2012 at 07:26 PM.
-
-
25th April 2012 11:46 AM
# ADS
Circuit advertisement

-
25th April 2012, 11:56 AM
#2
Expert
-
-
25th April 2012, 12:09 PM
#3
Expert
-
-
25th April 2012, 12:23 PM
#4
Dribble Master


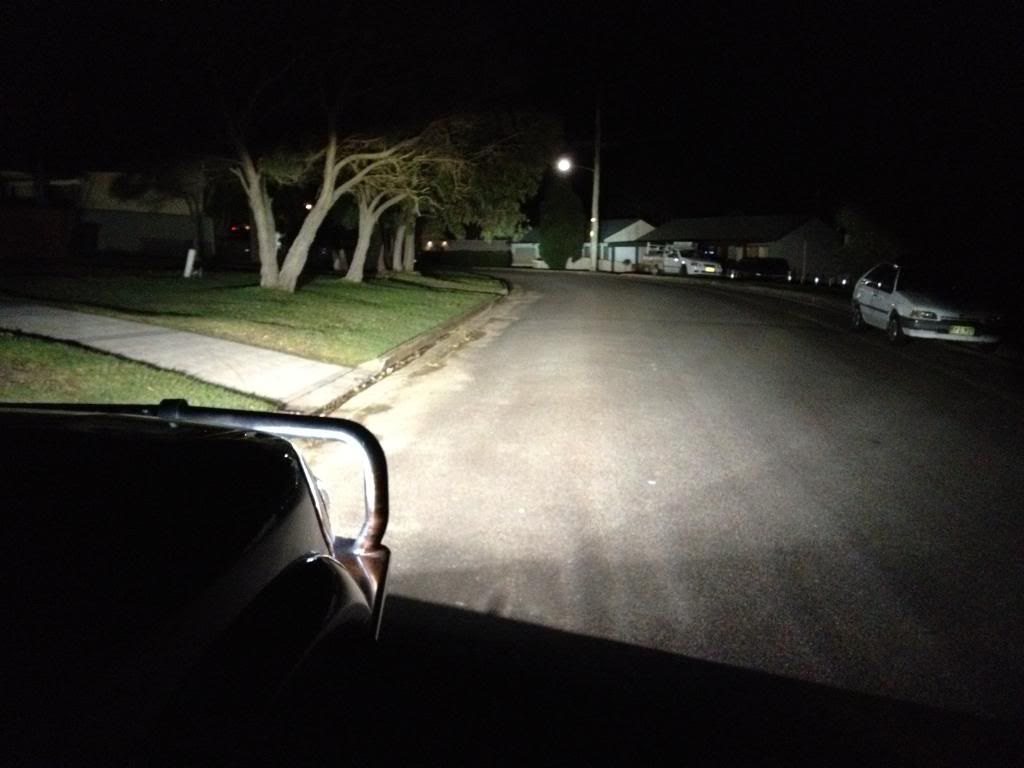
Looking good there Mick, you'll have to let us know what the light output is like on those things
Tap tap tappity crap
-
-
25th April 2012, 07:36 PM
#5
Expert
-
-
26th April 2012, 04:55 PM
#6
Advanced

Hey mate,
The conversion looks awesome, sure solved the problem of the dodgey stock ones.
Did the series 2 lights slot straight into where the series 1 wholes are? like bolts and all or did you have to make some new brackets up?
cheers
-
-
26th April 2012, 06:04 PM
#7
Expert

Originally Posted by
clunk71

Looking good there Mick, you'll have to let us know what the light output is like on those things
Tap tap tappity crap
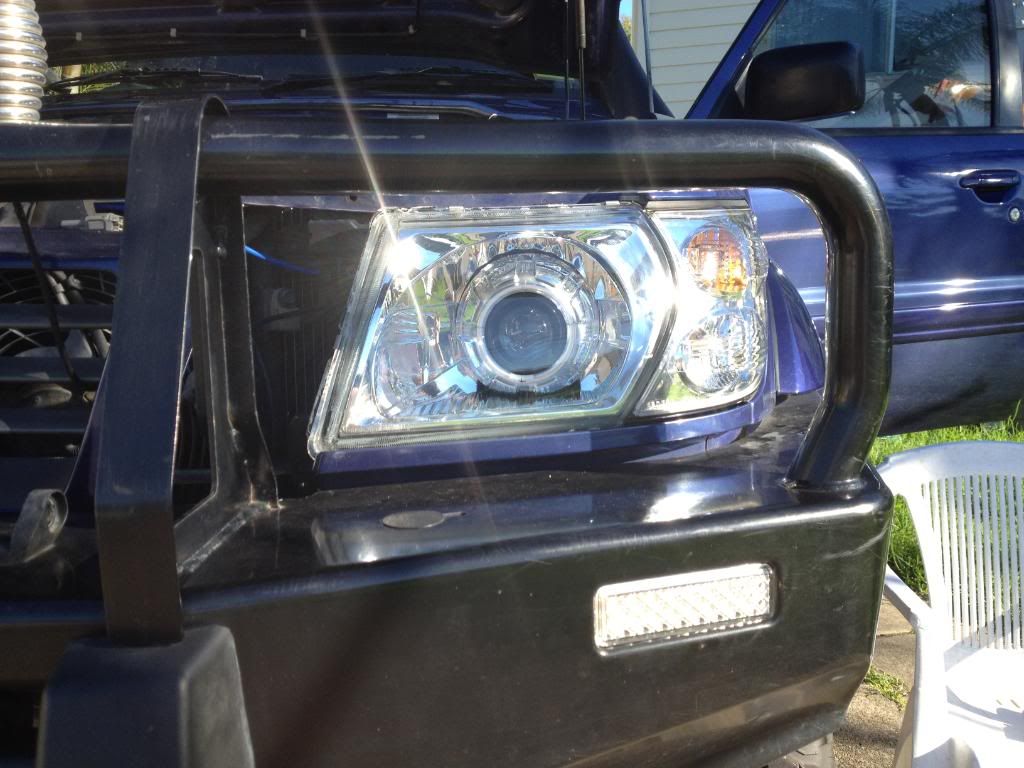
Thanks mate. As you can see they made a huge difference. I've also just bought a Digital Lux Meter which measure lumens so I'll be able be give some accurate measurements.
Originally Posted by
num_301
Hey mate,
The conversion looks awesome, sure solved the problem of the dodgey stock ones.
Did the series 2 lights slot straight into where the series 1 wholes are? like bolts and all or did you have to make some new brackets up?
cheers
Yes it solved that problem. The series 2 ones fit straight in without any mods what so ever. You just have to make sure you buy the indicators to as there slightly different shape where they butt up to the light. If you choose to buy them lights make sure you get them for right hand drive. The only people on ebay that sold them that I could find where the ones I bought. This is the link.
http://www.ebay.com.au/itm/300654794...ht_4402wt_1209
Cheers Mick.
-
-
26th April 2012, 09:26 PM
#8
Top job Mick, though I don't know how the missus would feel if I did that to our patrol. Might just have to look at an HID upgrade at some point.
Thanks for the pics.
Cheers
Greg
-
-
27th April 2012, 08:28 AM
#9
Hardcore

very nice might need to look into this
Whoever appeals to the law against his fellow man is either a fool or a coward.
Whoever cannot take care of themselves without that law is both.
For a wounded man shall say to his assailant,
'If I live, I will kill you. If I die, You are forgiven.'
Such is the rule of honour.
-
-
27th April 2012, 09:21 AM
#10
Advanced
Yes it solved that problem. The series 2 ones fit straight in without any mods what so ever. You just have to make sure you buy the indicators to as there slightly different shape where they butt up to the light. If you choose to buy them lights make sure you get them for right hand drive. The only people on ebay that sold them that I could find where the ones I bought. This is the link.
http://www.ebay.com.au/itm/300654794...ht_4402wt_1209
Cheers Mick.[/QUOTE]
Cheers mate, Thanks for the info
-


 Reply With Quote